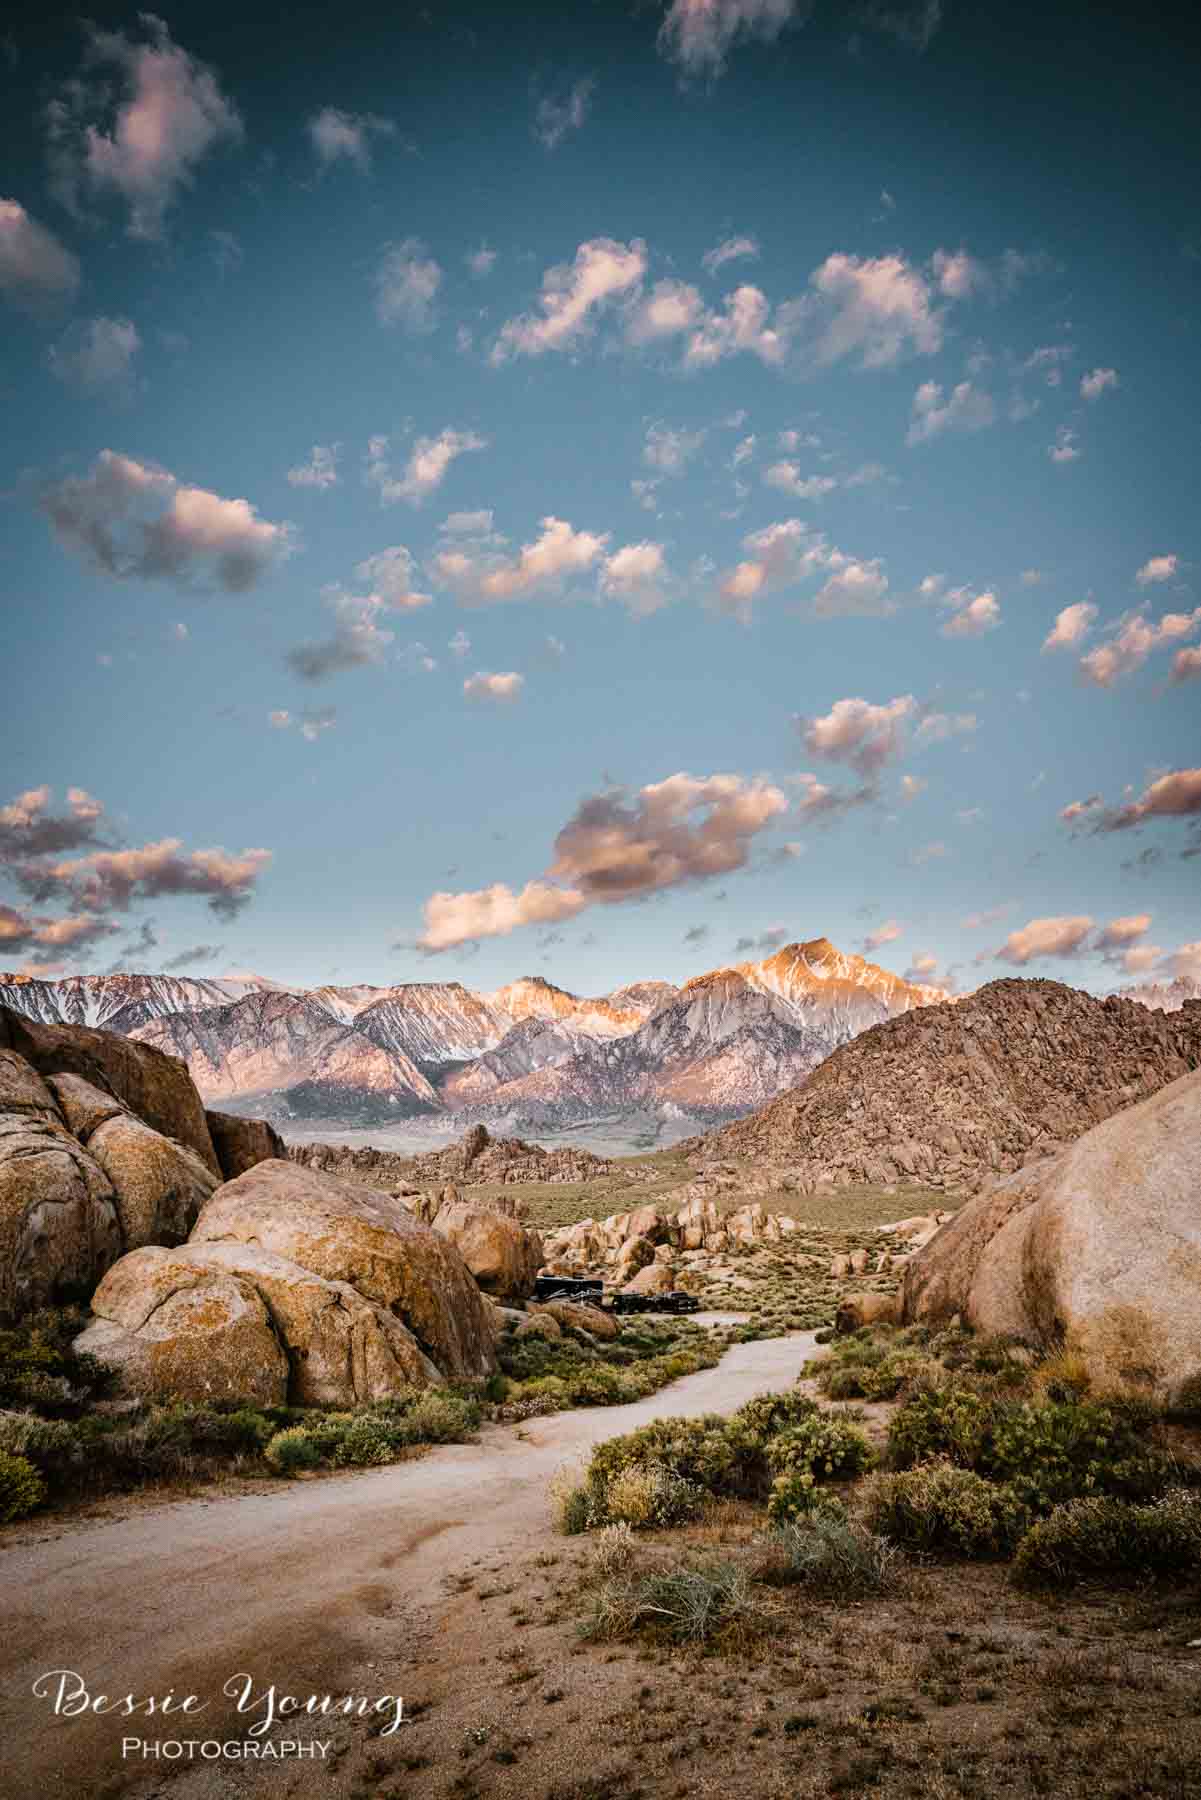
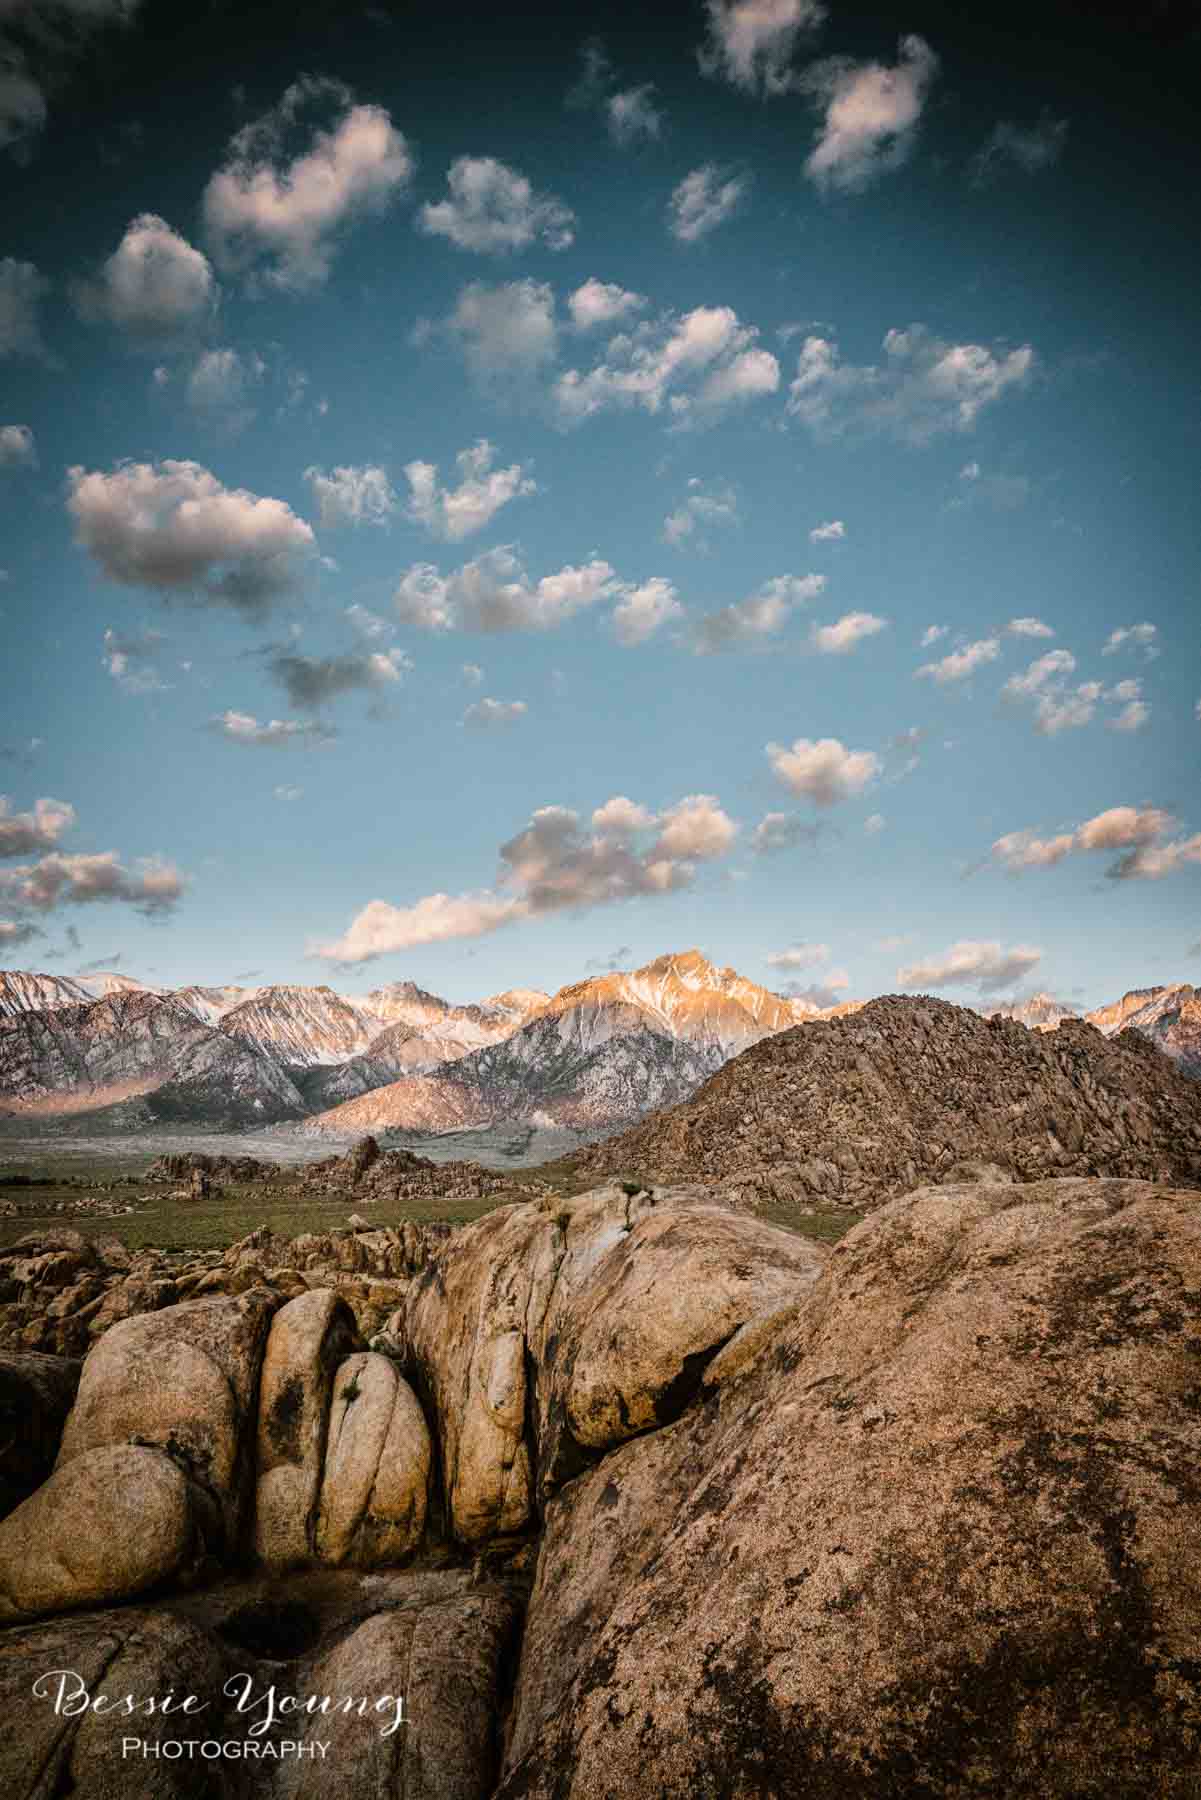
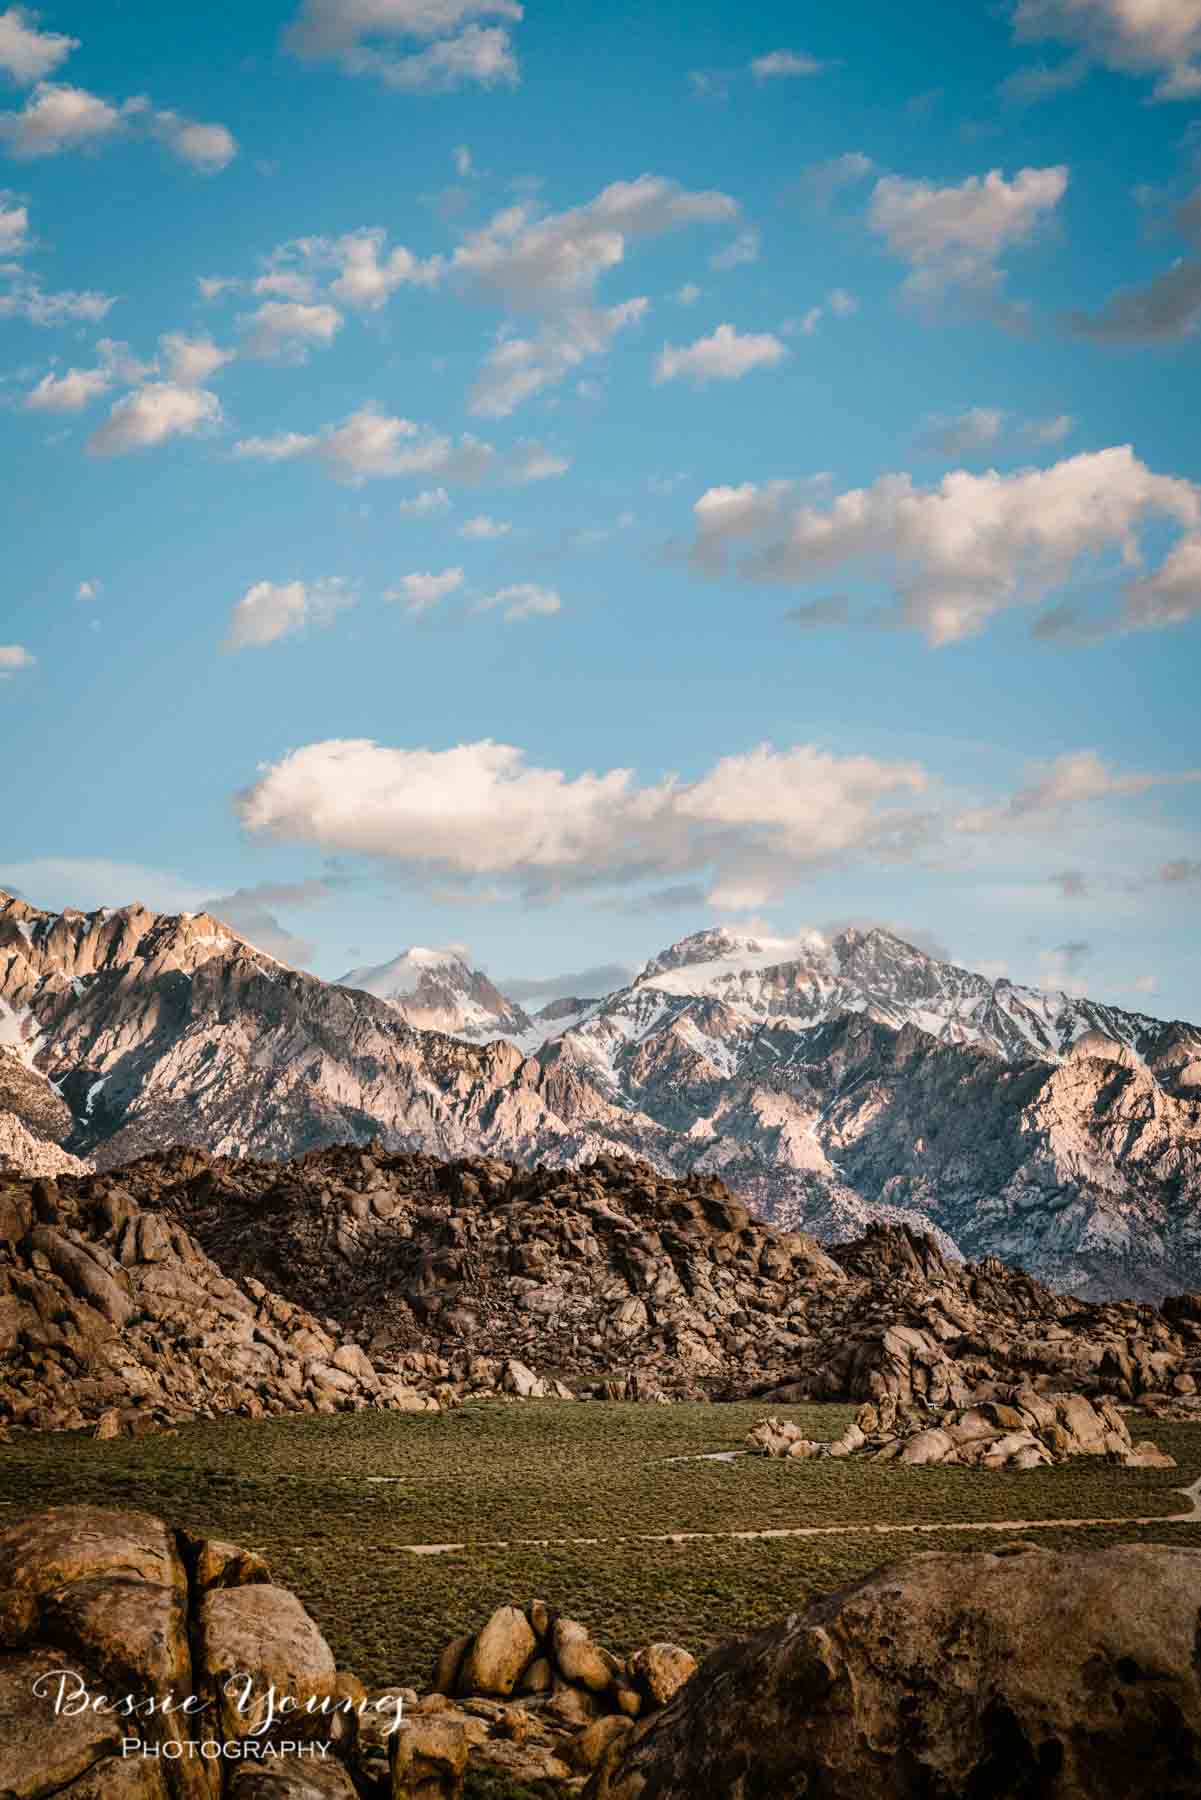
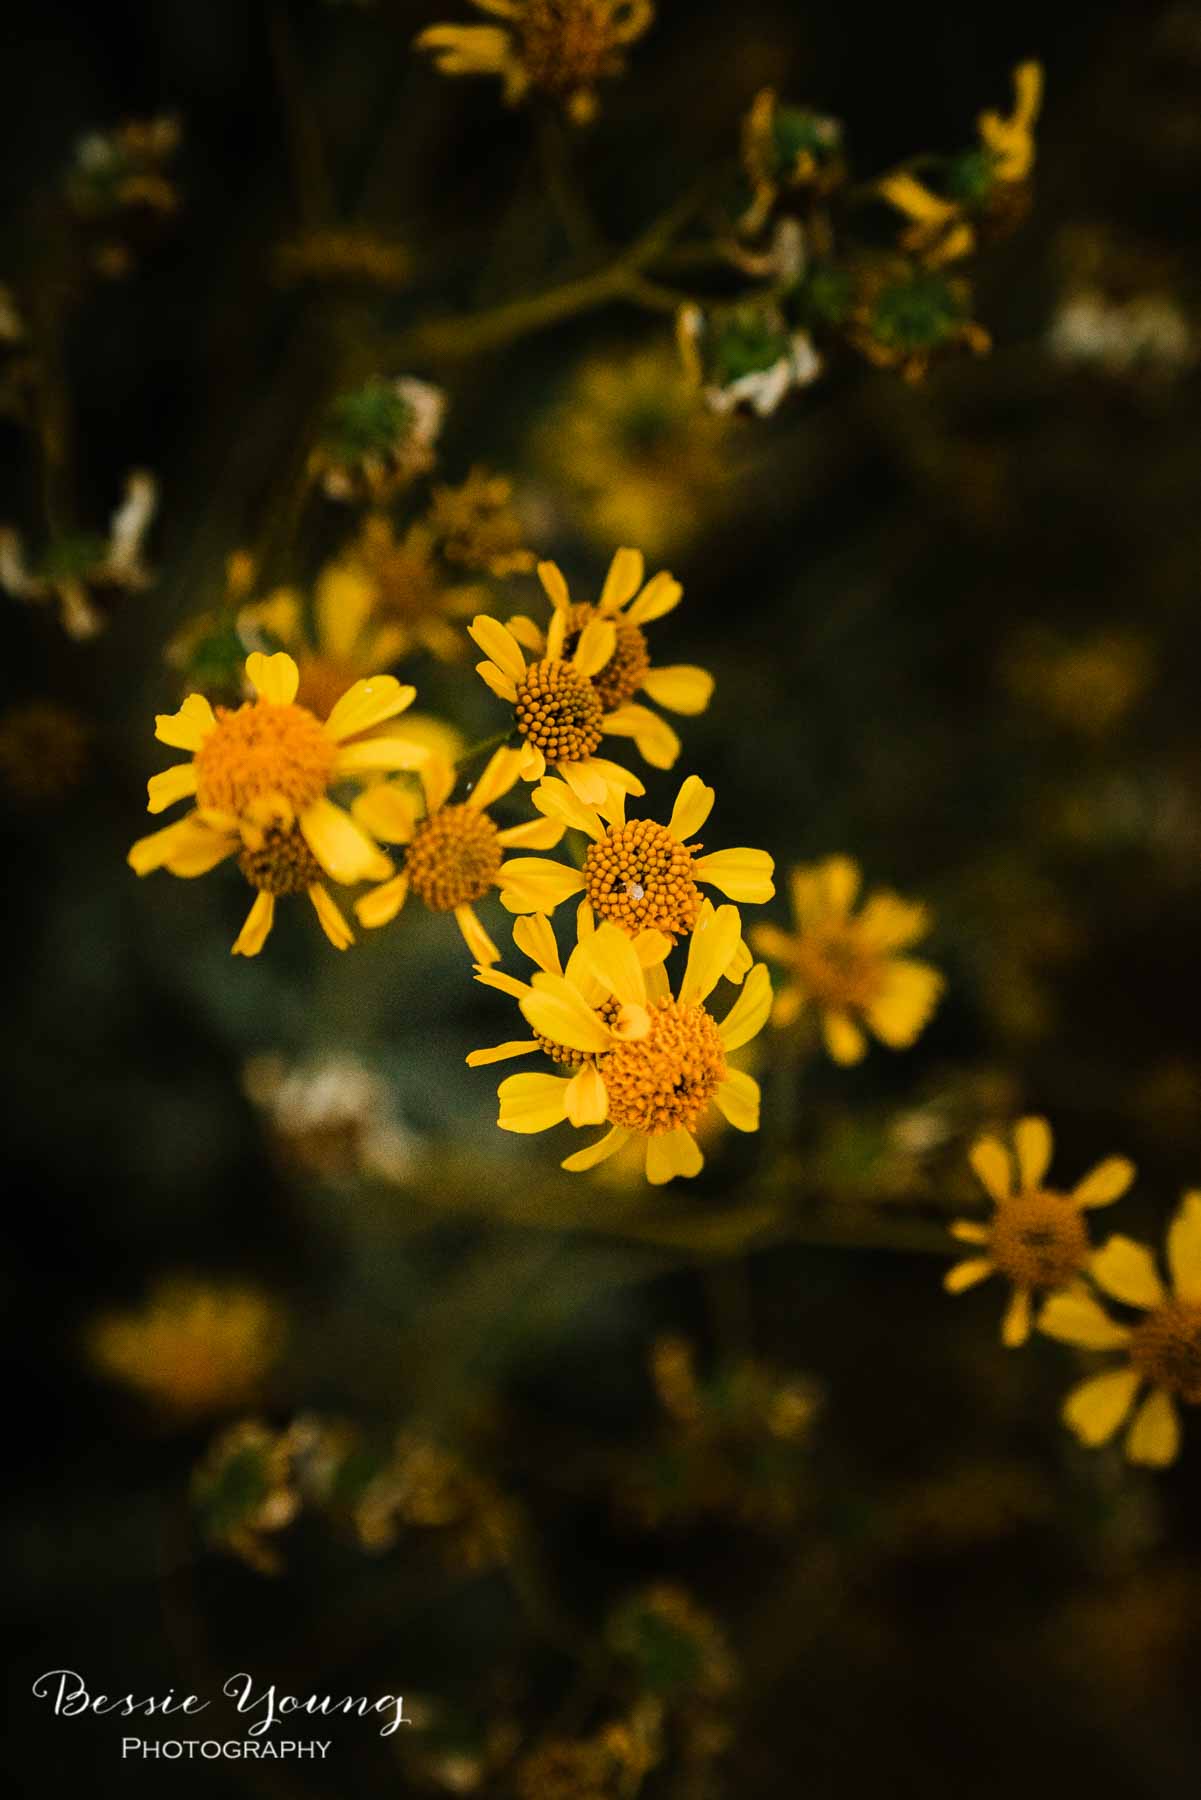
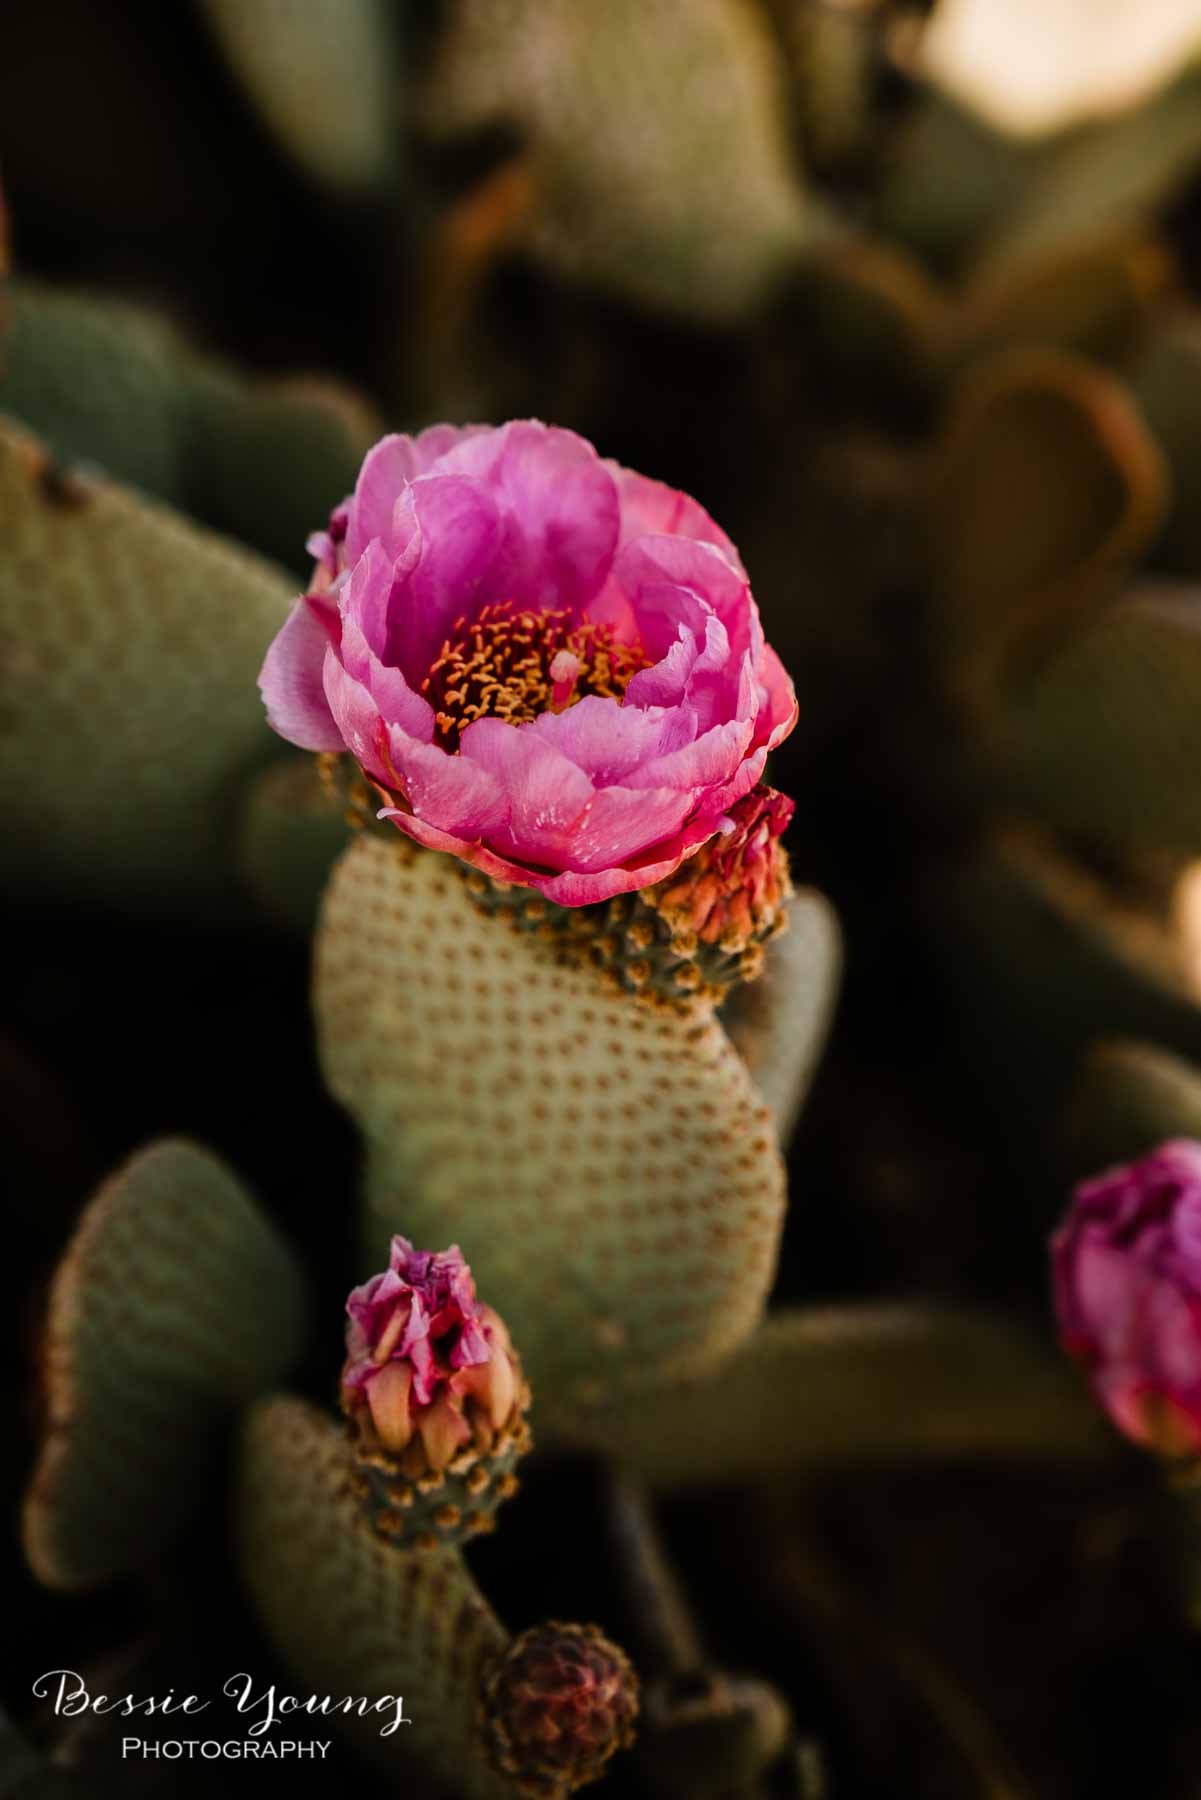
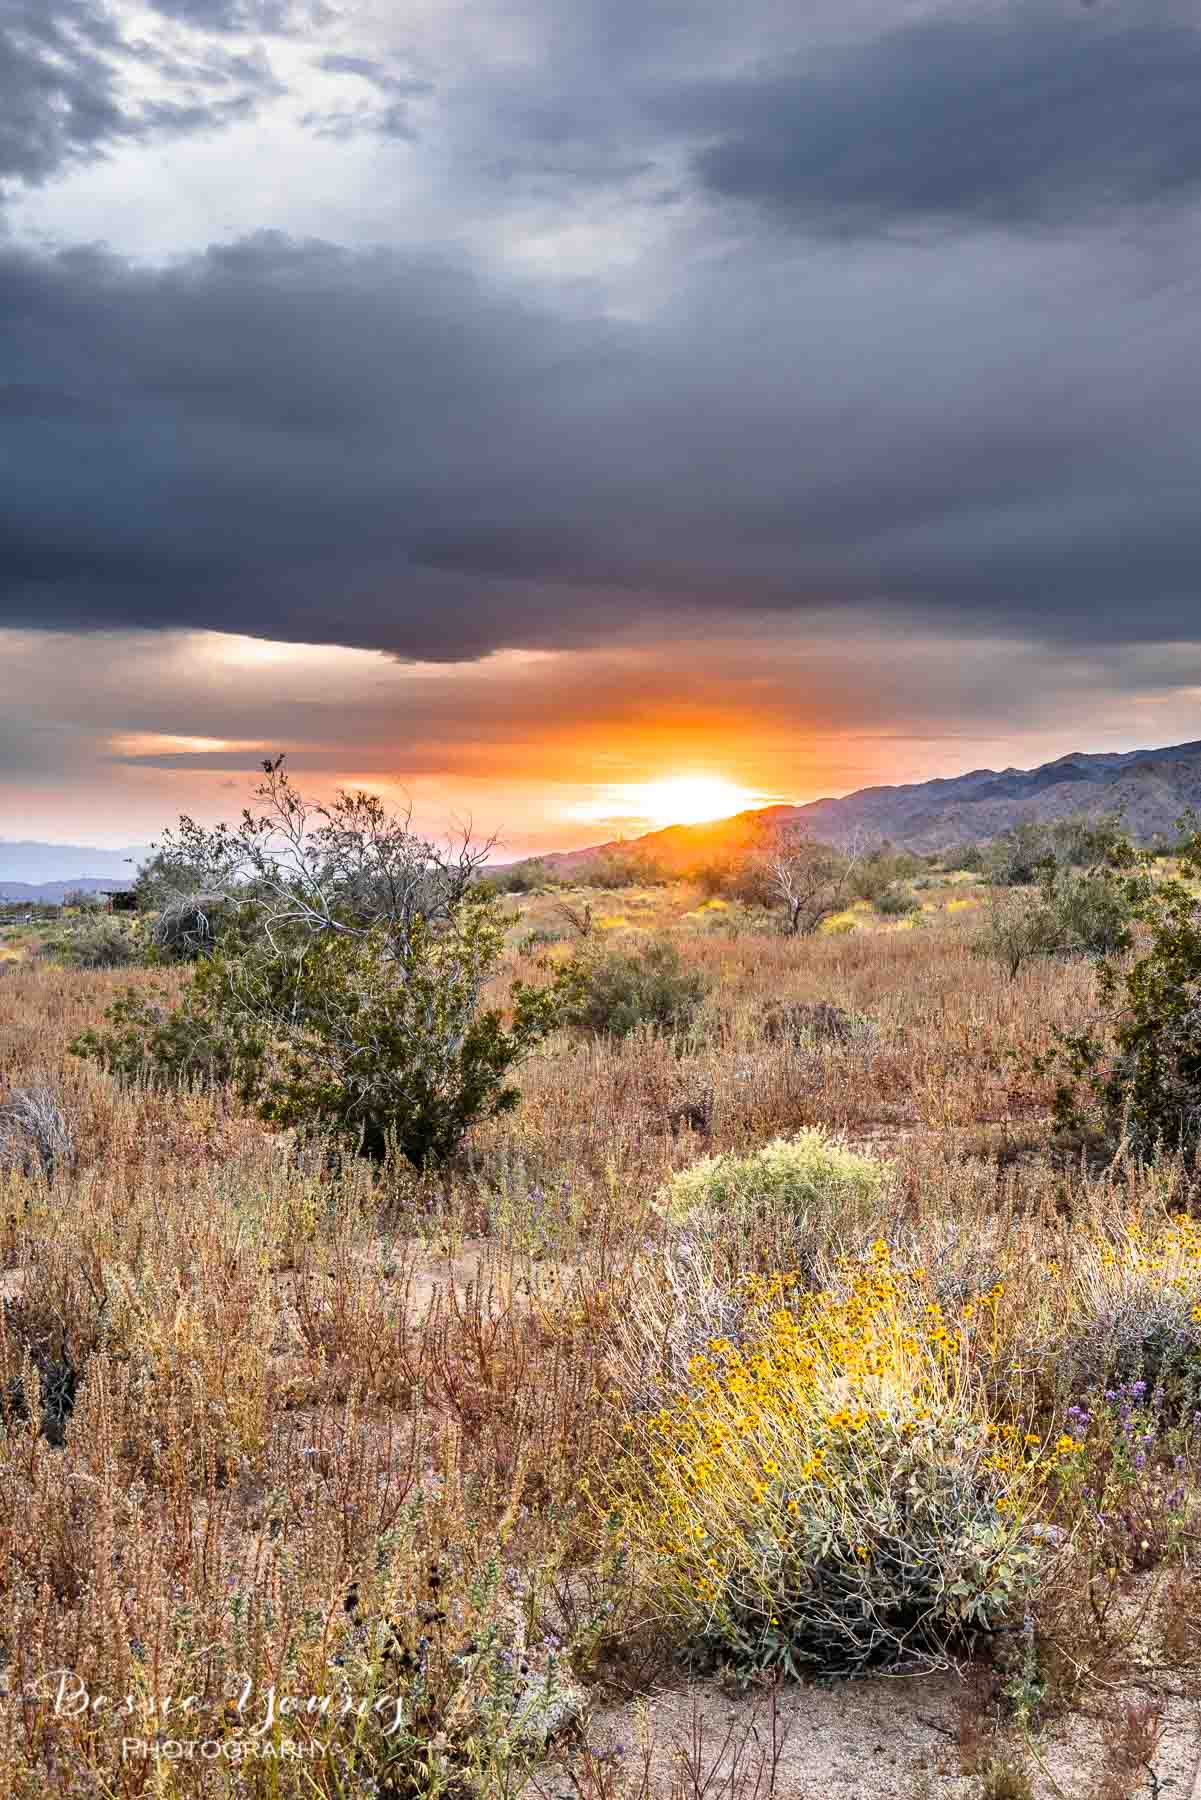
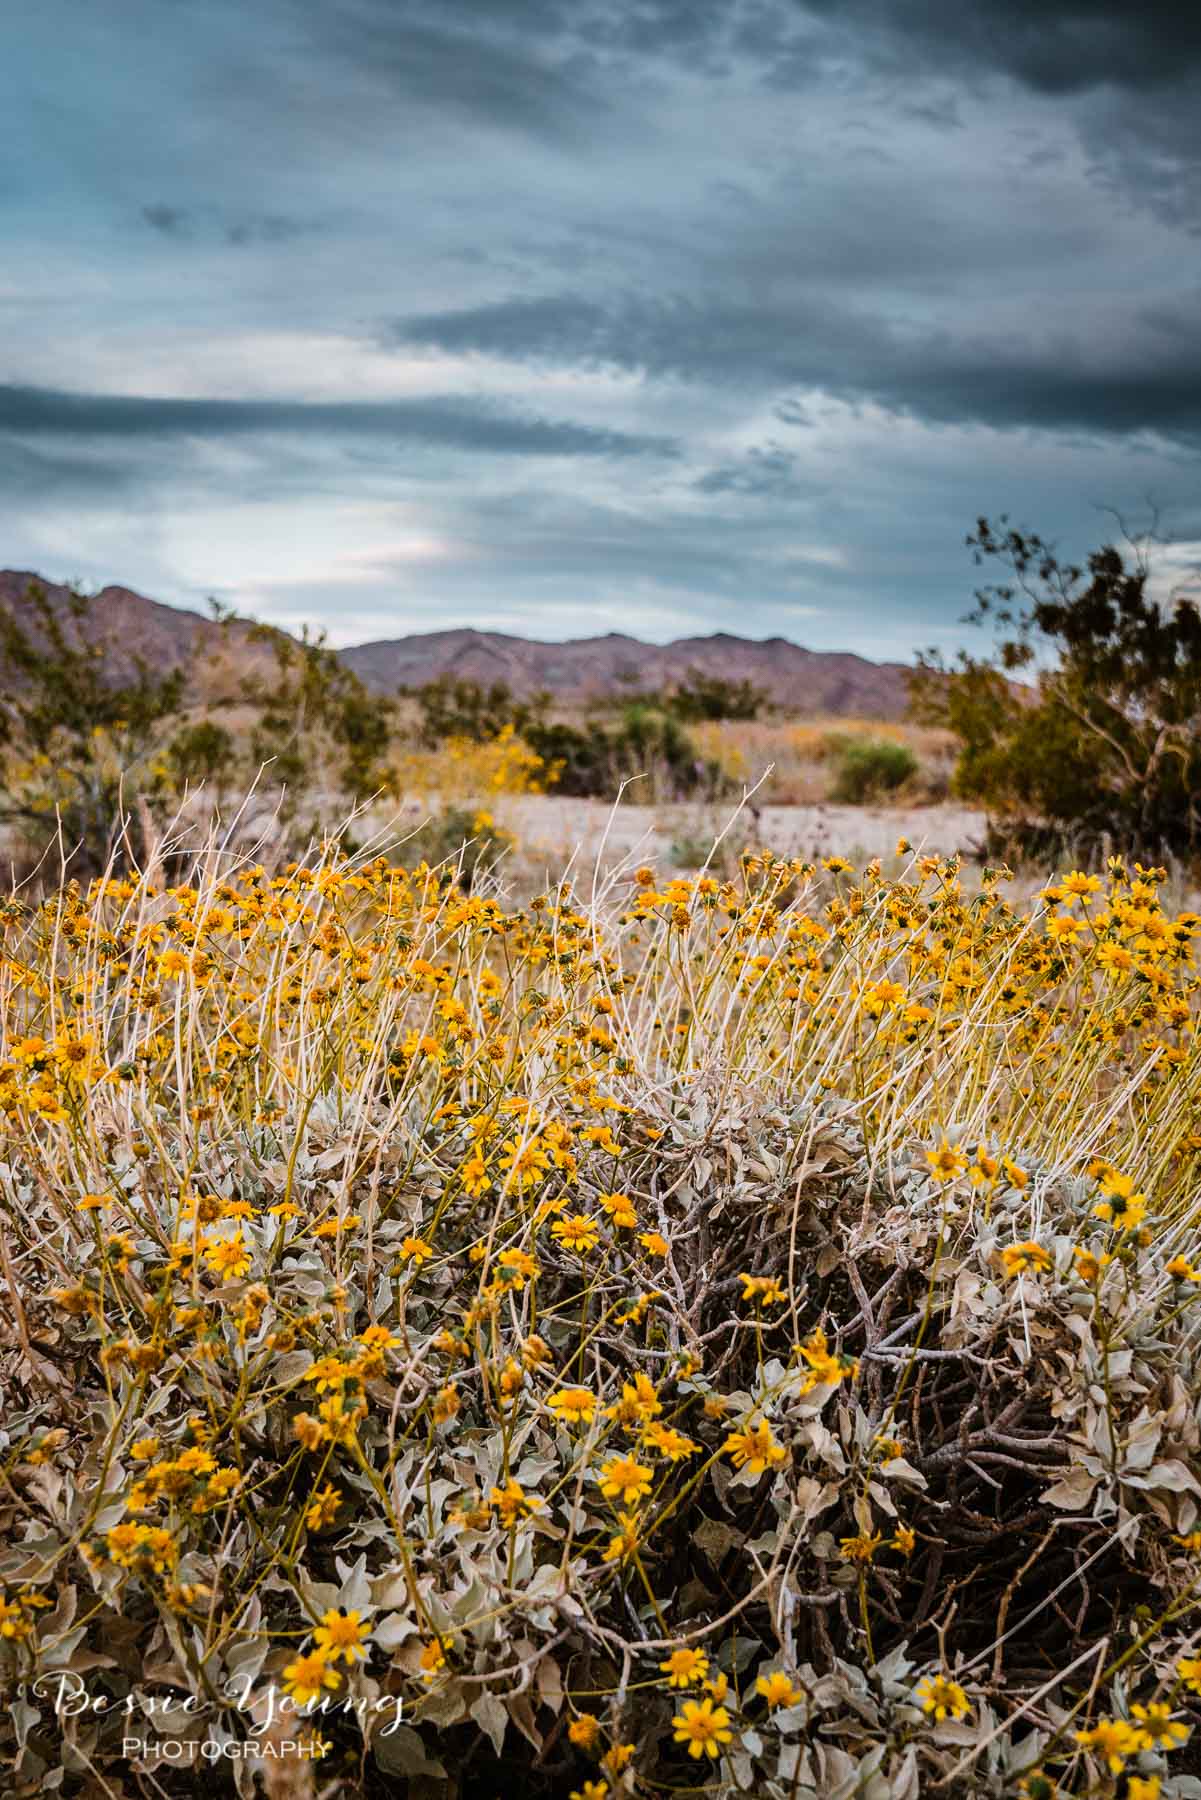
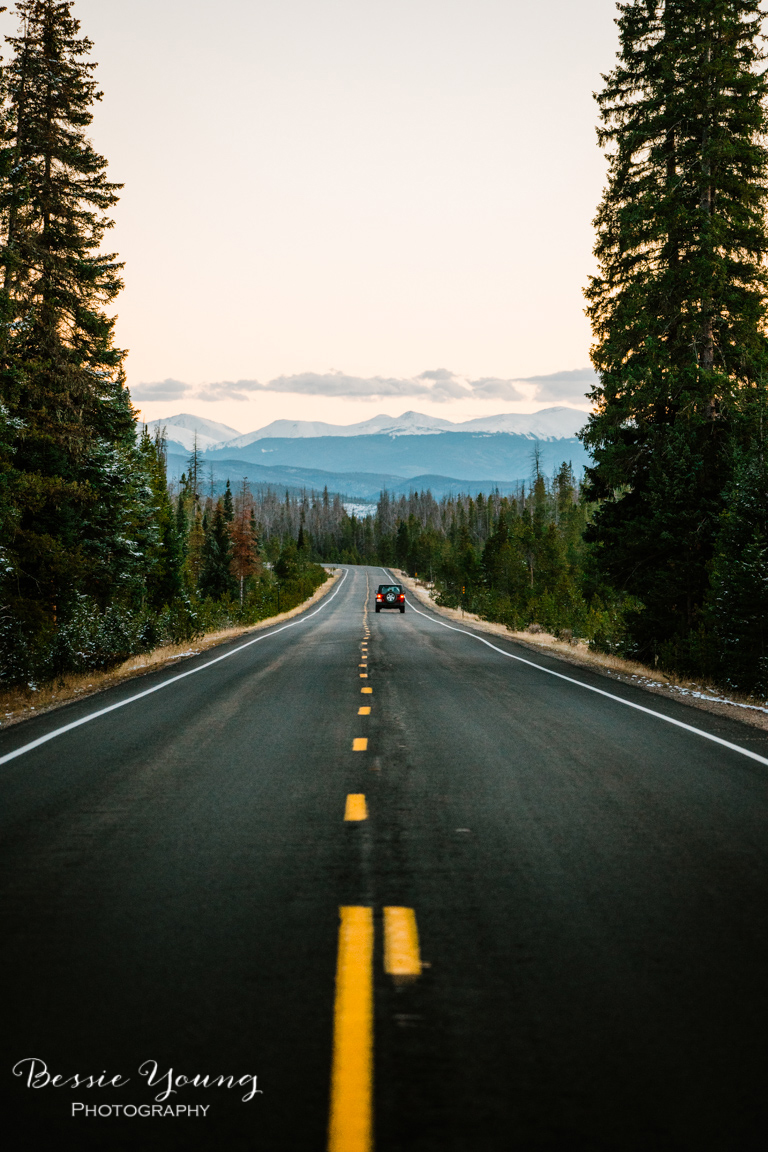
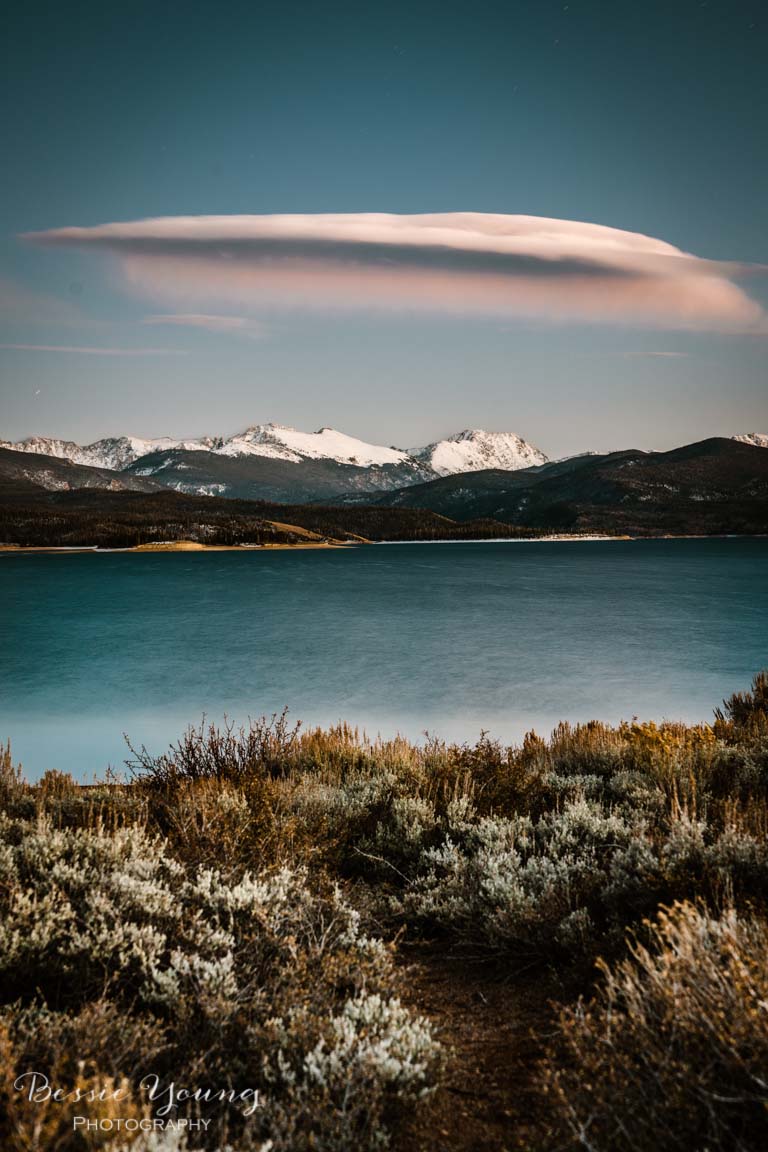
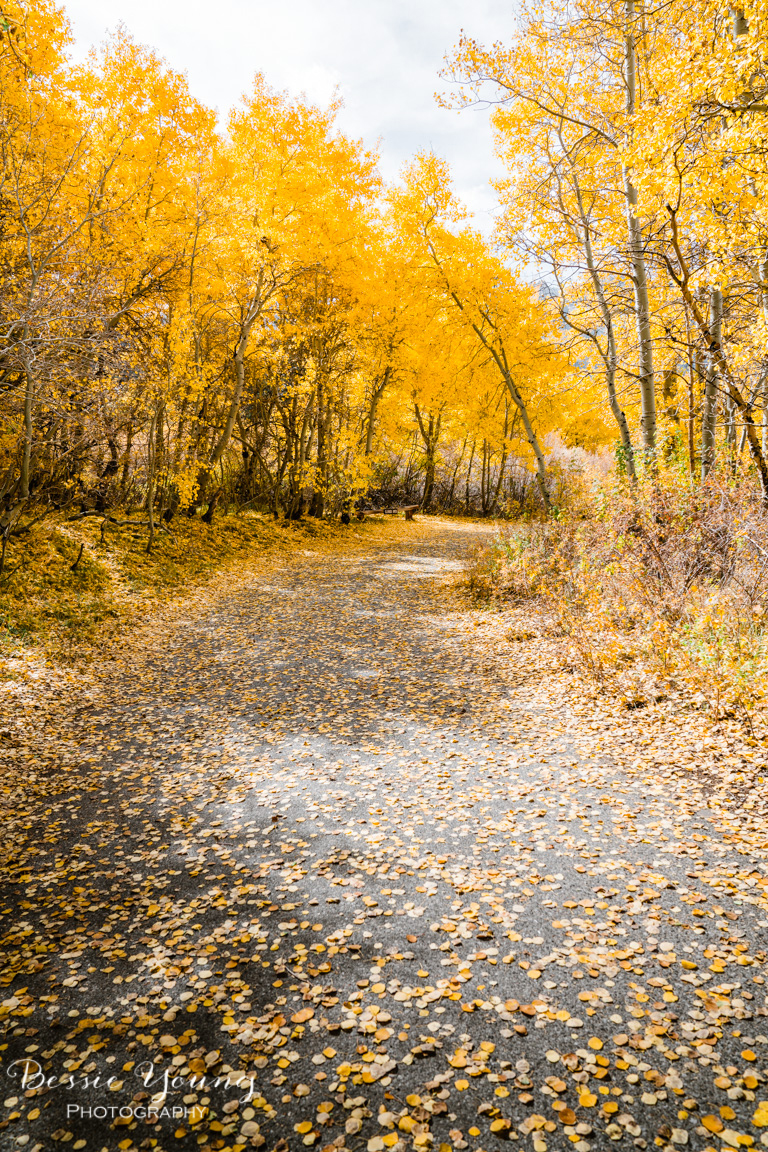
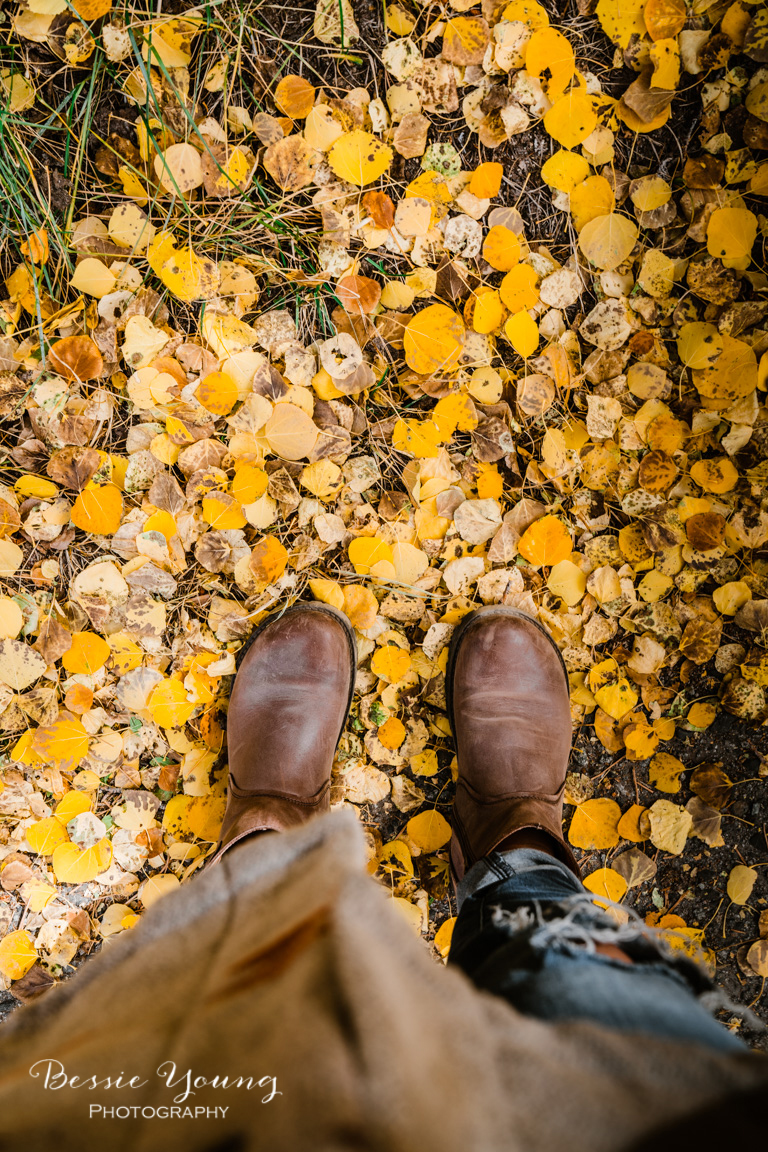
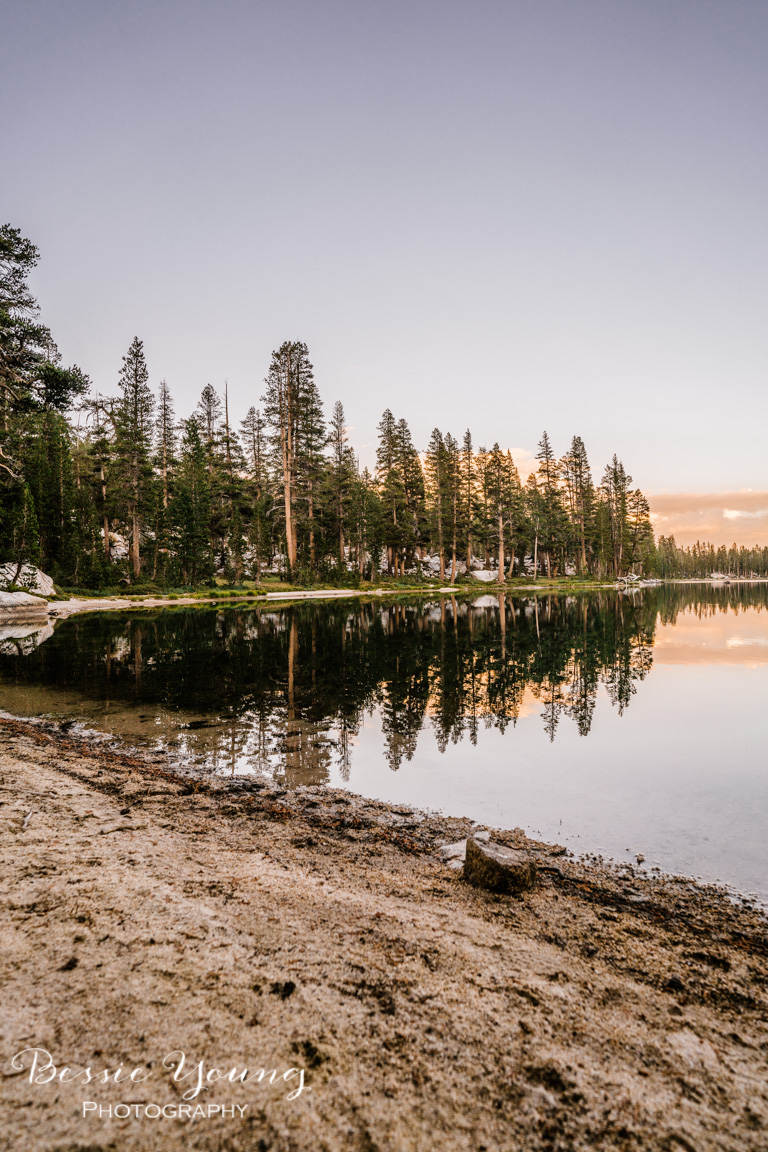
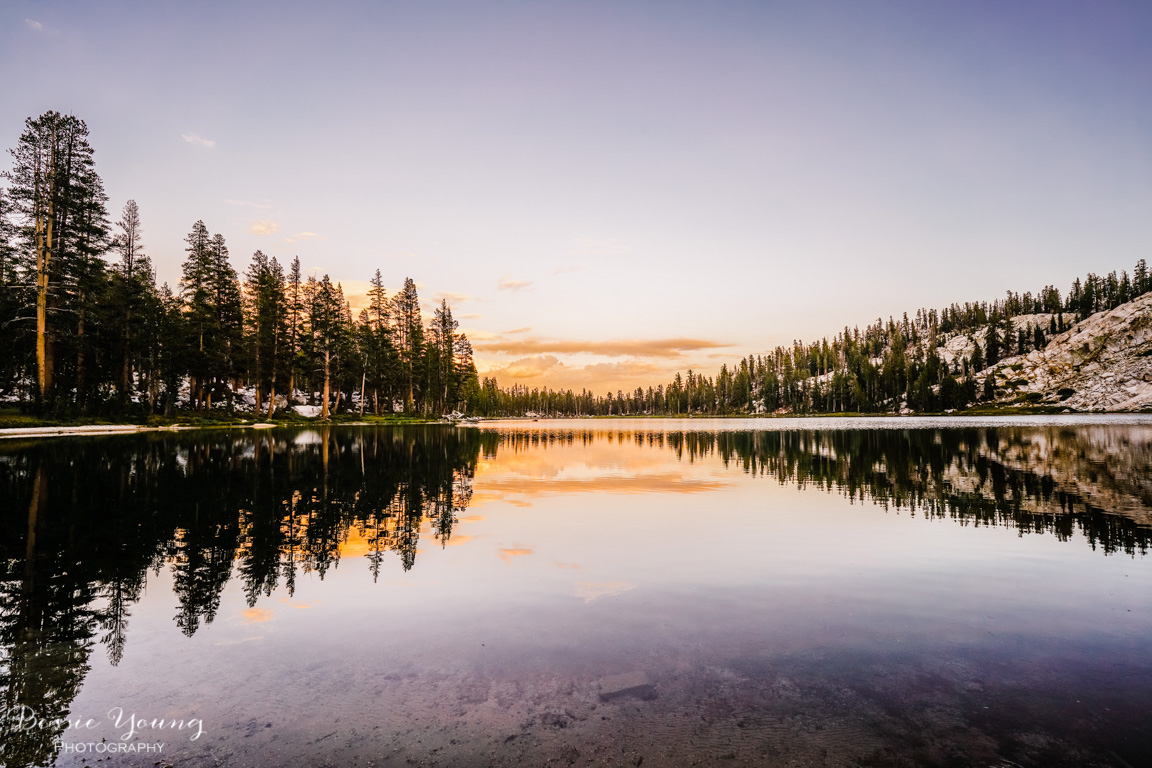
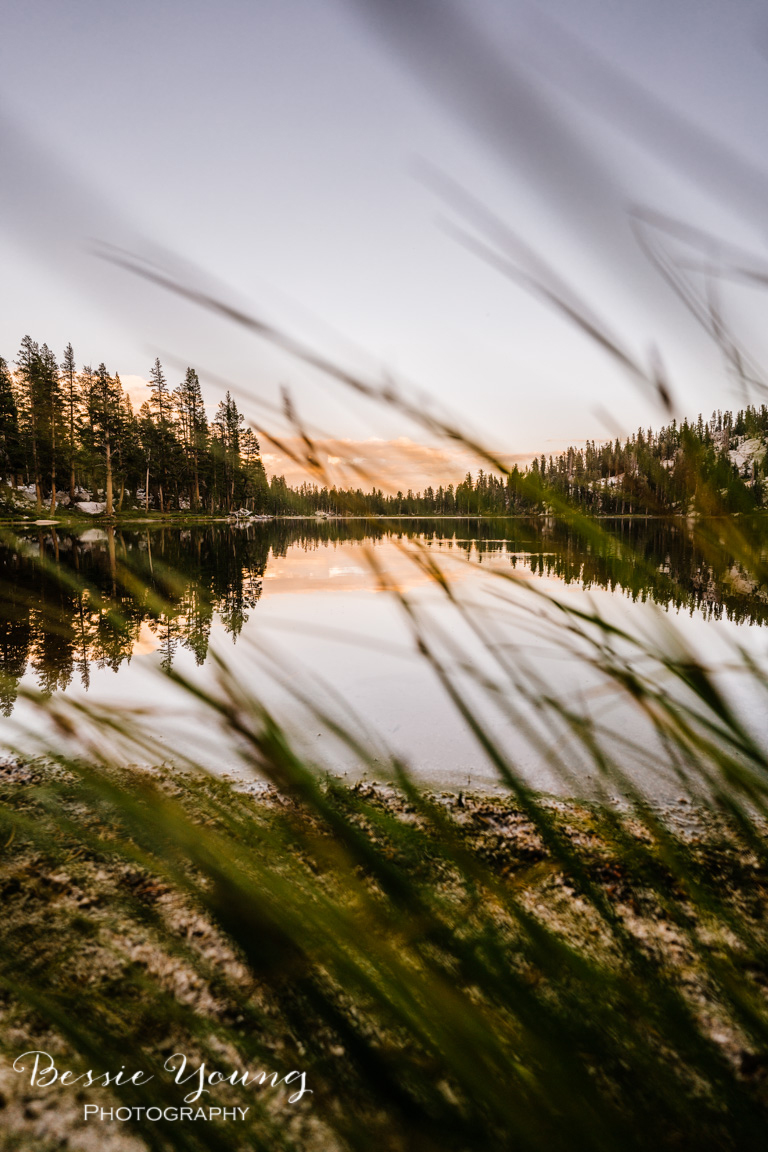
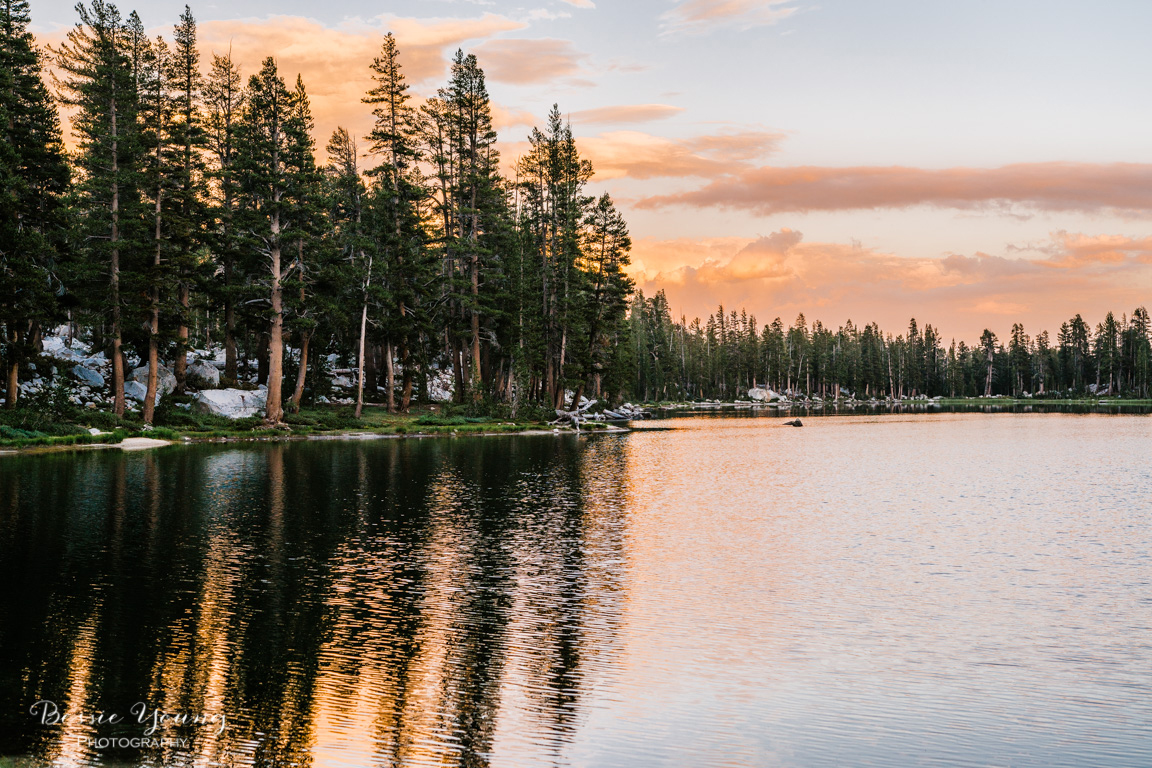
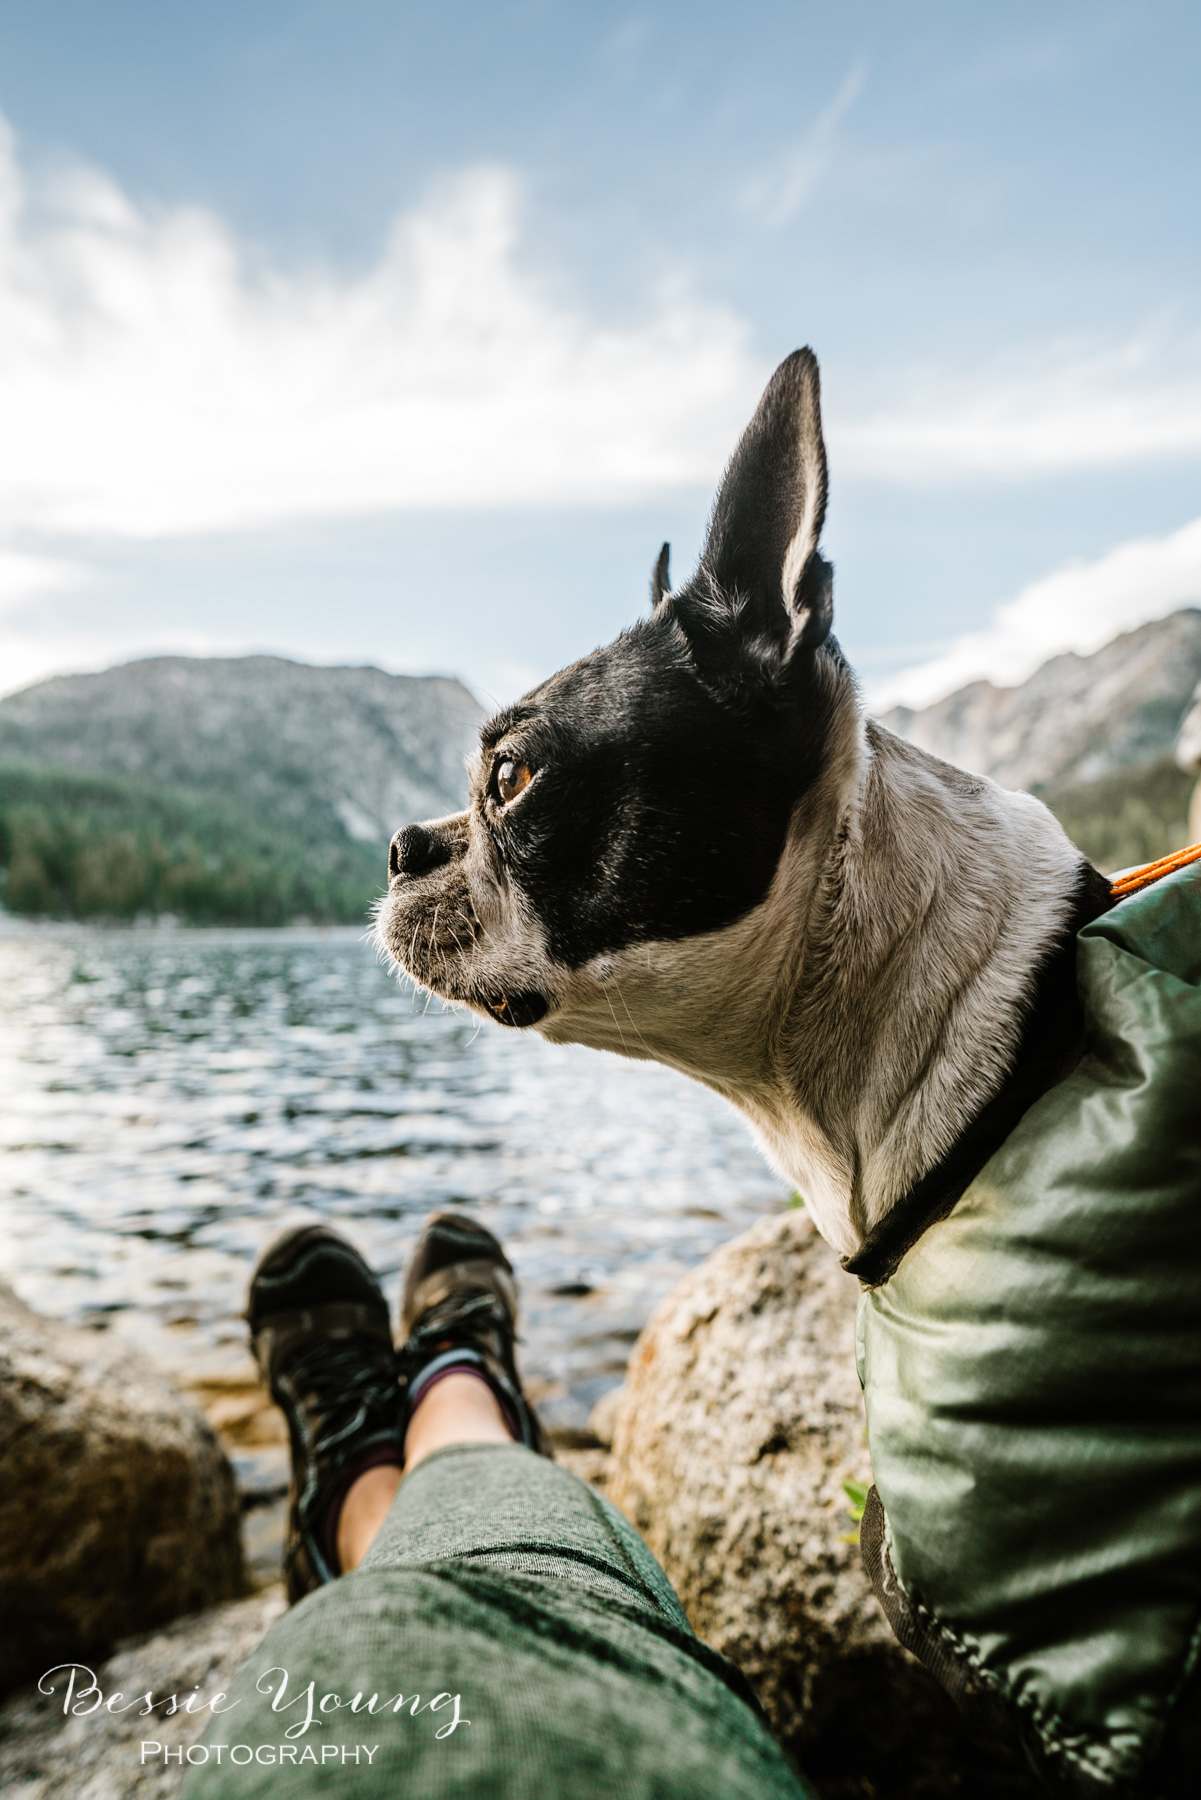
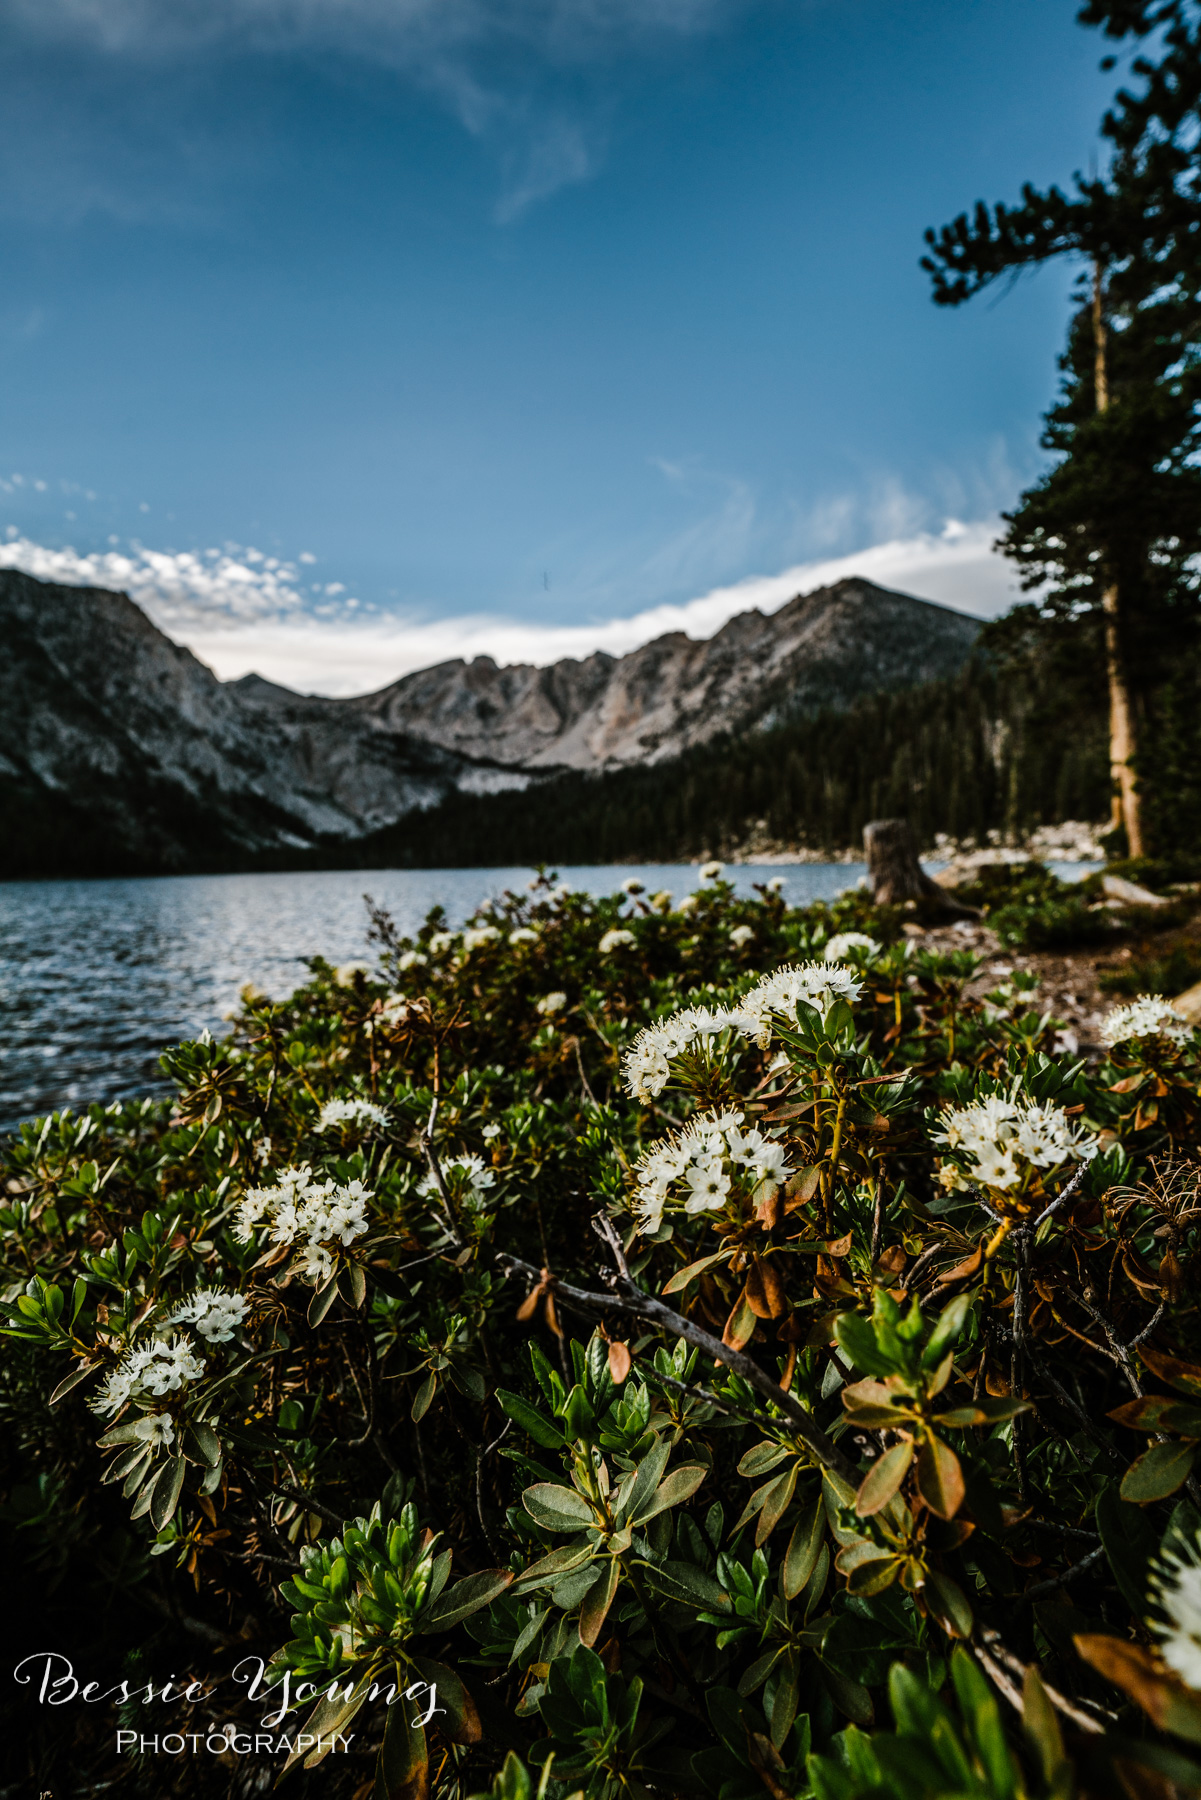
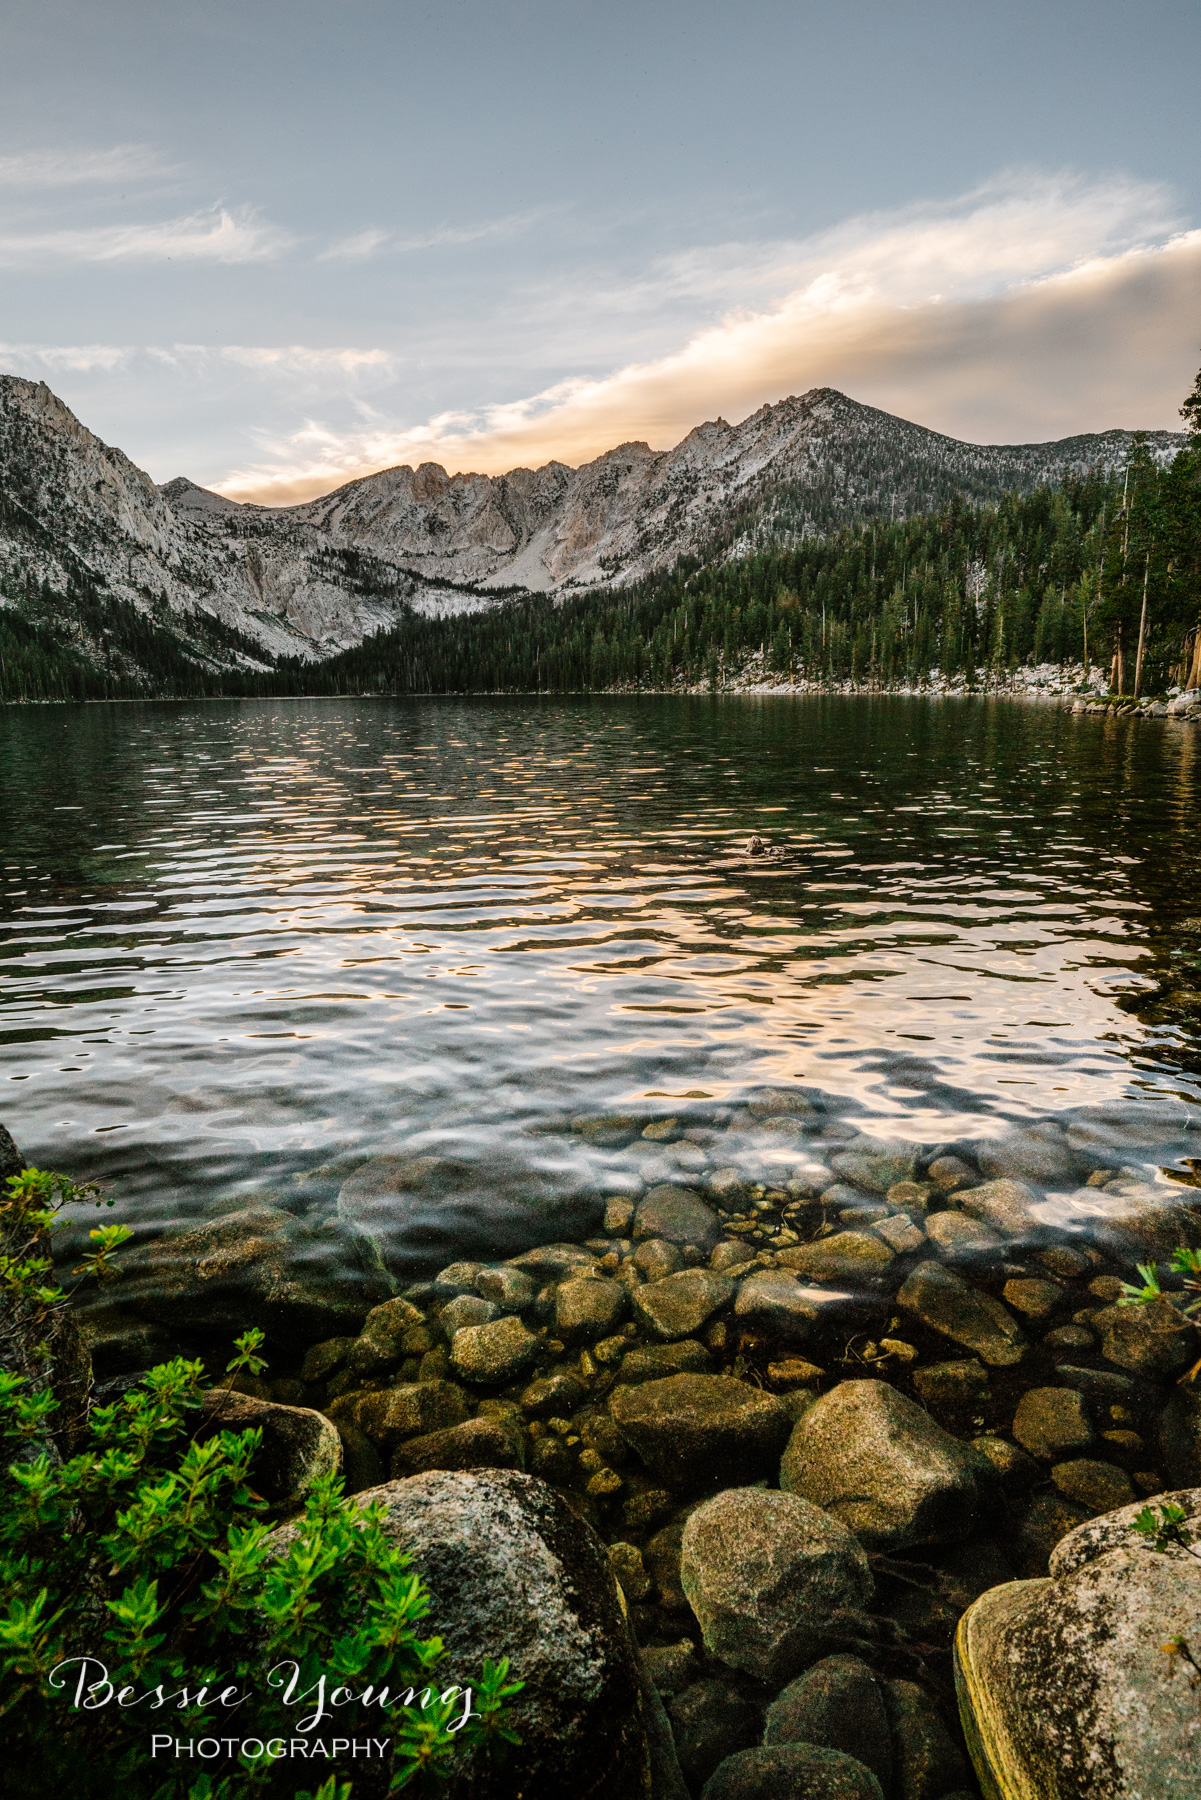
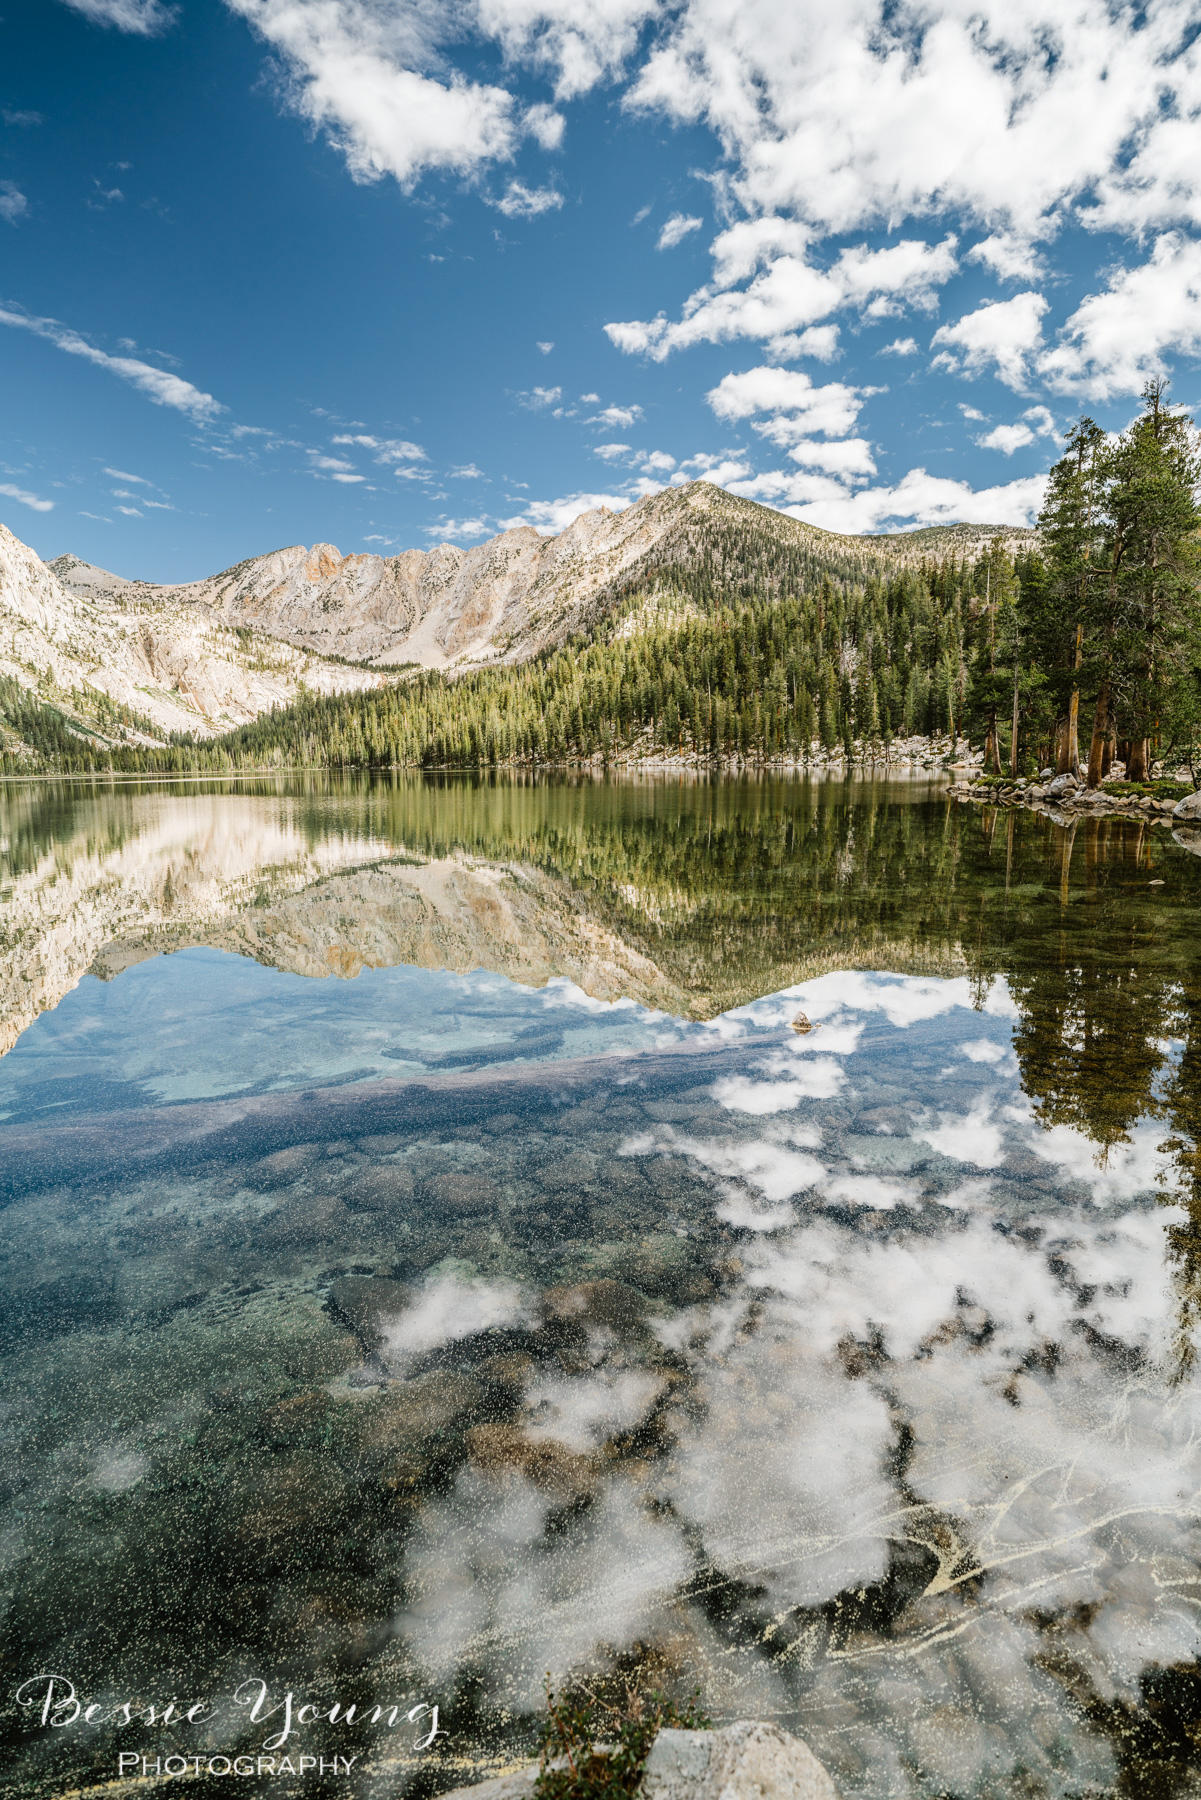
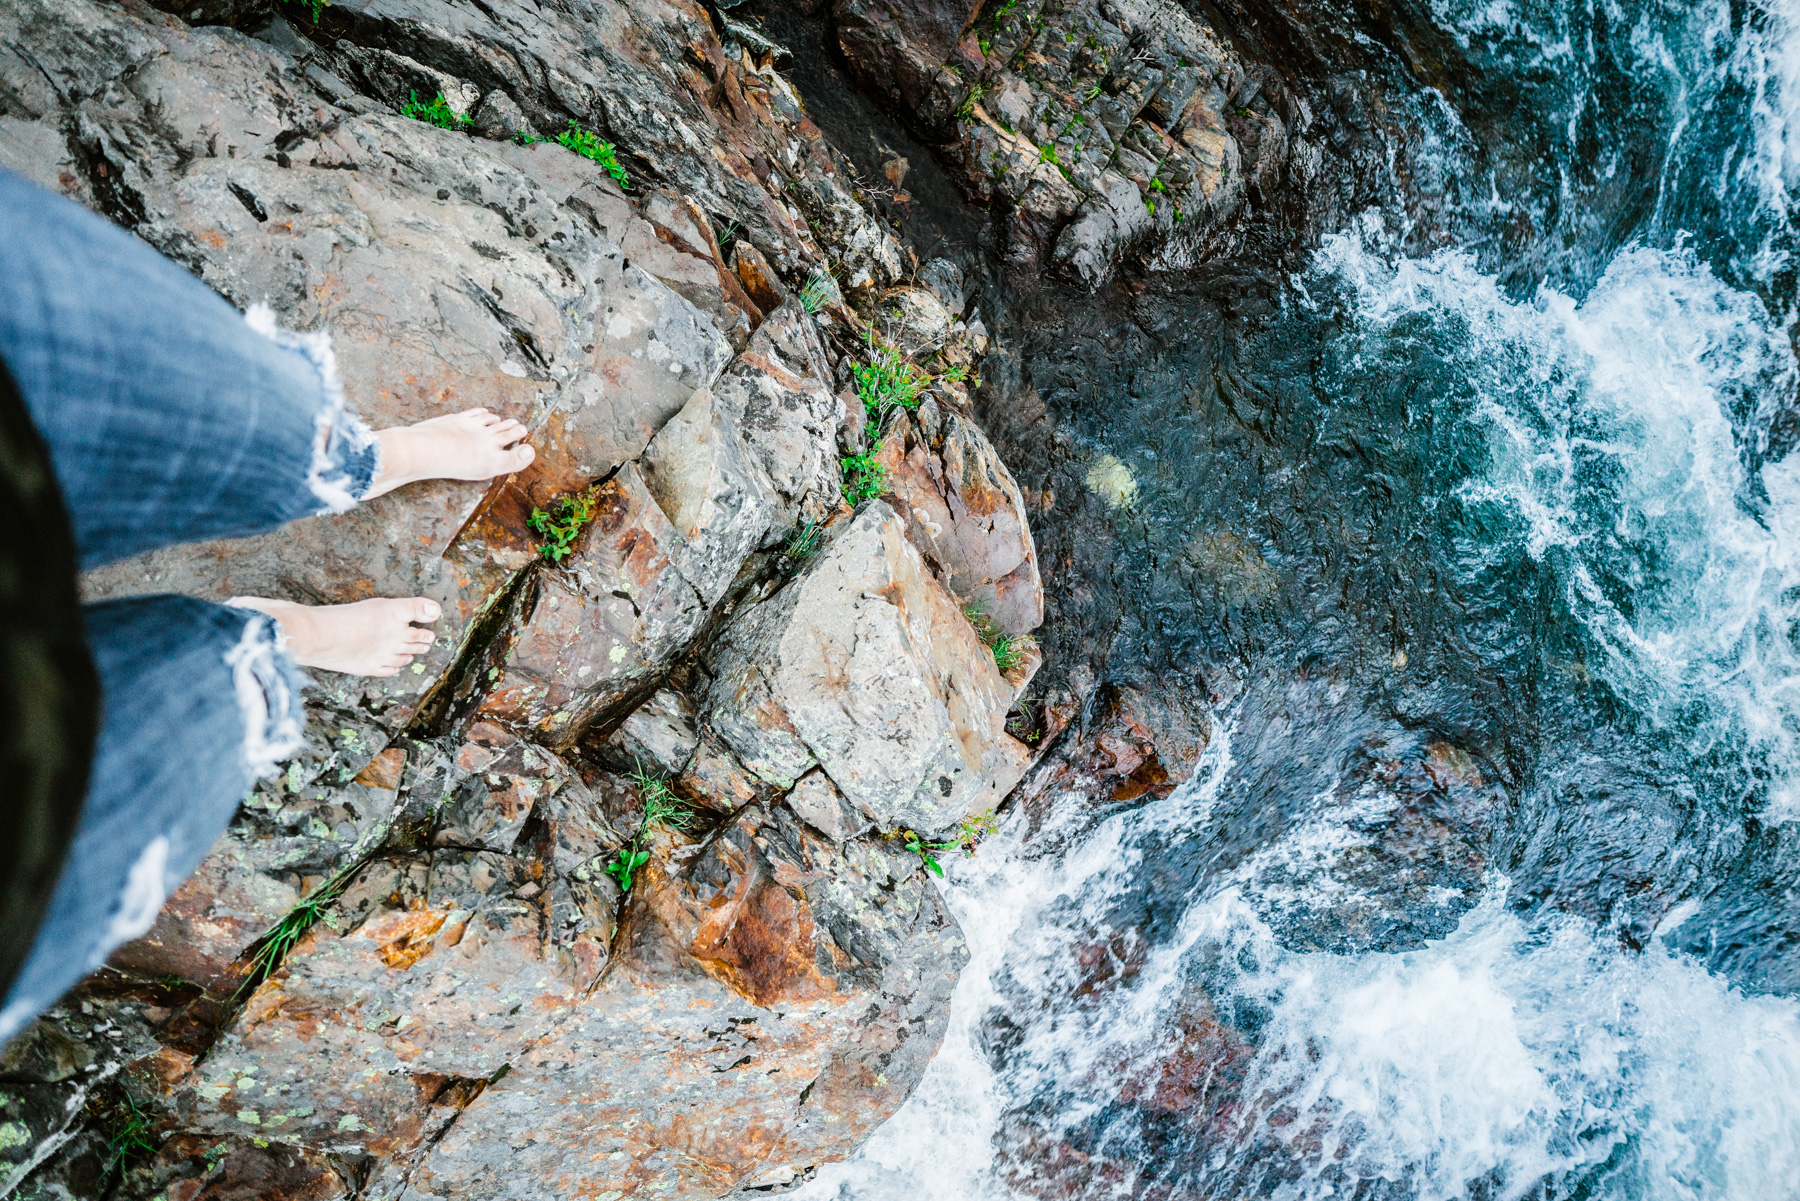
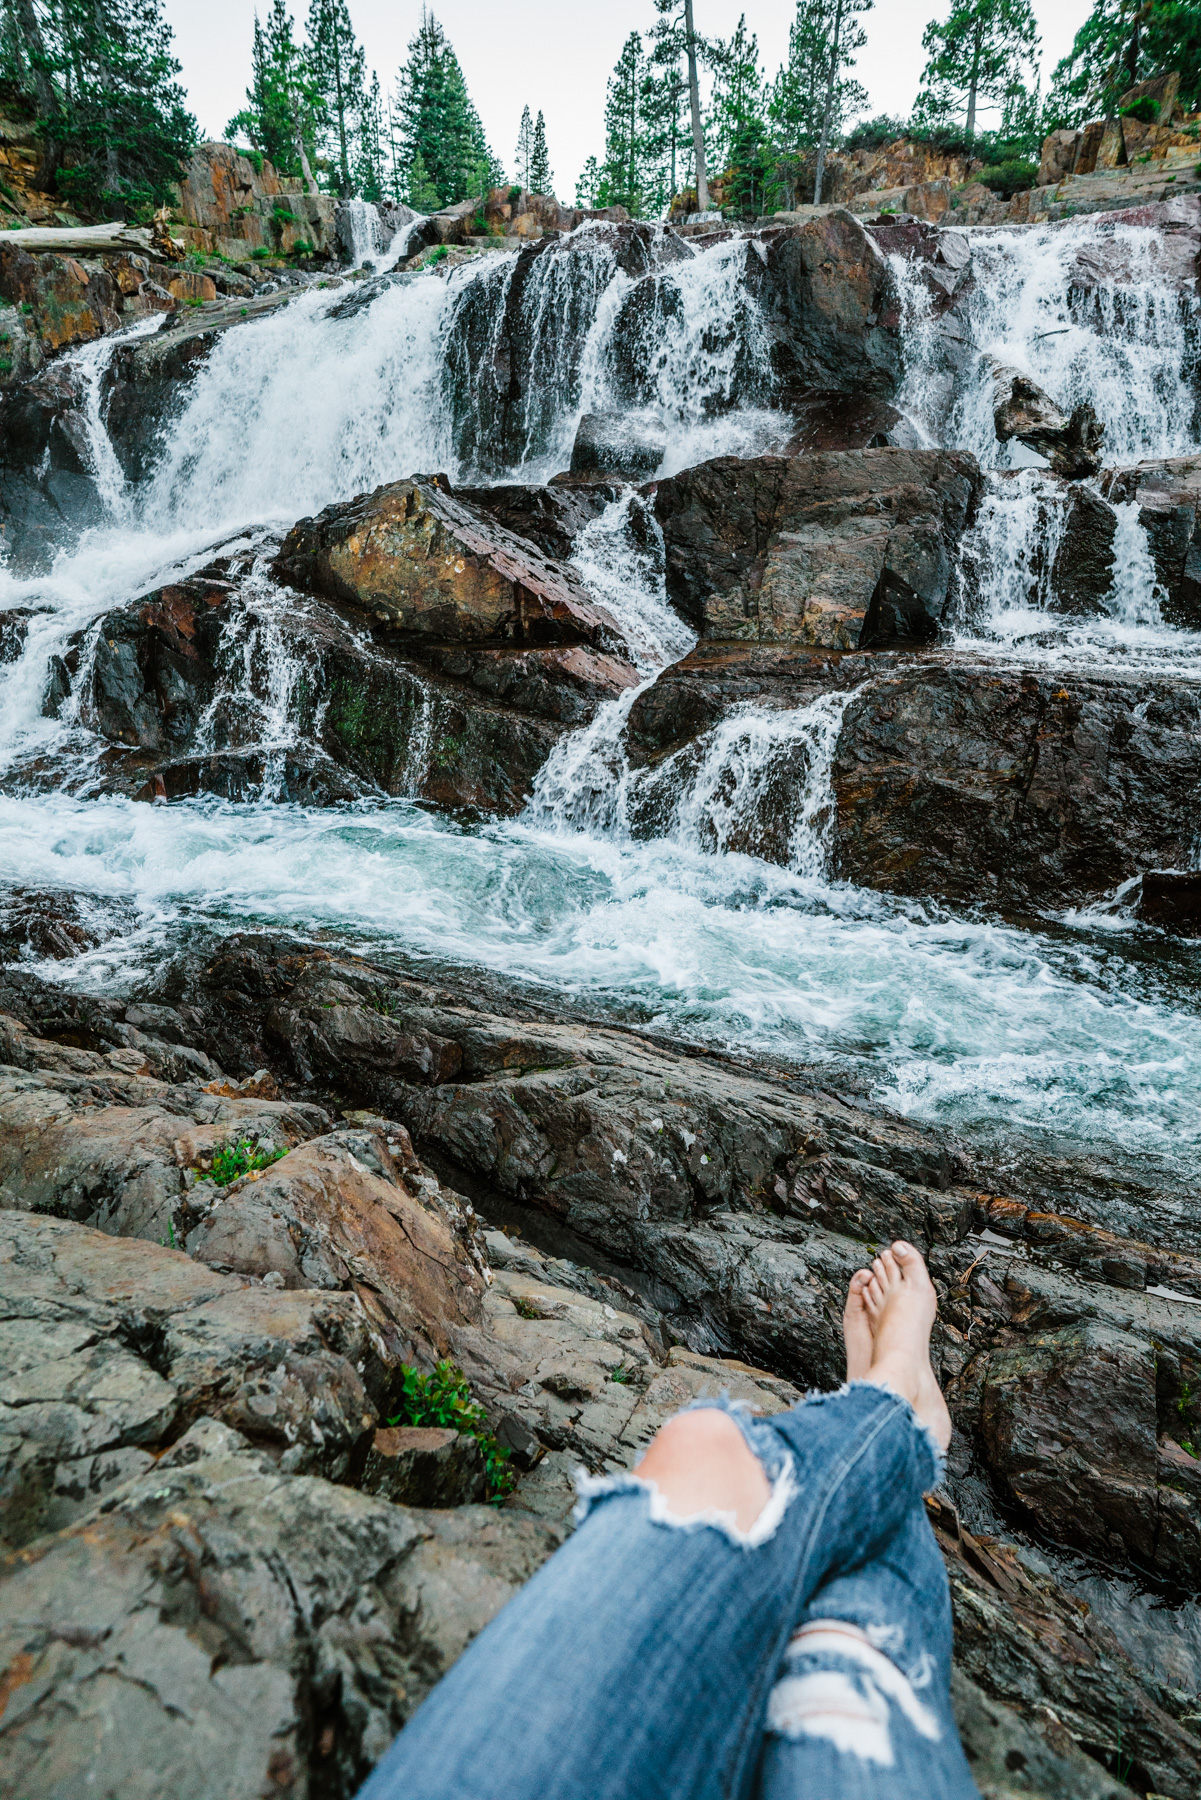
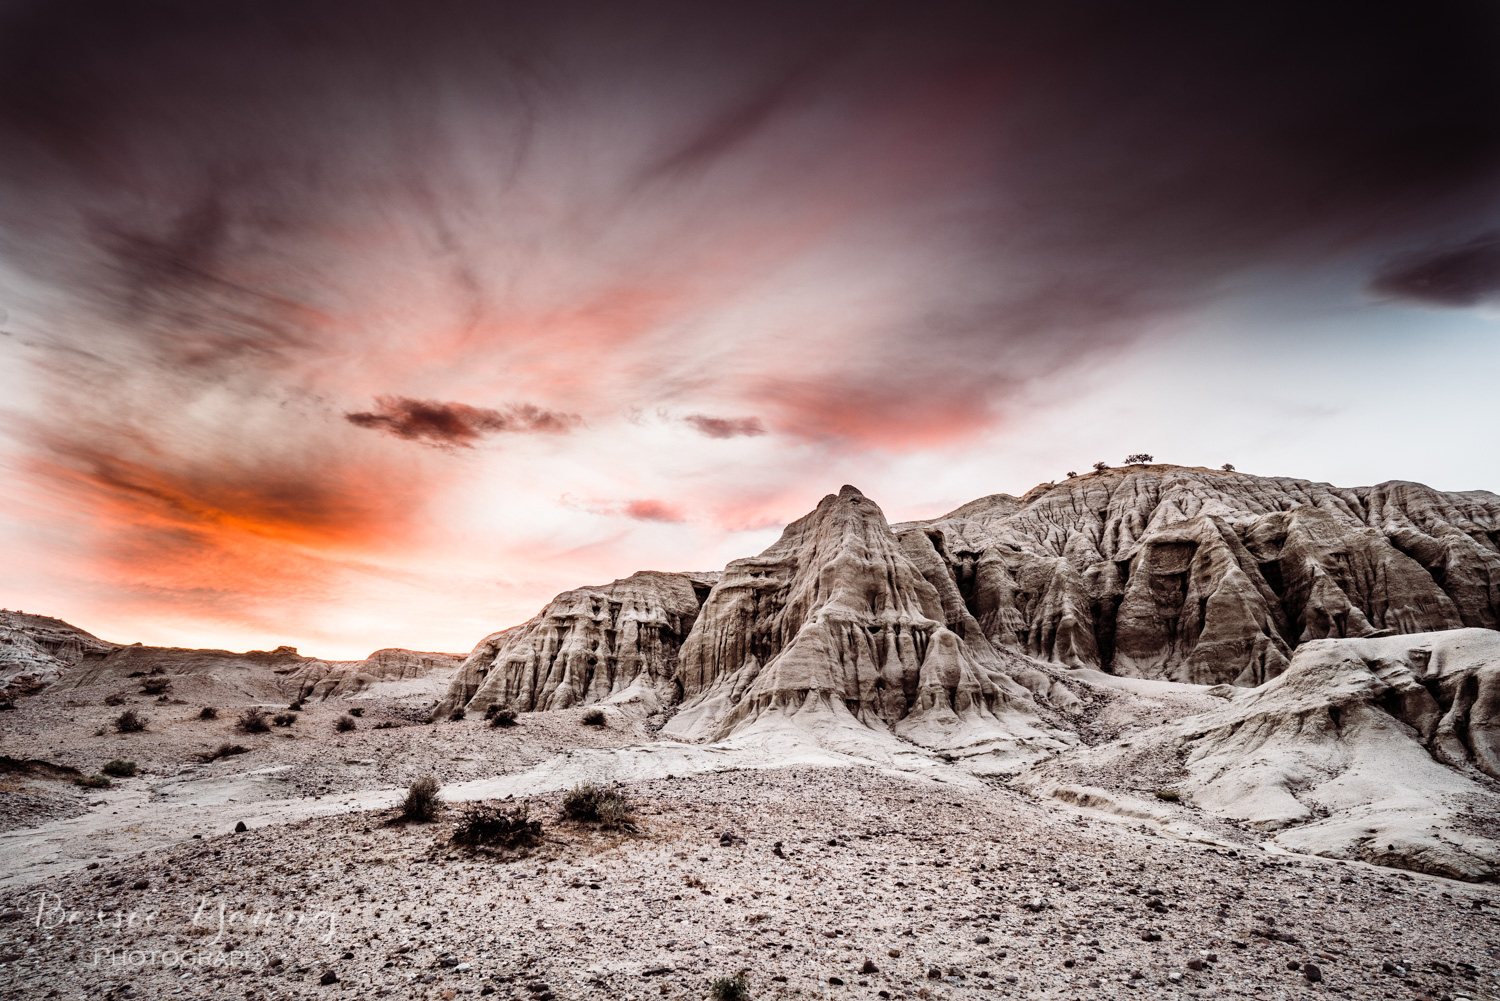
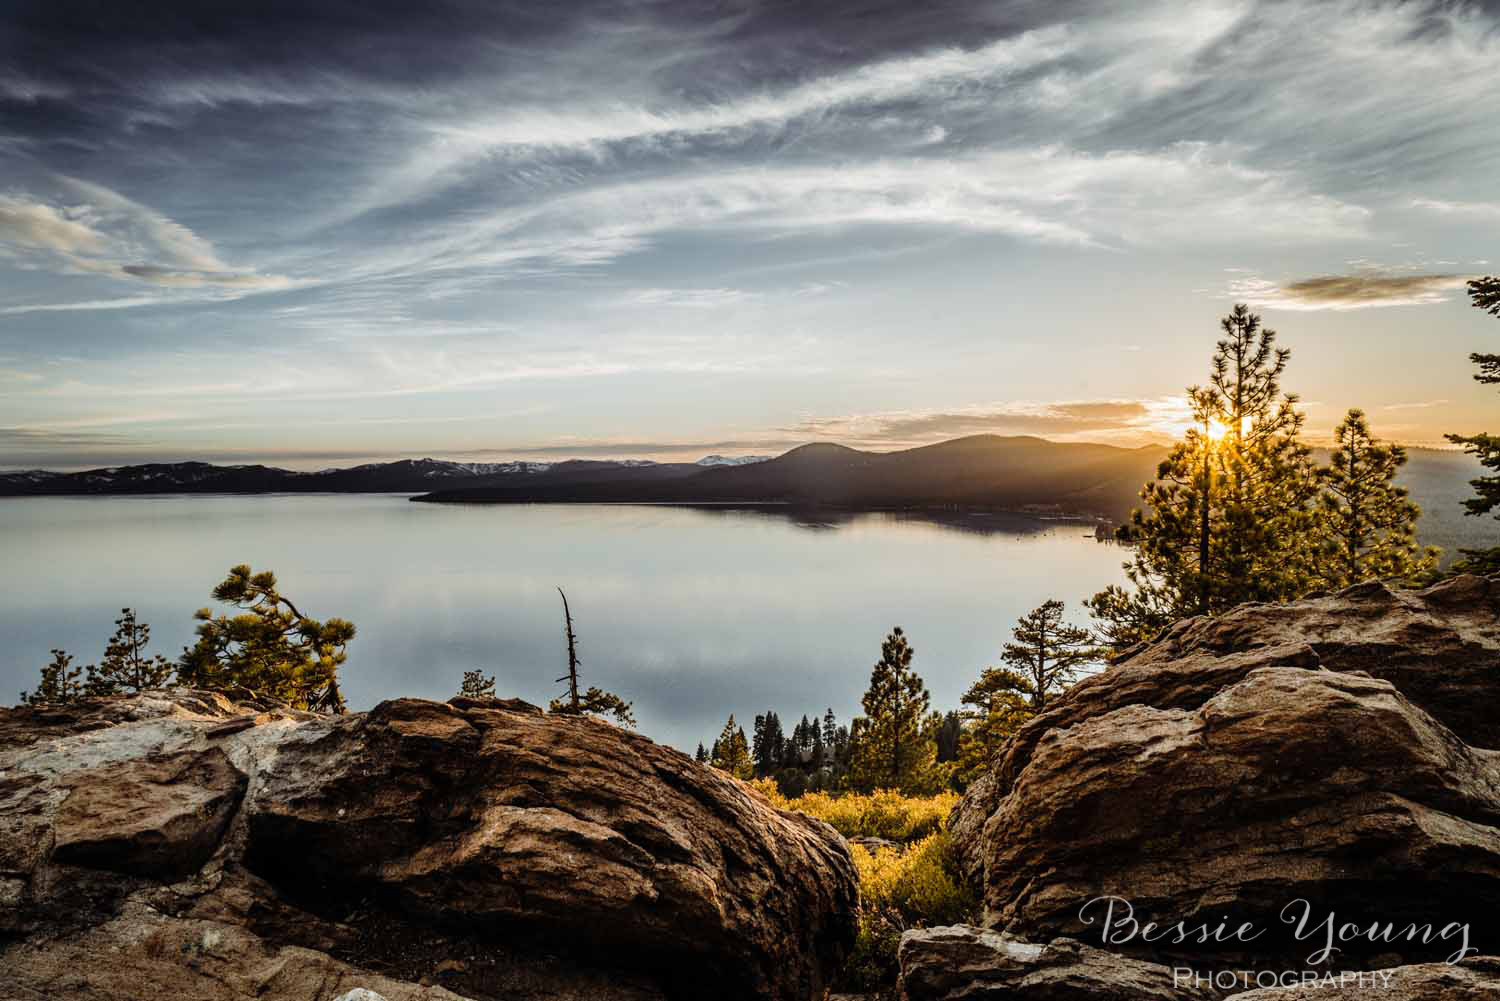
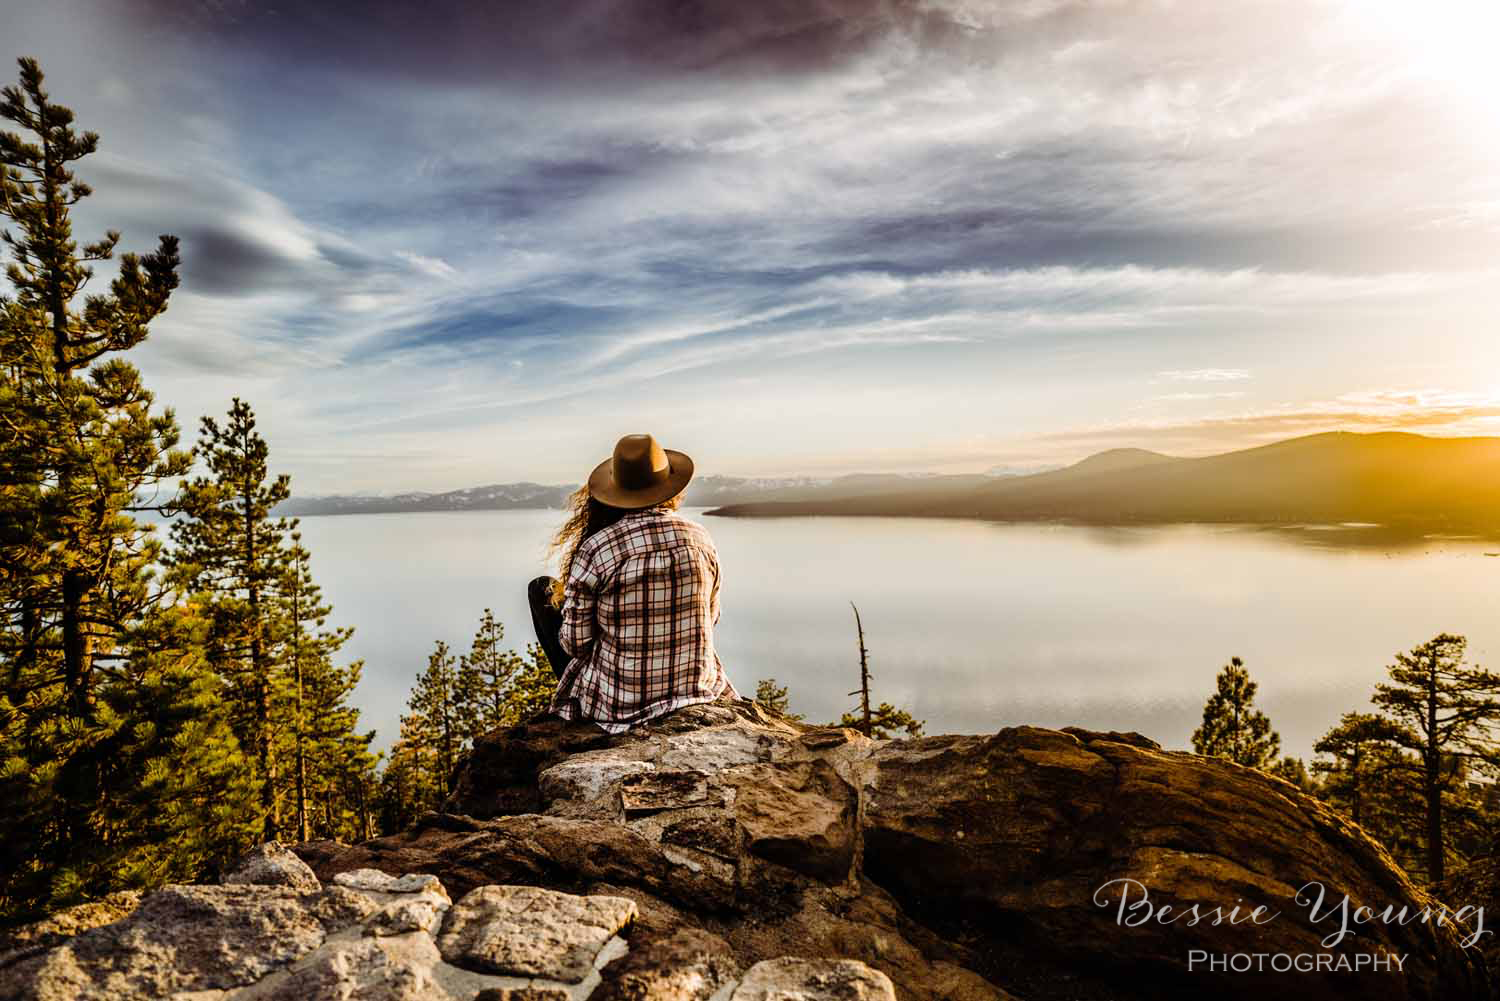
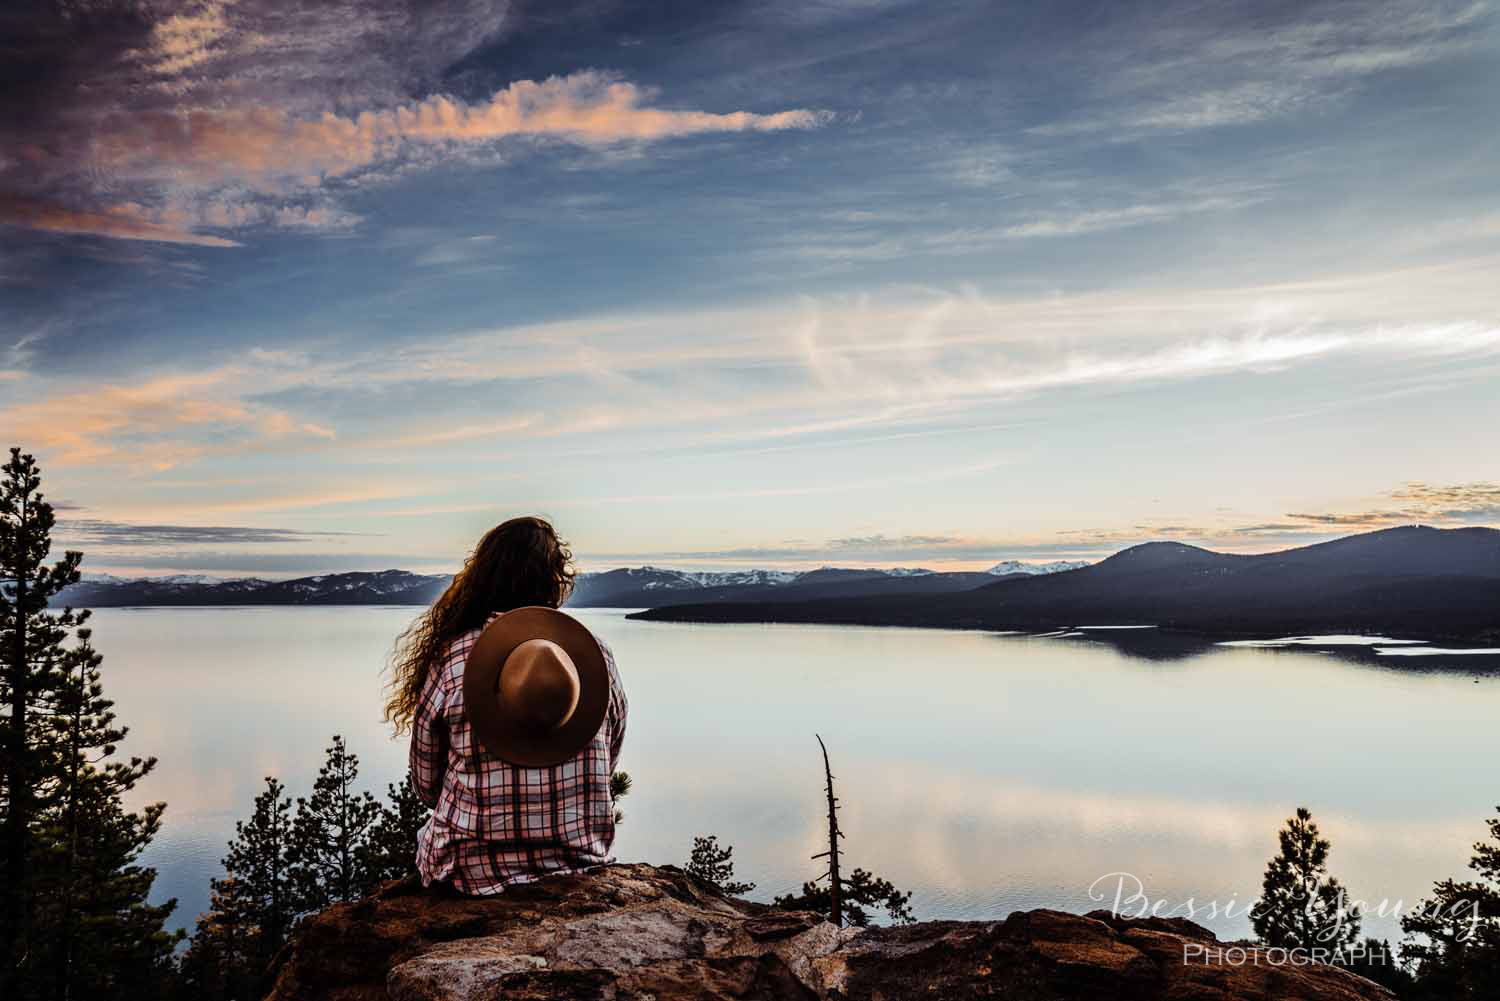
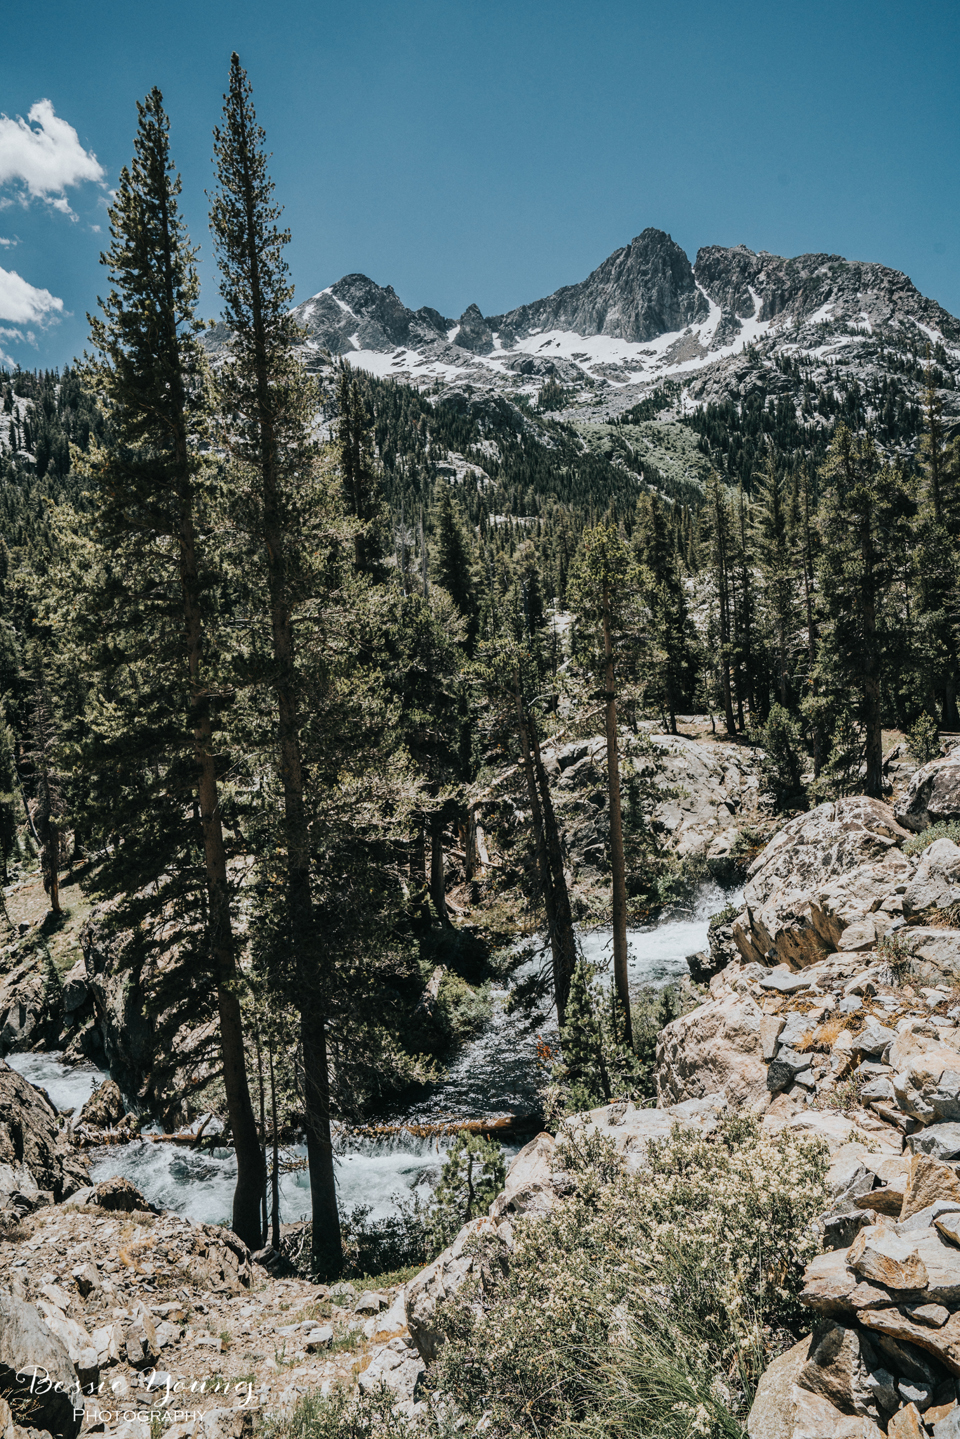
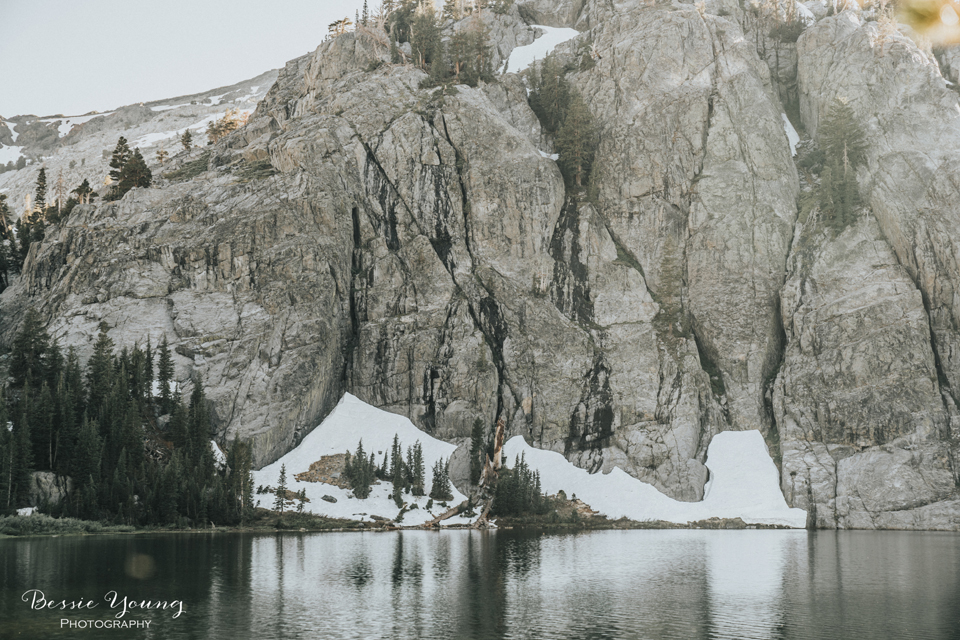
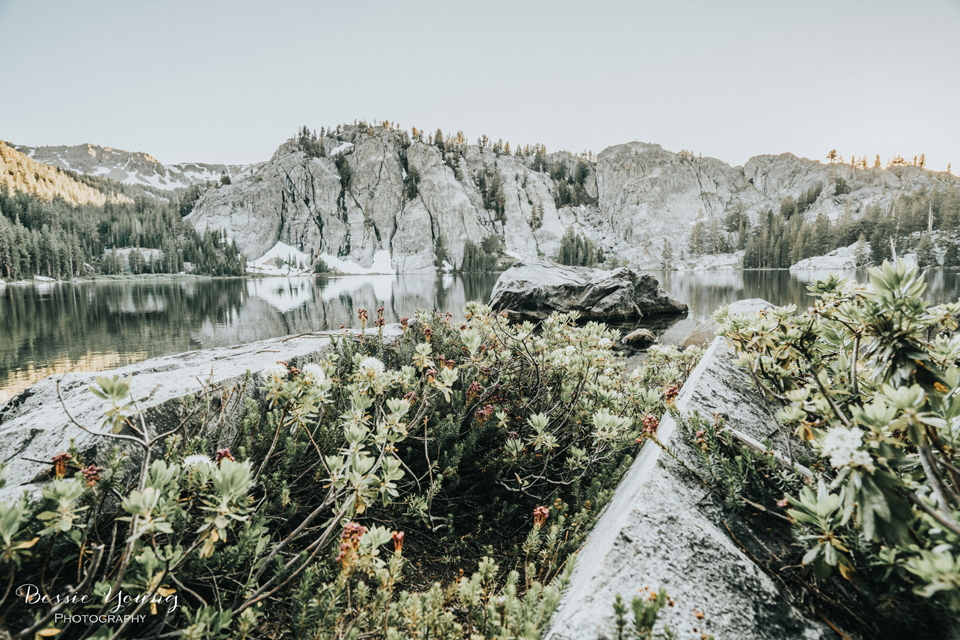
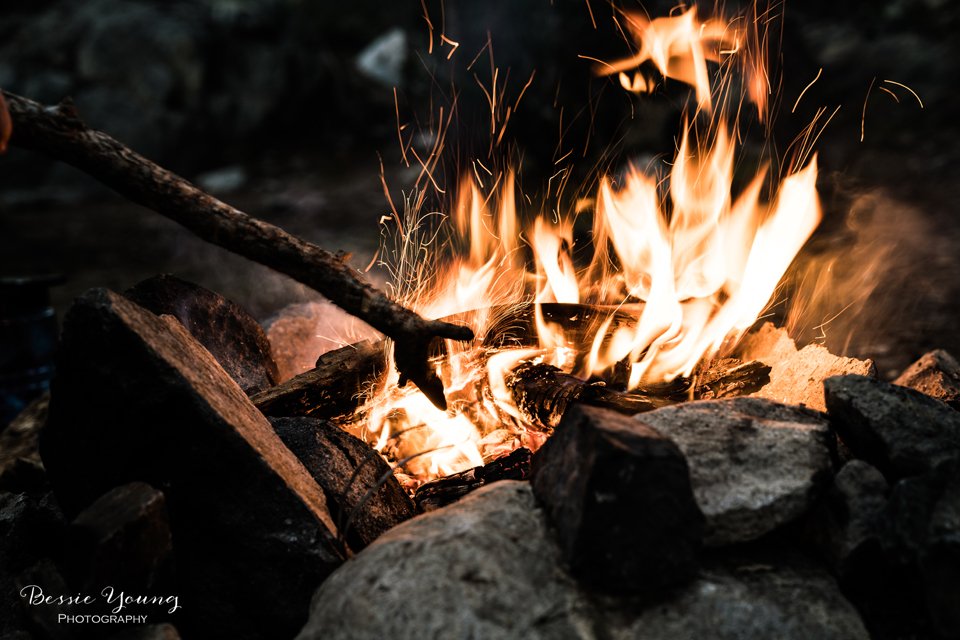
Alabama Hills California Photography - Sunrise Landscape Photography

All Images For Sale in the BYP Shop-

Click the image to purchase or click the buy me button below.

Wow, this last weekend was kinda a whirlwind of emotions.

Thursday morning I woke up to find my Instagram page had been deleted. Yep, my entire photography page was gone. I kinda freaked out a little and then started googling what happened and/or how to get it back. Well, everything that I read said that once your IG is deleted there is no getting it back. It is gone forever.

Ya, after reading post after post about not being able to get your instagram page back, I freaked out a little more.

This entire situation made me think that I really needed to create a blog post about it, so make sure to check out that blog post here.

With this all happening, everything looked so grim. It looked like I was going to have to start from scratch. It really got me thinking about why I started my business, do I still want to continue my business, was it all worth it, and so forth. I ultimately decided to take a little road trip, head out on a camping adventure to a place with no cell phone reception. A place where I could find my love for photography all over again. So that is what I did. Alabama Hills Recreation Area was the perfect place on the map…

The Adventure

Off I went on a 5 hour trip to the desert. Let me tell you, everything was getting in my way and making me think that I shouldn’t be going. I was also super worried about missing an email from IG to restore my account, but I was determined. I needed peace and quiet. I needed to be able to be in nature. I needed to be able to just breath. To get away from all the hustle and bustle of the world. To just be.

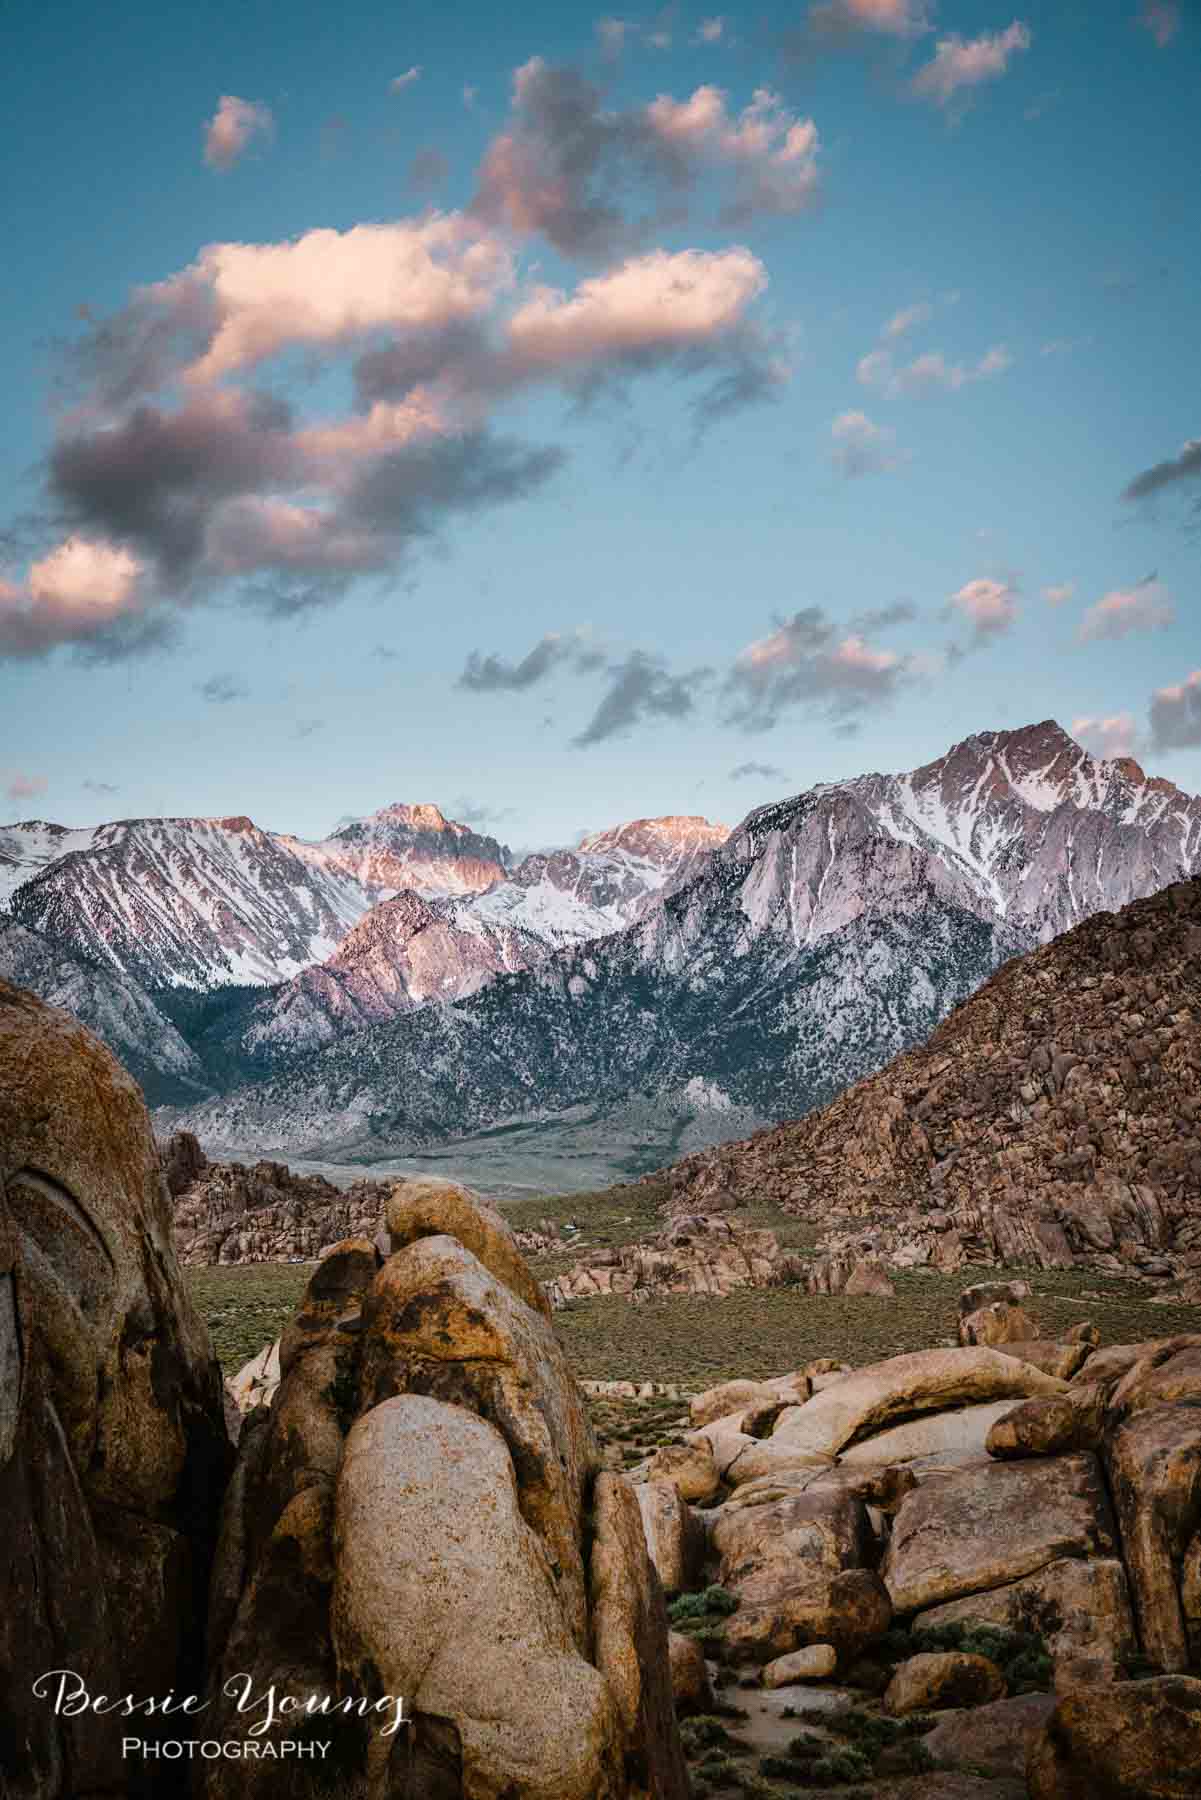
Alabama Hills California Photography - Sunrise Landscape Photography by Bessie Young Photography - alabama hills california camping

So, I continued to push forward and drive. There was traffic everywhere. I missed my exit to grab food. There was a massive accident in Bakersfield that was causing huge delays, but I continued my trip.

After I got outside of Bakersfield I knew it was going to be smooth sailing :)

Alabama Hills Recreation Area

The Alabama Hills are a formation of rounded rocks and eroded hills set between the jagged peaks of the Sierra Nevada and the geologically complex Inyo Mountains. Both geologic features were shaped by the same uplifting occurring 100 million years ago.

Visitors enjoy touring film sites, photography, rock climbing, exploring natural arches, and viewing the swaths of wildflowers that bloom every spring. Horseback riding and mountain biking are popular activities.

https://www.blm.gov/visit/alabama-hills

Alabama Hills is such an absolutely amazing place. It is just outside of Lone Pine, California. You can camp anywhere you want to as long as the signs permit.

The camping is free and is first come first serve. When I showed up the place was super busy. It was Friday evening and you could tell that everyone else had the same idea as I did.

I drove around for quite some time to find that perfect spot, and I finally found it! It was the perfect little spot to view the mountains to the East and to view Mount Whitney to the West.

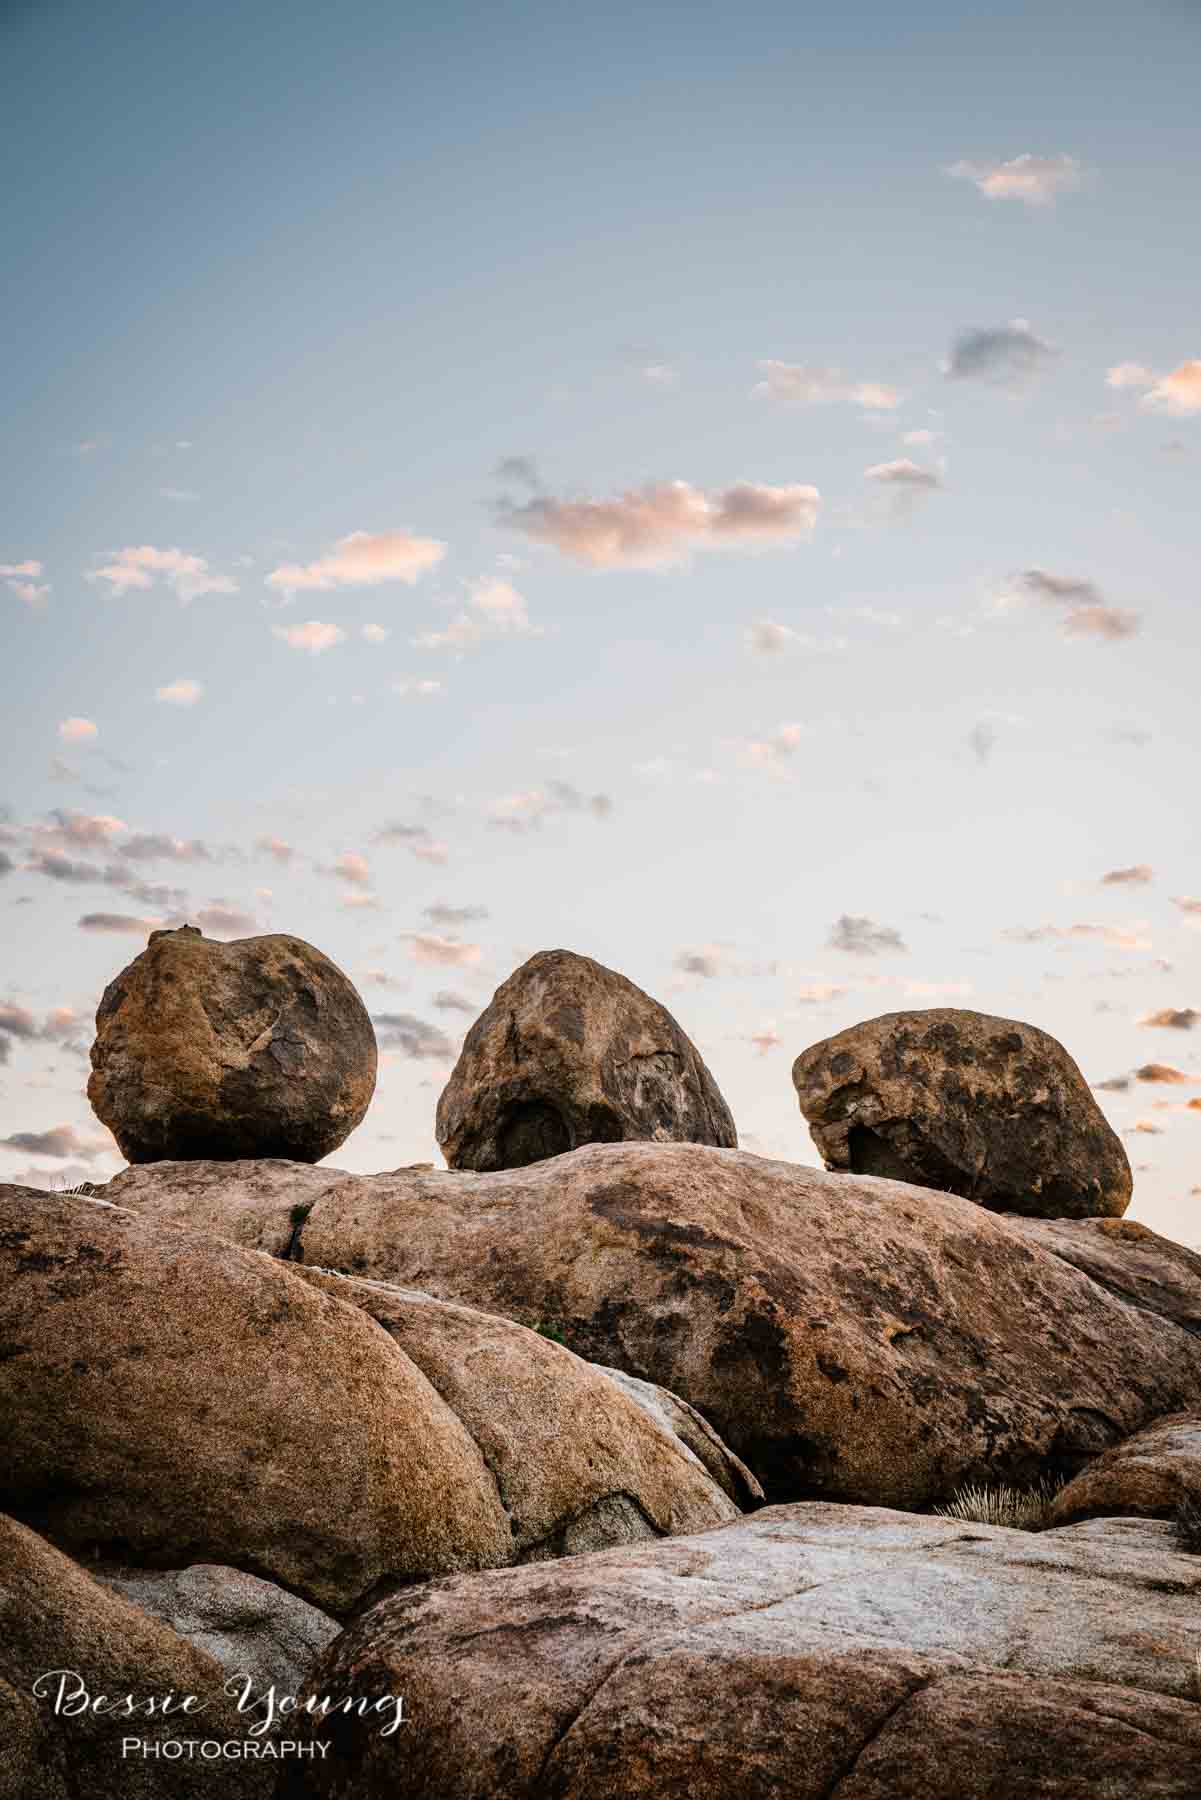
Alabama Hills California Photography - Sunrise Landscape Photography by Bessie Young Photography - alabama hills california camping

Alabama Hills Sunrise:

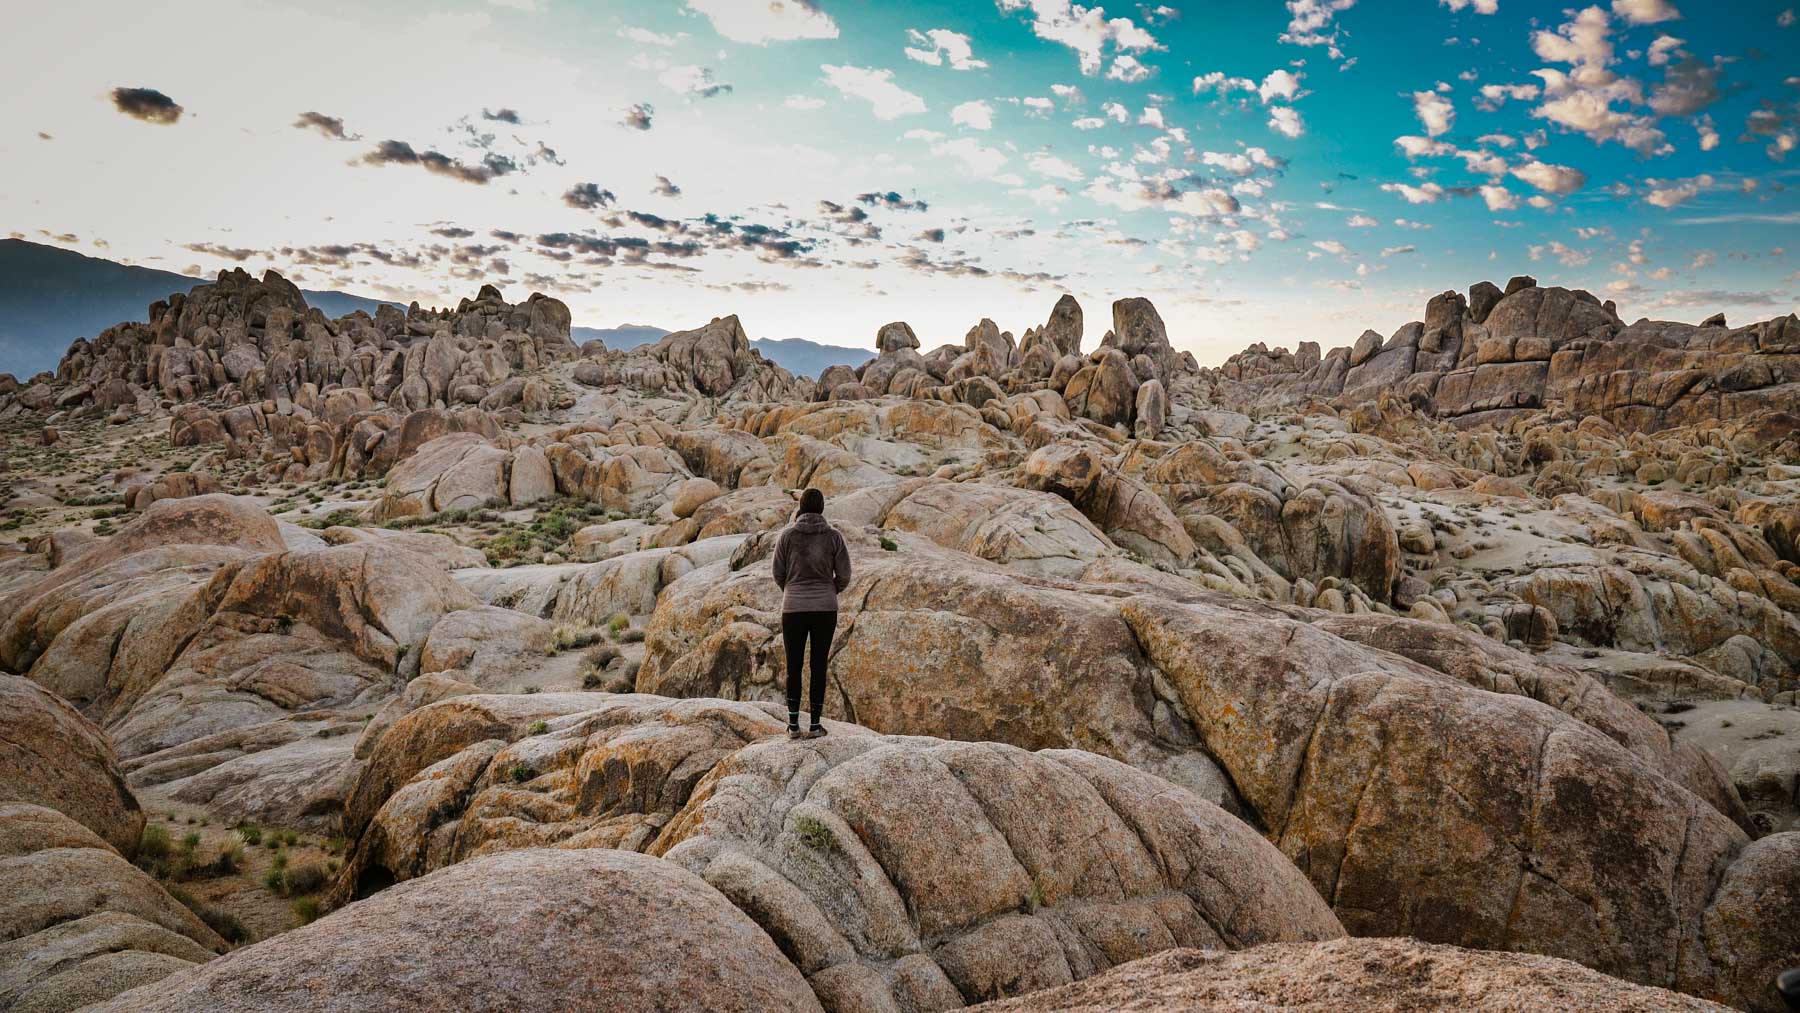
I woke up at the crack of dawn, literally lol. I was sleeping in the back of my truck and facing east. Yep, the light before the sunrise was crazy bright. It was about 5am, and I just knew I wasn’t able to go back to sleep. Plus, I had that little voice inside my head yelling at me, telling me

You better get your bootay out of bed or else you are going to miss the sunrise!

So, I dragged my lazy self out of bed, and started to witness a beautiful sunrise. I debated on creating a Youtube video for the trip. I wasn’t going to because I really wanted to focus on taking pictures, on falling in love with photography again, and realizing why the heck I do this in the first place, but I just couldn’t help myself. I HAD to create a video in order to share all the amazingness with you.

All Images For Sale in the BYP Shop-

Click the image to purchase

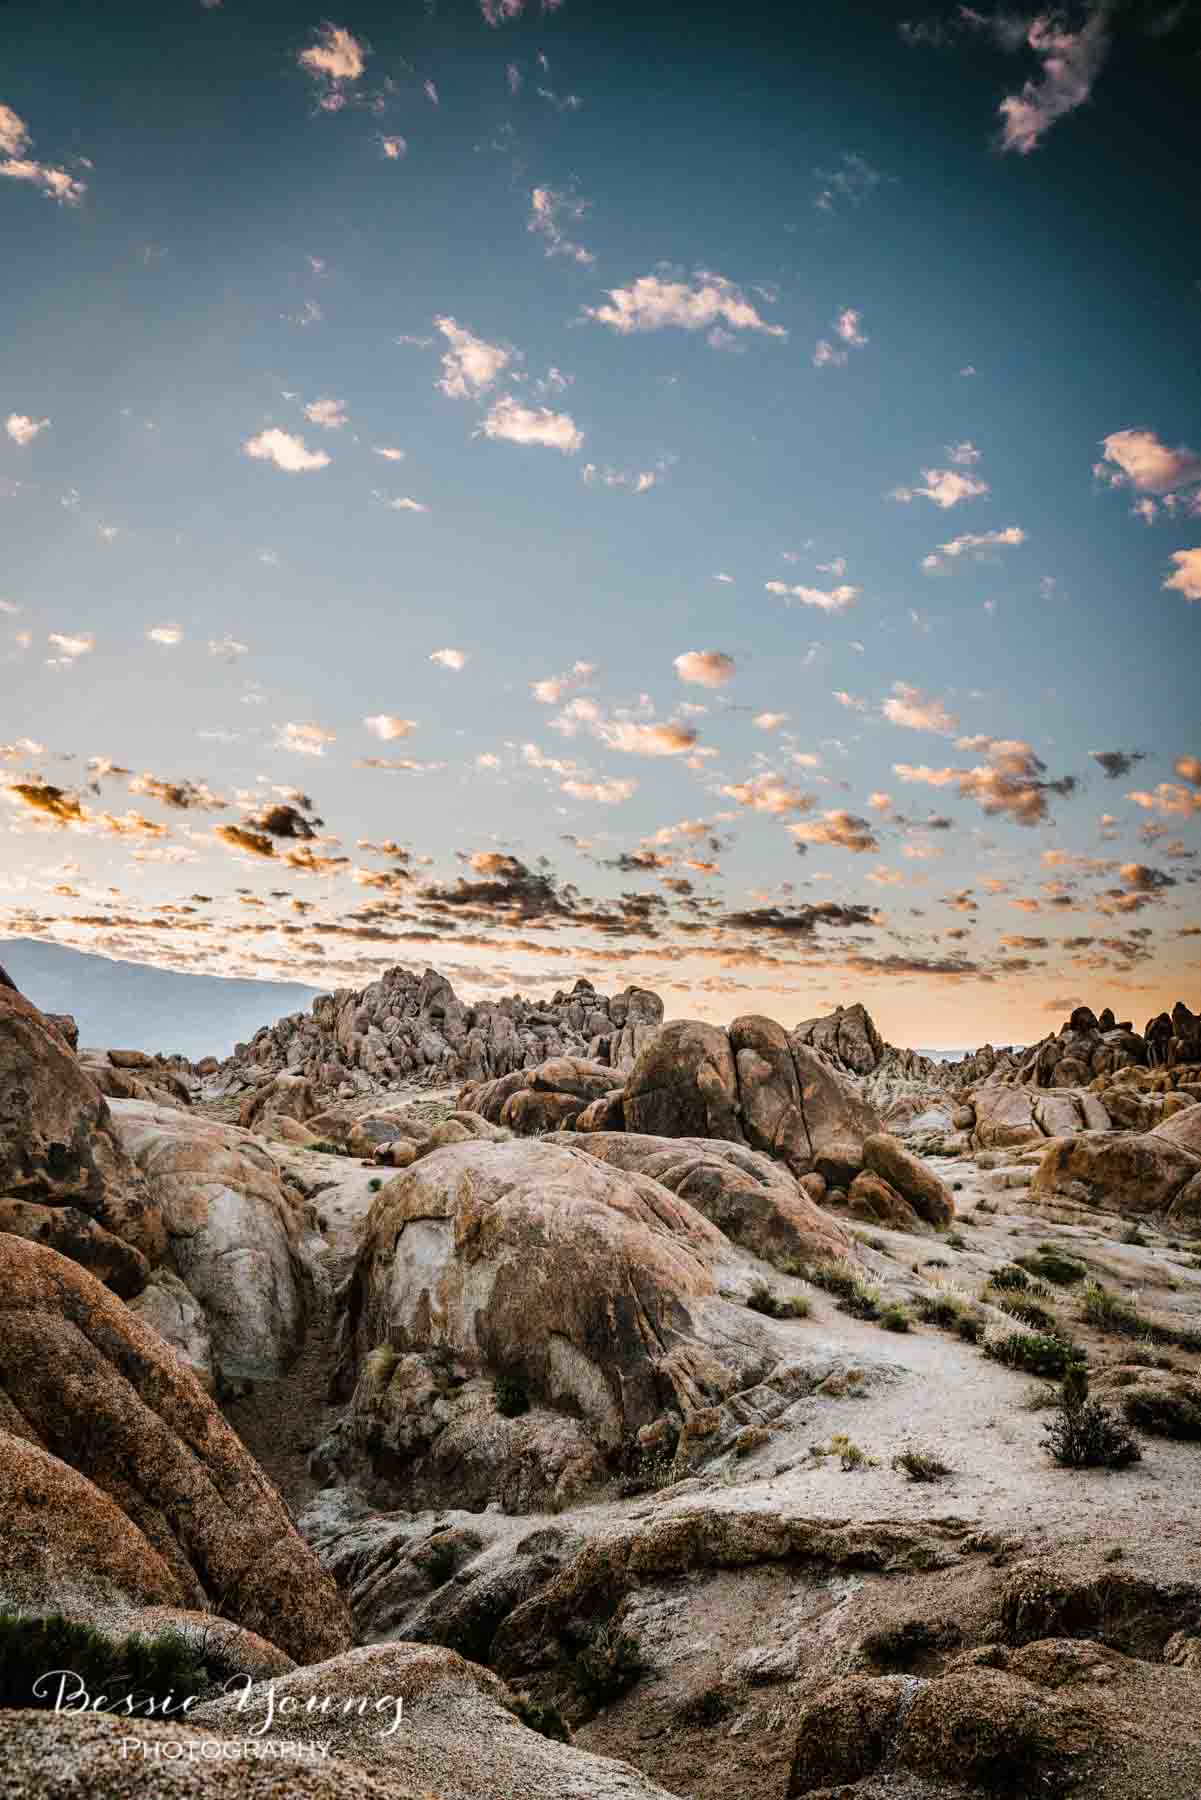
Alabama Hills California Photography - Sunrise Landscape Photography by Bessie Young Photography - alabama hills california camping

I went about this entire morning much different that I usually do. Normally, when creating a Youtube video, I would walk around and find one composition. This way I could talk through the composition, why I chose it, yadda yadda yadda. This time, I decided that I didn’t want to do that. I wanted to TAKE PICTURES! I wanted to walk around, see the beauty, and capture what I saw, so that is exactly what I did.

IT. WAS. AMAZING!

The one composition that I had to share

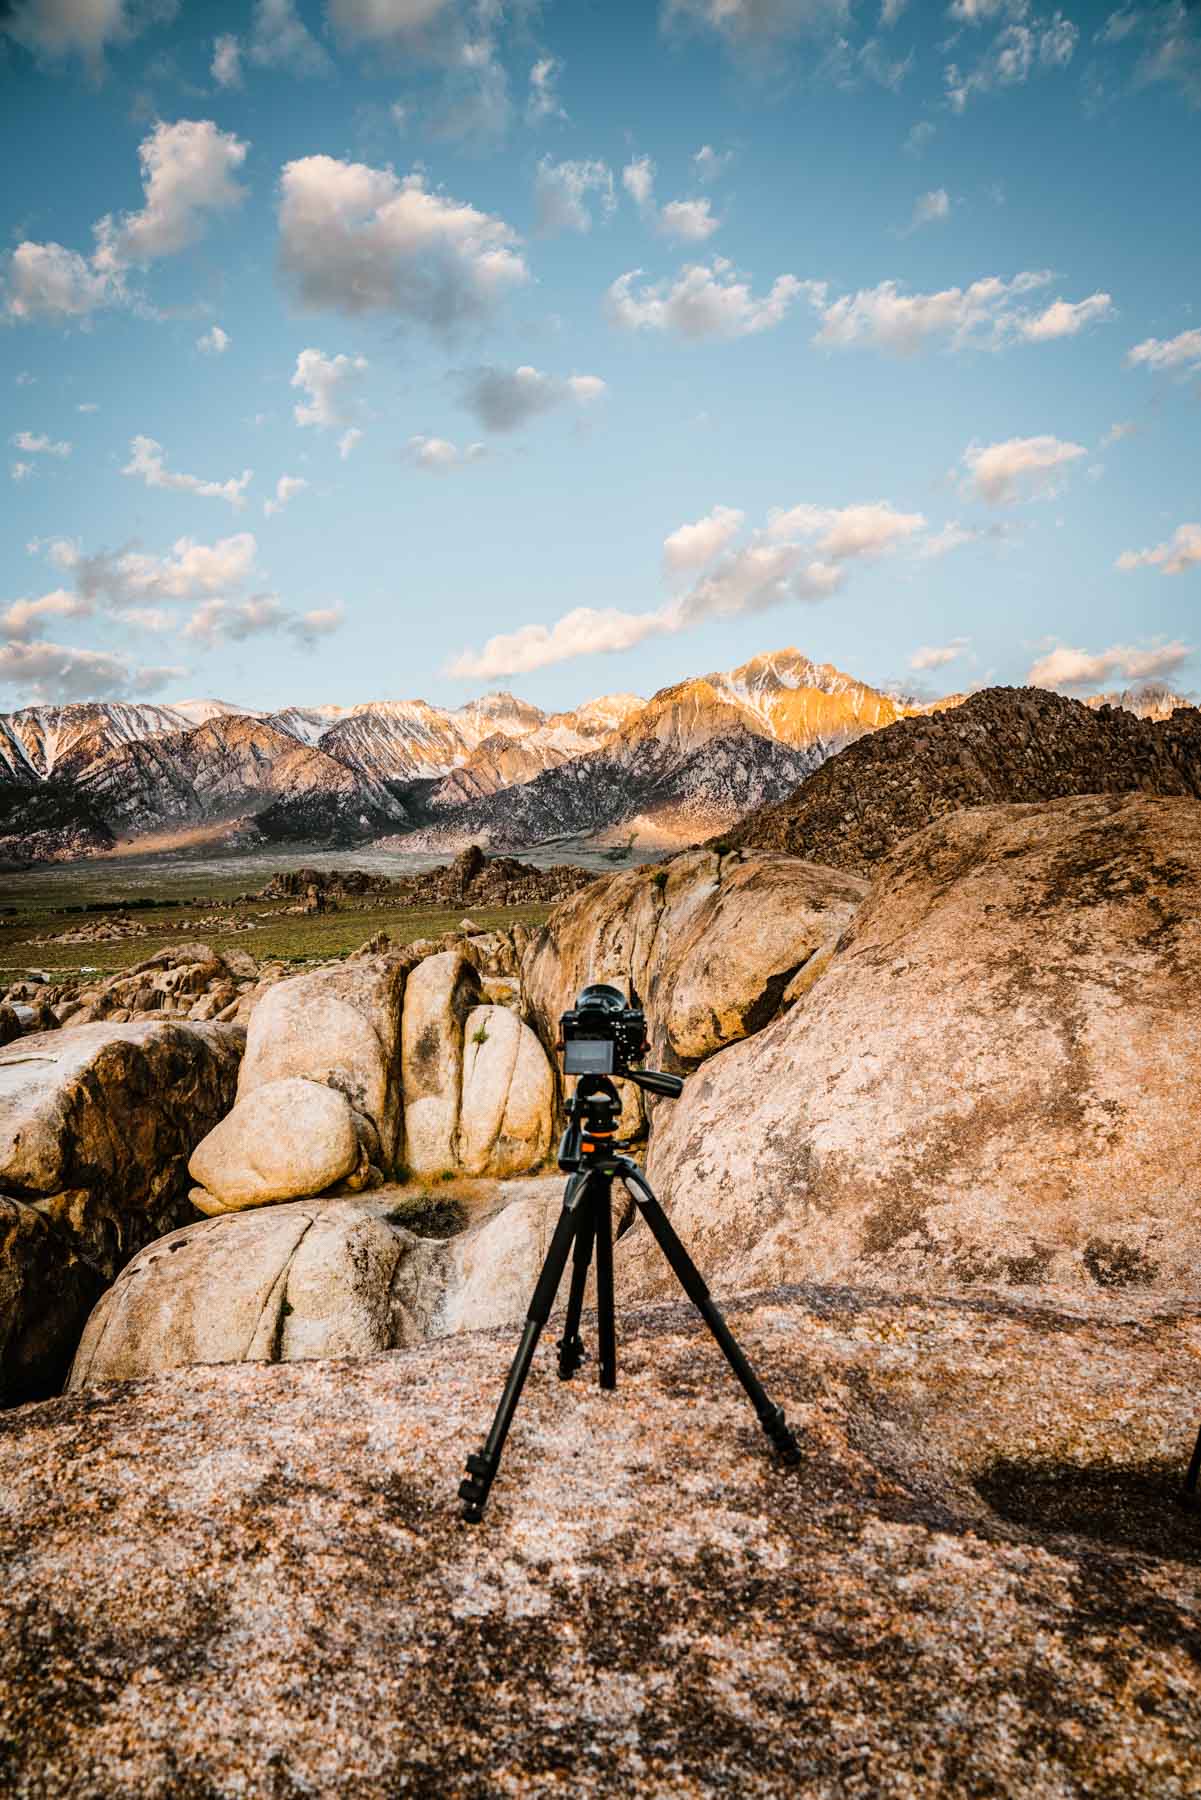
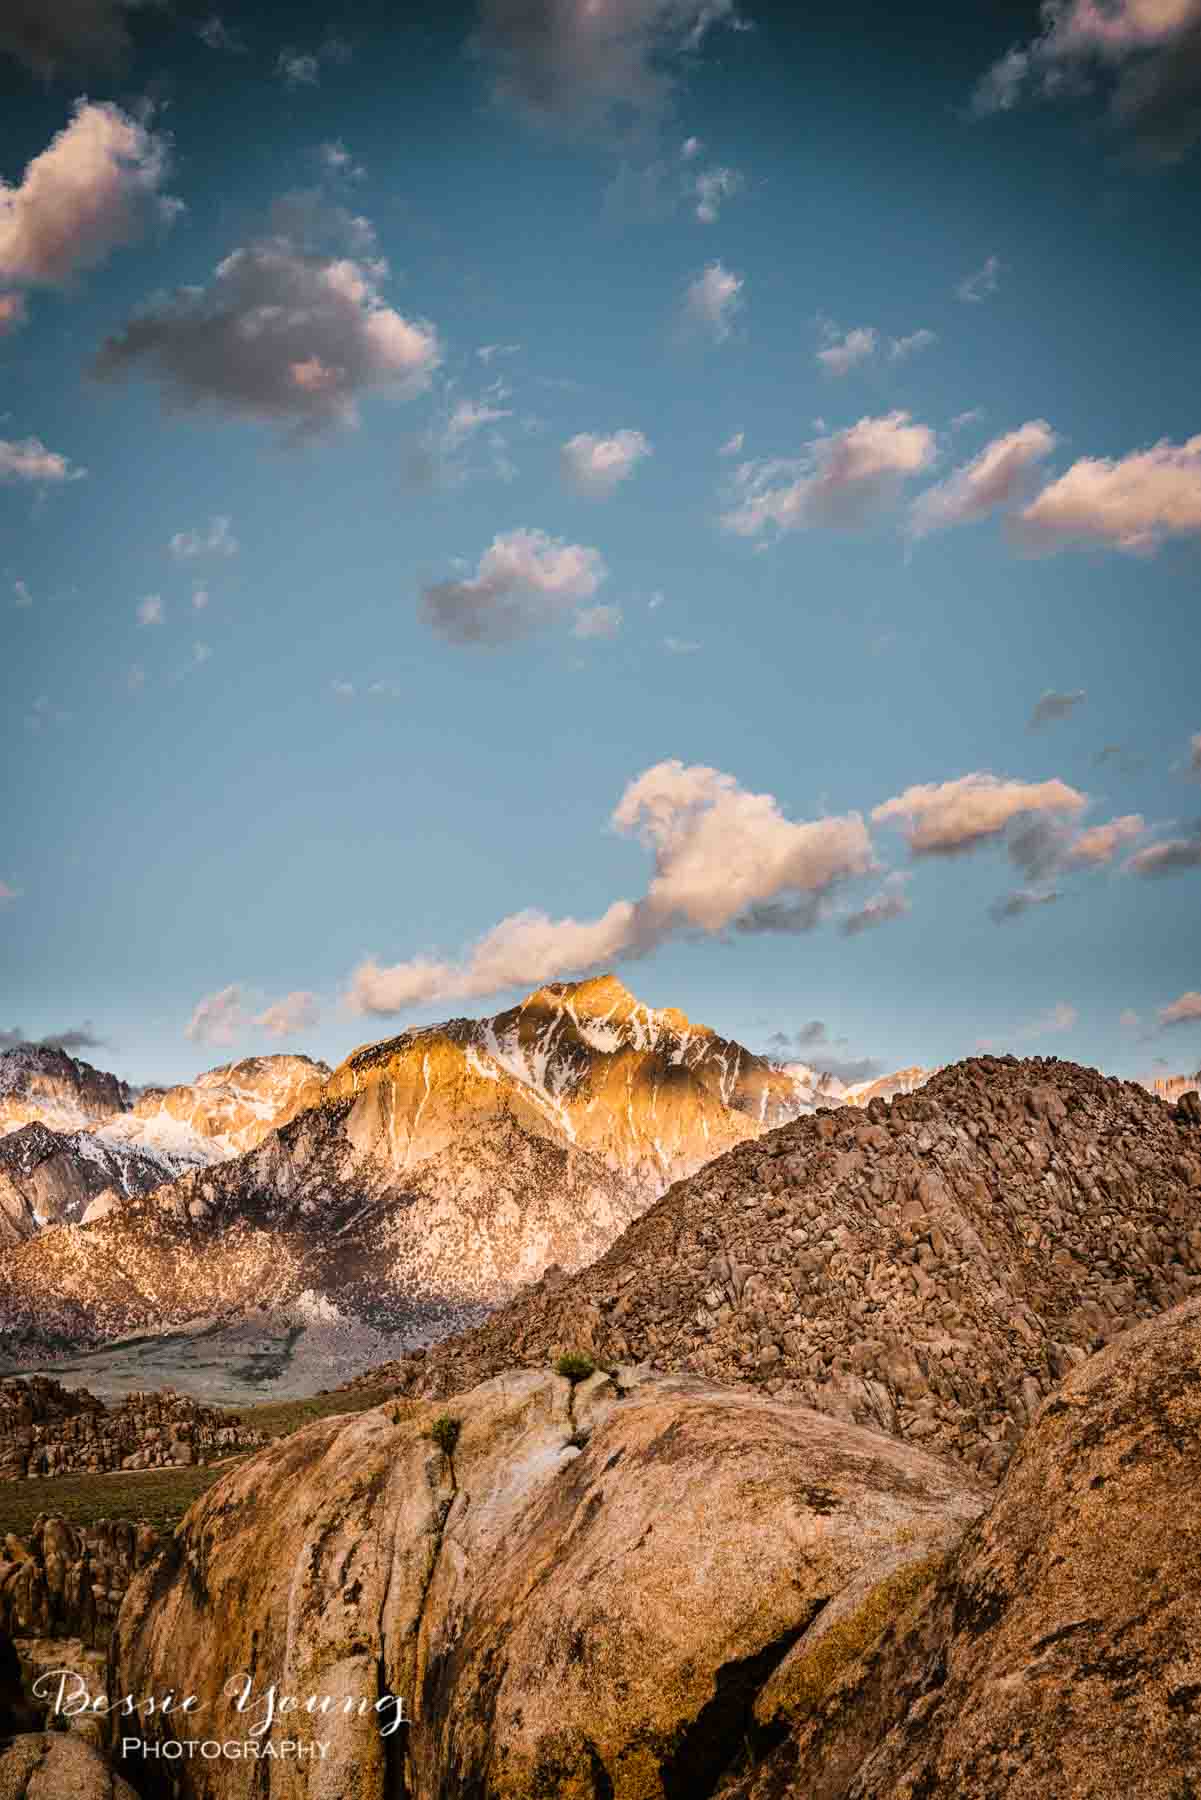
While I was walking around I found a crack in the rocks and thought it would be the perfect composition to talk through. I mean it was the absolute perfect example of a leading line. The crack in the rock lead you right to Mount Whitney.

It took me a few tries to actually get this one just right. I wanted Mount Whitney to be almost centered (which breaks alot of rules, but I think it works perfect for this image.). I wanted the rocks to lead straight to Mount Whitney and I wanted to be able to emphasis the fact that these rocks are massive. I did this be putting my camera between the rocks so that they took up the majority of the foreground.

So what was my setup?

Camera: Sony A7riii

Lens: Sony 24-70mm G master F2.8

and of course a handy dandy tripod.

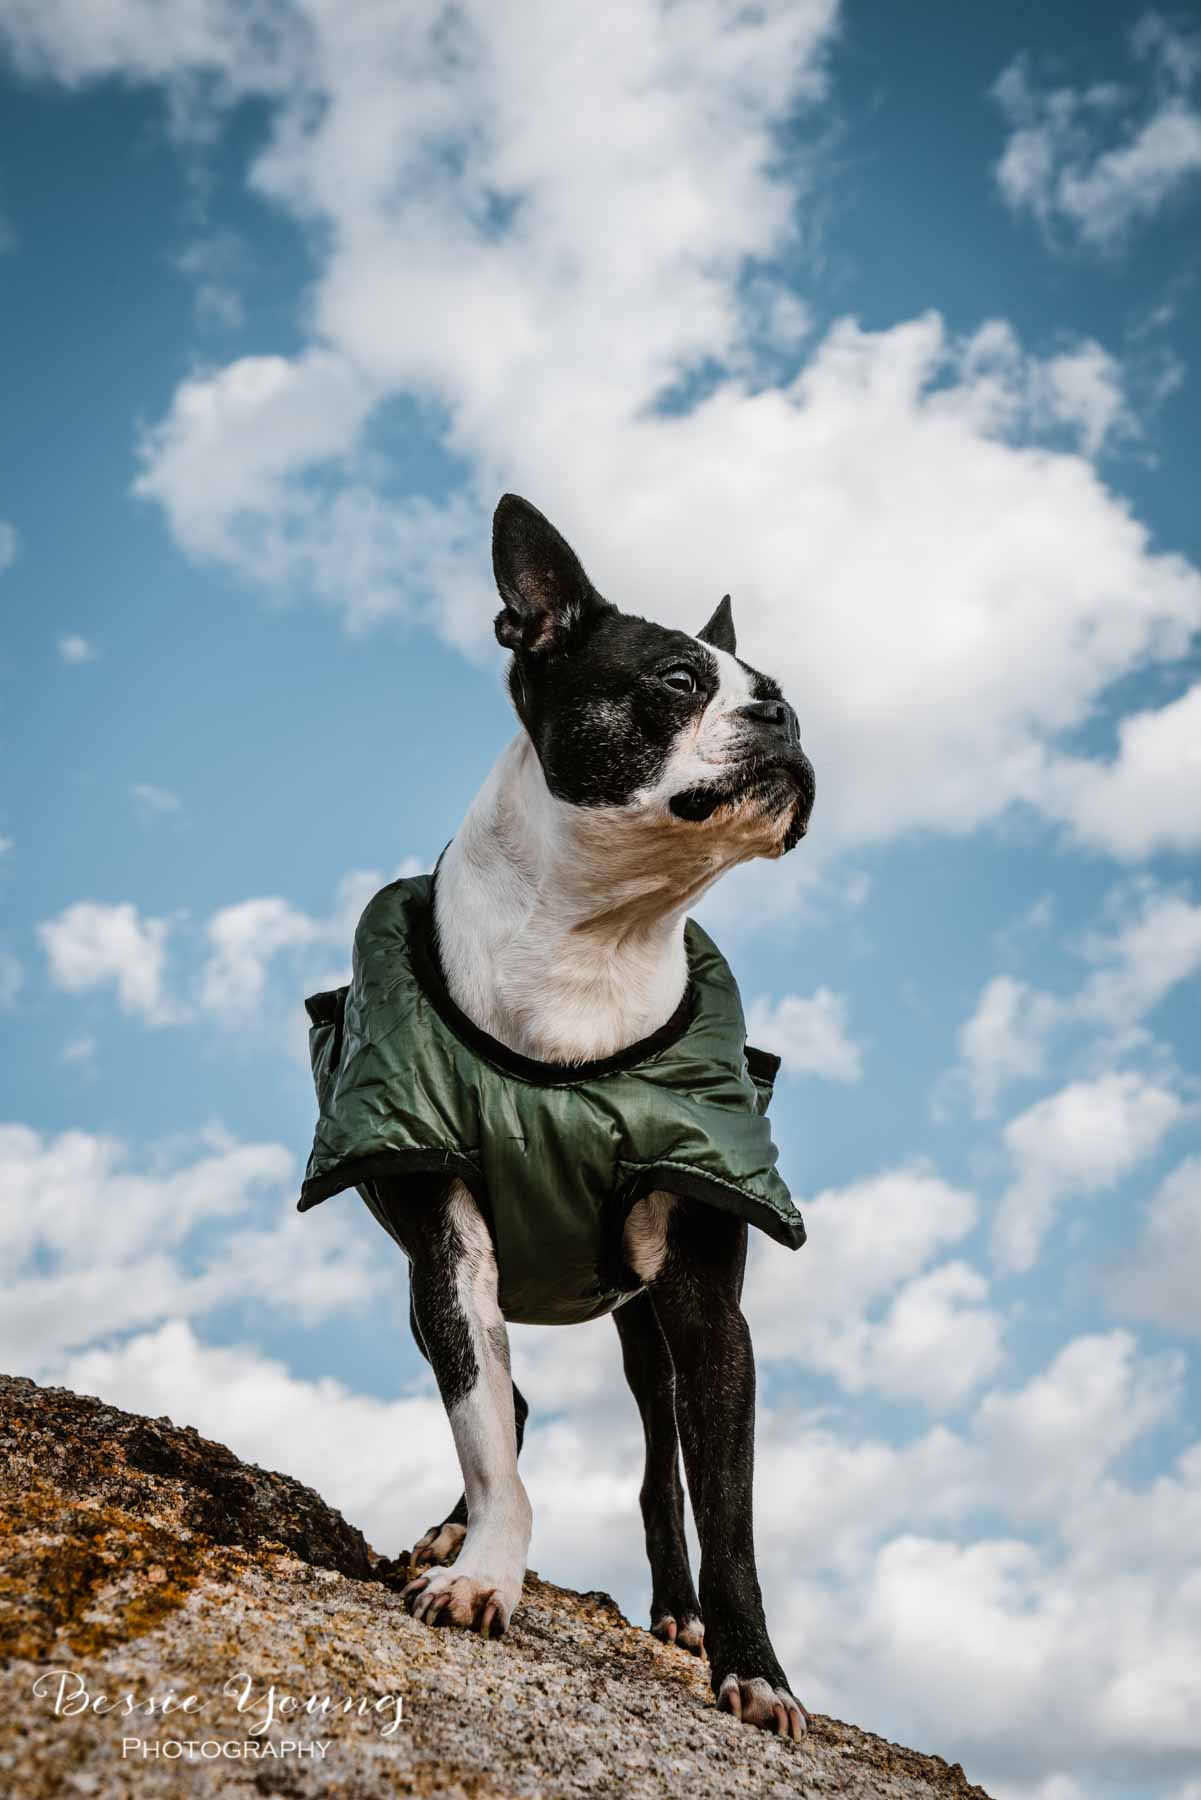
I continued to walk around capturing fun images of Yota, taking a timelaps with my Sony A7rii and just enjoying the view. It was gorgeous and I couldn’t have asked for a better morning. Let me tell you, it was exactly what I needed.

The sun finally peaked over the mountain tops and it was time to head back to camp for coffee and breakfast. Yes, I did all of this before coffee. Like who the heck am I ?

I ended up spending another night here at Alabama Hills. It is exactly what I needed. I seriously couldn’t have asked for a better trip. I felt inspired and rejuvenated. It helped me relax and it reminded me why I started this business:

  • to capture Gods beauty with my camera the best way I can

  • to share the world the way I see it, through my lens

  • to help you learn photography

  • to show you that it is possible to do what you love

  • to inspire you

Have you ever been to Alabama Hills? Did you even know about it before you saw this post? Comment below and let me know.

Do you have any questions for me? Ask your question in the comments below and I will get back to you.

Wishing you the very best!

Bessie


P.s. Love this post? Check out these similar ones:

How To Take Flower Photos - Joshua Tree National Park Wildflowers

Images For Sale in the BYP Shop-

Click the image to purchase or click the buy me button below.

About 2 weeks ago I came down with a cold and it was something fierce. It sucked. It lasted an entire week! I woke up on Wednesday and I felt like I had been hit by a truck! I thought that it was going to be just a day thing, but man did it last longer.

The ultimate bummer part is that I had plans to go to Death Valley that weekend! I was super hopeful that I was going to get better; however, it just didn’t happen. So… my Death Valley trip got cancelled. It sucked!

Then, after about a week of this not feeling good and having a temperature over 100, I started to feel slightly better, but really not 100%. So another weekend went by of me just being lazy, laying on my couch, and trying to get better.

Finally, after 2 weeks, I was feeling quite a bit better. I started to get the itch. All I could think about was Death Valley and the wildflowers. After deciding I was going to make a trip no matter what, I started to do my research for Death Valley (checking weather and road conditions). To my surprise it was supposed to be in the upper 90’s! Yep, I really wasn’t ready for camping with a low of 65 and a high of 98.

With all that being said, I thought I was going to miss out. I figured it just wasn’t in my cards this year, but then I remembered Joshua tree! I have never been to Joshua Tree and I knew it was supposed to have quite a bit of wildflowers. I checked the weather… High of 75…. Yep Joshua Tree it is!

How To Take Flower Photos Joshua Tree National Park Wildflowers by Bessie Young Photography

The Adventure

Joshua Tree National Park is about 5.5 hours from my place. I left around 11am thinking that this would give me enough time to get to the park, roam around for a minute, and then get a sunset shot… Boy was I wrong lol.

I headed down the freeway and everything was going smoothly until I hit the dreaded LA traffic. I got to San Bernidino and the traffic was terrible. It basically cost me 1.5 hours. So my 5.5 hour trip turned into more of a 7 hour trip which put me in a bit of a time crunch.

Joshua Tree National Park Wildflowers

There are two entrances to Joshua Tree, the North and South. I chose to stay in Indio along Hwy 10 in order to start at the South entrance. Then, my plan was to stay in Yucca Valley for the second night which is near the North side entrance.

When I finally reached Indio, I checked into my hotel, and then I was off to the South side entrance of Joshua Tree National Park.

When I arrived, I had about a half hour until sunset so, I ended up barely making it into the park, pulled over at the first trail I could and walked around.

It was awesome! There were so many flowers blooming and the trail was just what I needed to stretch my legs and get some neat shots of the flowers.

While I was there, I figured it would be the perfect time to talk about how to take flower photos. So, I created the video above for my Youtube Channel, and wanted to put these tips into writing. So, lets get to it!

How To Take Flower Photos by Bessie Young - Joshua Tree National Park Wildflowers Landscape Photography Fine Art.jpg

Tips on How to Take Flower Photos

Ultimately I have 2 types of photos that you may want to get, and the tips to get those photos. I wanted to get you started with taking flower photos because Spring is here!!!

1. How to get that creamy background

  • You need to get at their level. Yep, you have to move your bootay and get down to the ground. Don’t try to stay standing up. This is where most people go wrong.

  • Use a low F stop/ wide aperature. Basically, the lower the number the better in my opinion. Now most lenses will go to F4. This is ok, but ultimately you want to be around F2.8 or lower. If you are just starting out, just make sure that you are at the widest aperature possible for your lense. As I was saying F2.8 or lower is so much better. This is where you are really going to see that creamy background, also known as bokeh. This means that yes, you are going to have to spend a bit of money to get that type of lens; however, it is totally worth it!

See the images below for example. All of these images were taken from ground level at F2.8.

All Images For Sale in the BYP Shop-

Click the image to purchase

2. How to get that amazing landscape shot with the flowers in the foreground

Ok, so do you ever see those images, of the amazing flowers in the foreground, yet some how there is still that awesome landscape in the background? These are some of my favorite images! So how do you get them?

  • You need to again, get down to their level. Get up close and personal with those beauties. This is going to allow you to have the flower in the foreground and then the gorgeous landscape in the background.

  • Use a moderate F value. What do I mean? Basically you will want a good ‘landscape’ F value. I prefer F8 - F11.

  • Focus on the mountains in the background. Whalah! You get your beautiful landscape wildflower image!

3. Other Tips

  • Type of Lens to use: Really, anything that will allow you to focus manually and to shoot at a wide aperature. For me, I use my Sony 24-70mm G master F2.8

  • Type of camera to use: You really need a camera that will allow you to shoot manual mode. If you don’t have this, then you are going to be hard pressed to try to use these tips. I use the Sony A7riii and the Sony A7rii

  • Time of year to take flower photos: Pretty much any time of year that there are flowers! Now, if you want wildflowers you will need to shoot in the spring time.

    • For desert wildflowers you will want March and April, but these little flowers die quickly so you really need to keep an eye out on how the flowers are doing. There are awesome websites that you can check. The National Park Service website even has cool wildflower ratings :)

    • For foothill wildflowers you will want to go out during March and April.

    • For high mountain wildflowers you will want sometime in late July and early August.

    • Note: This all depends on the weather and the rain accumulation. You will need to check. These months are all a rough estimate.

  • Time of day to take flower photos: Sunrise or sunset. These are the ultimate best because you are going to get that soft gorgeous light. If you happen to be shooting during the middle of the day, you can always block the flower with your shadow to help mellow out the light.

How to Photograph Flowers - Joshua Tree National Park Wildflowers 2019 By Bessie Young Photography.jpgHow To Take Flower Photos Joshua Tree National Park Wildflowers by Bessie Young Photography

Do you have any tips on how to take flower photos? If so, comment below. I would love to add them to the list :)

This blog is all about community over competition. Let’s help each other, be friends with each other, learn together, and grown together.

Wishing you the very best!

Bessie


P.s. Love this post? Check out these similar ones:

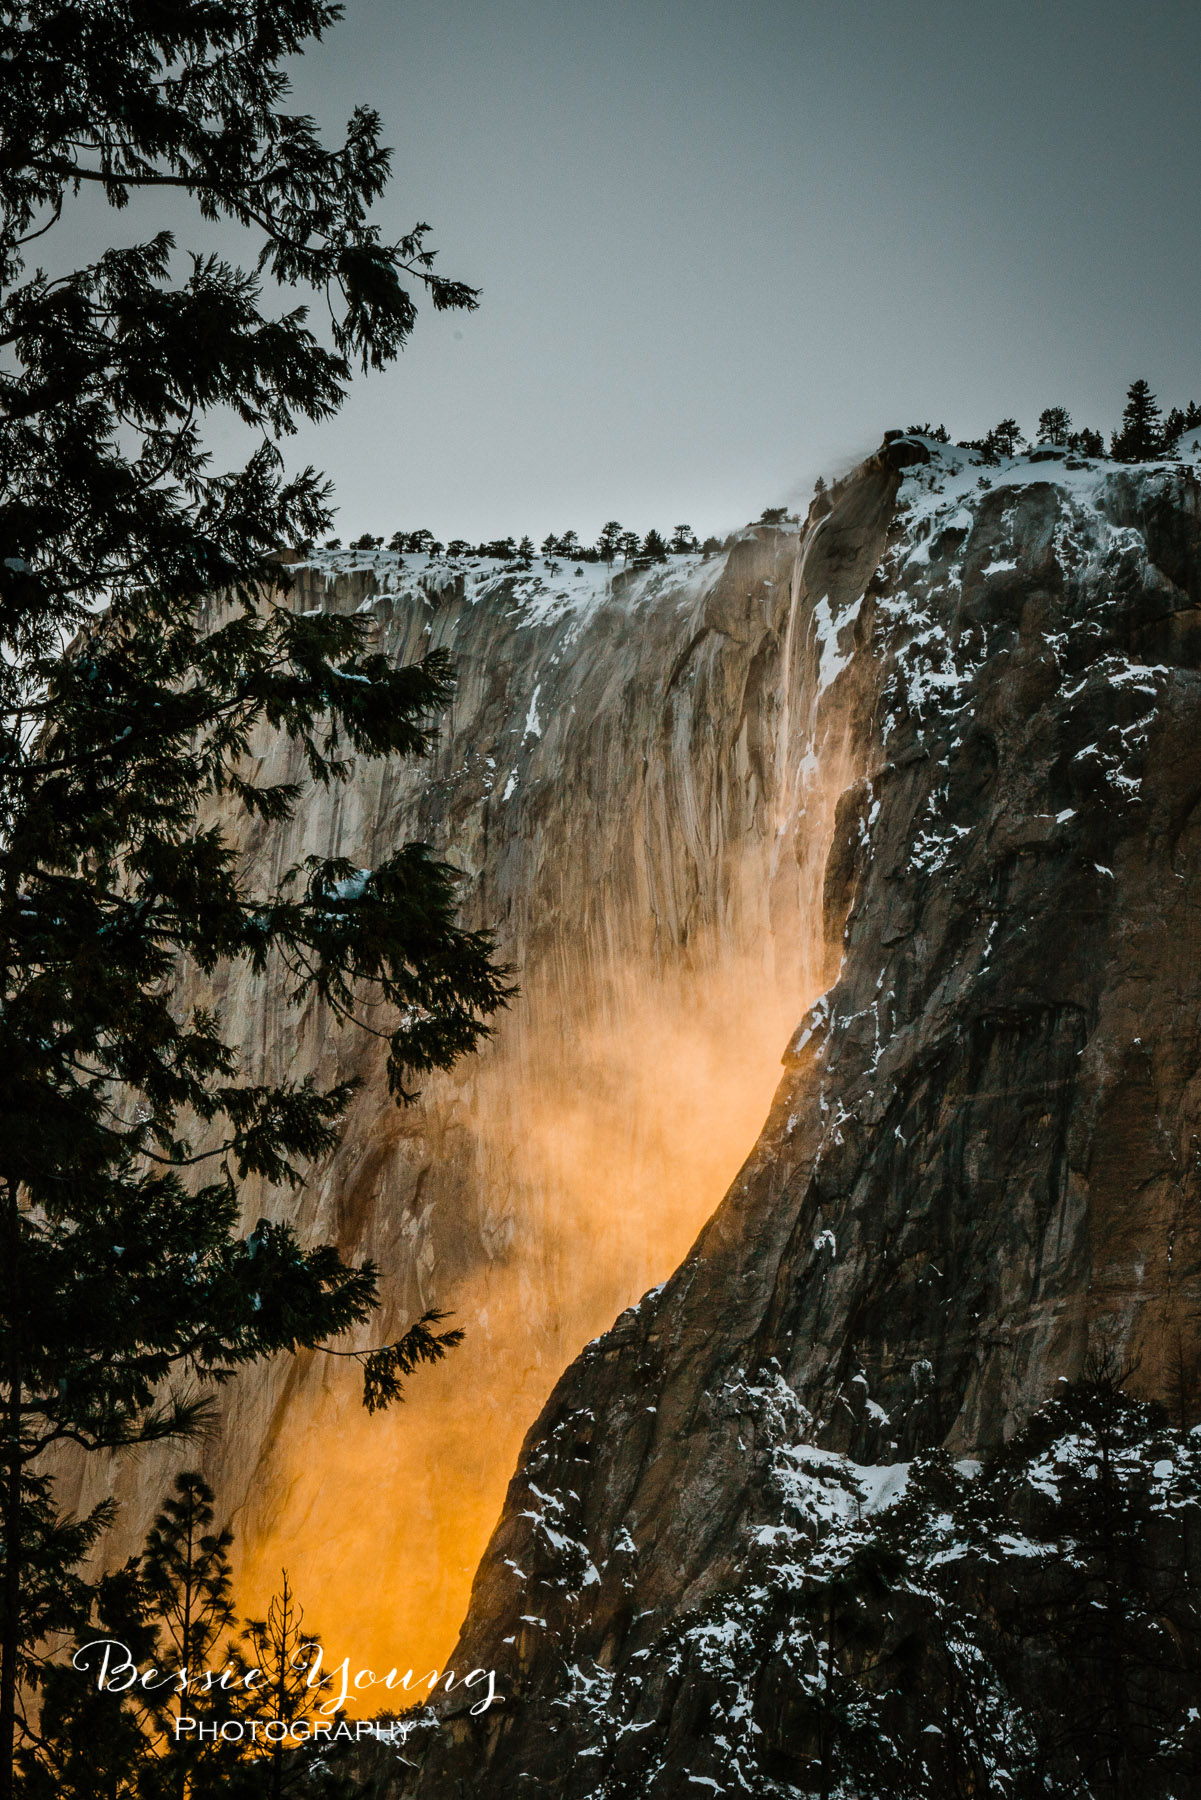
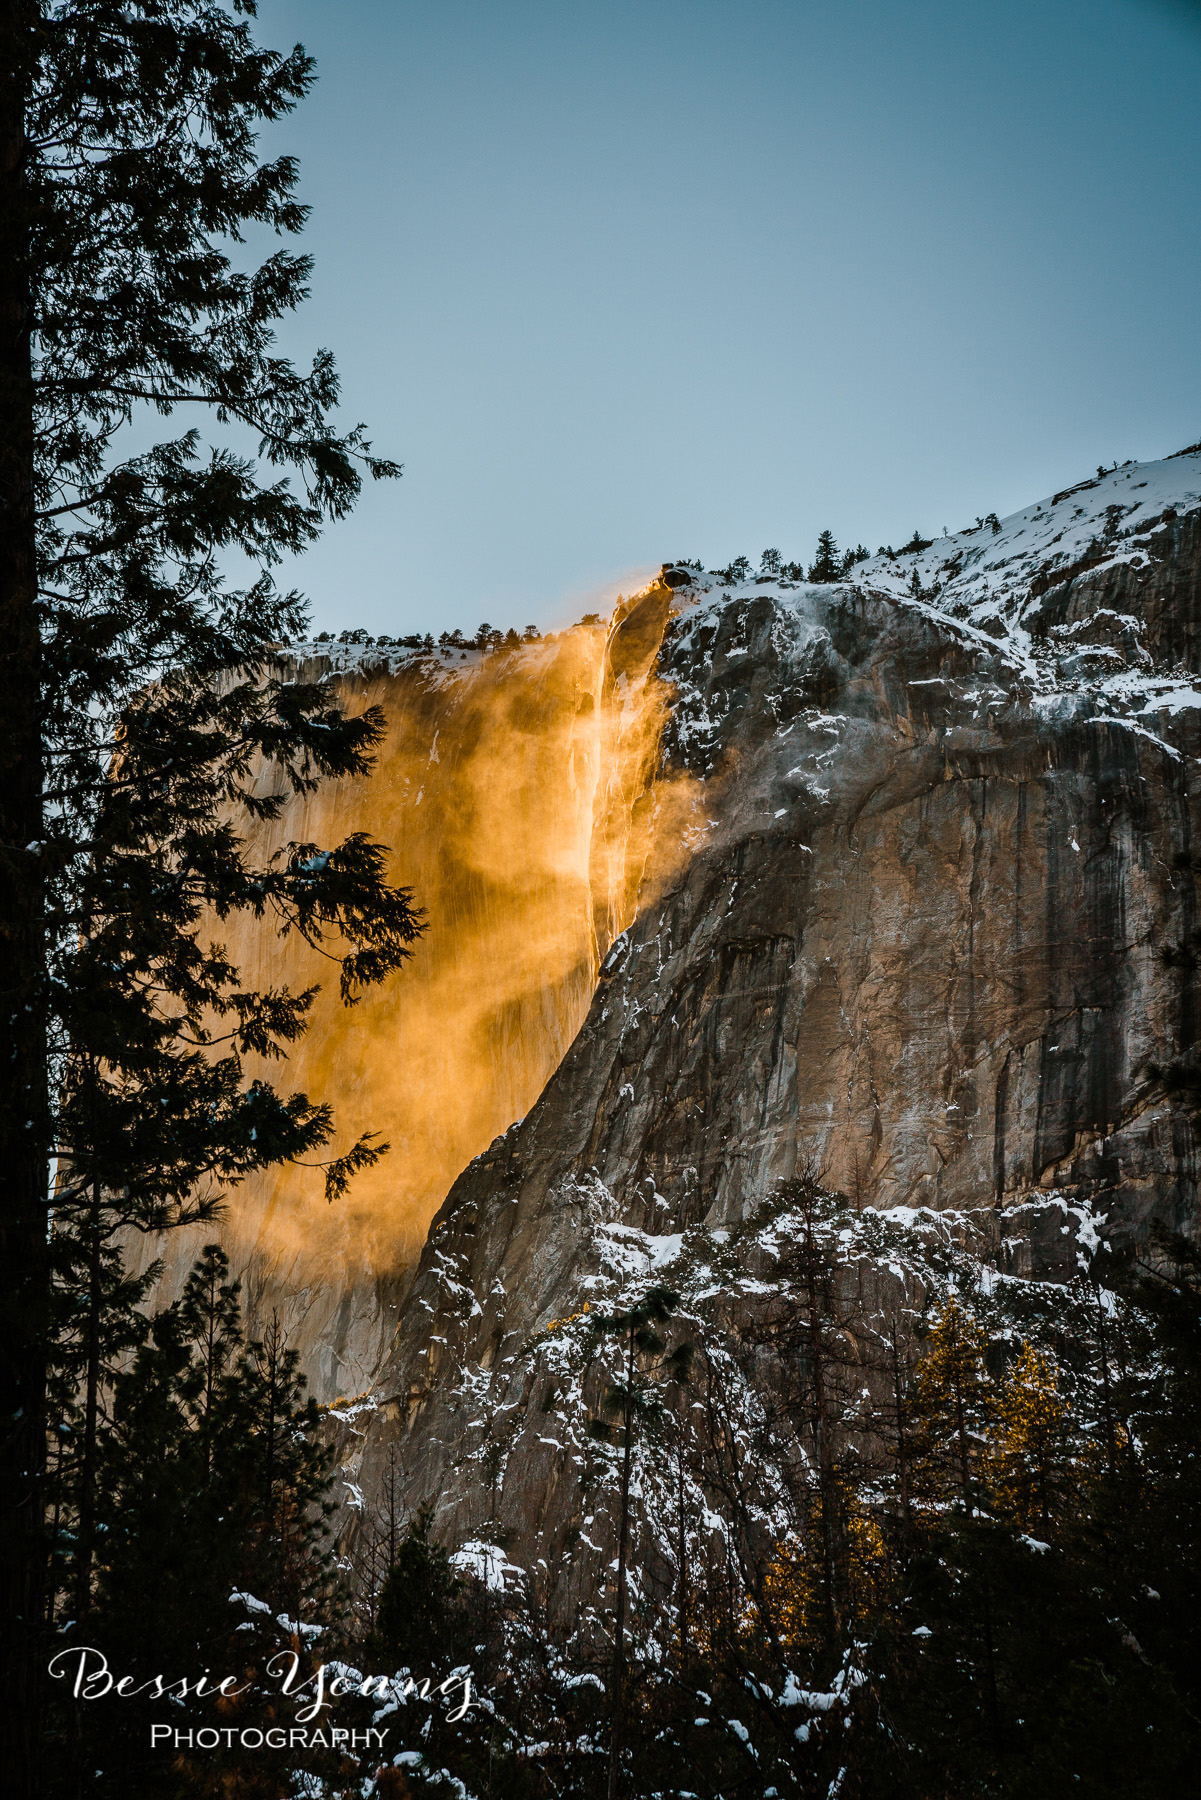
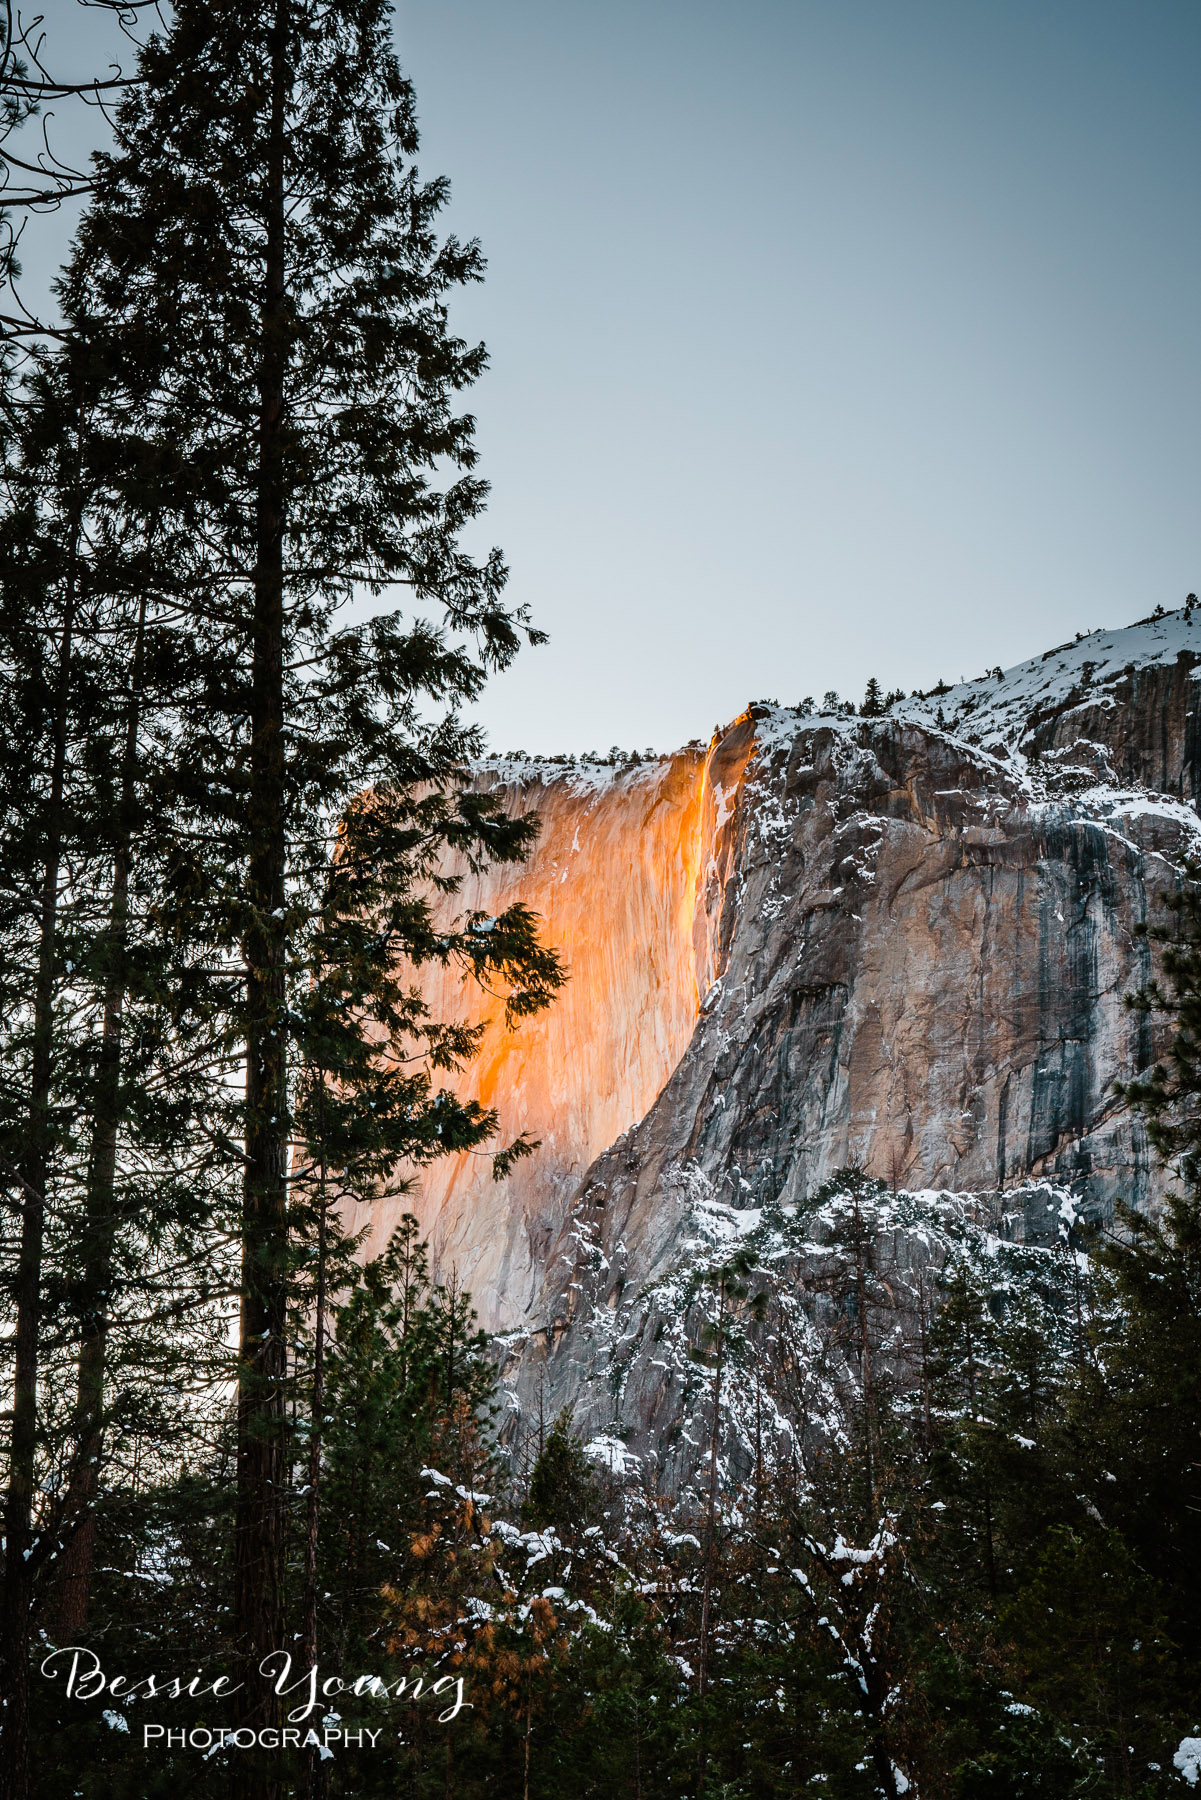
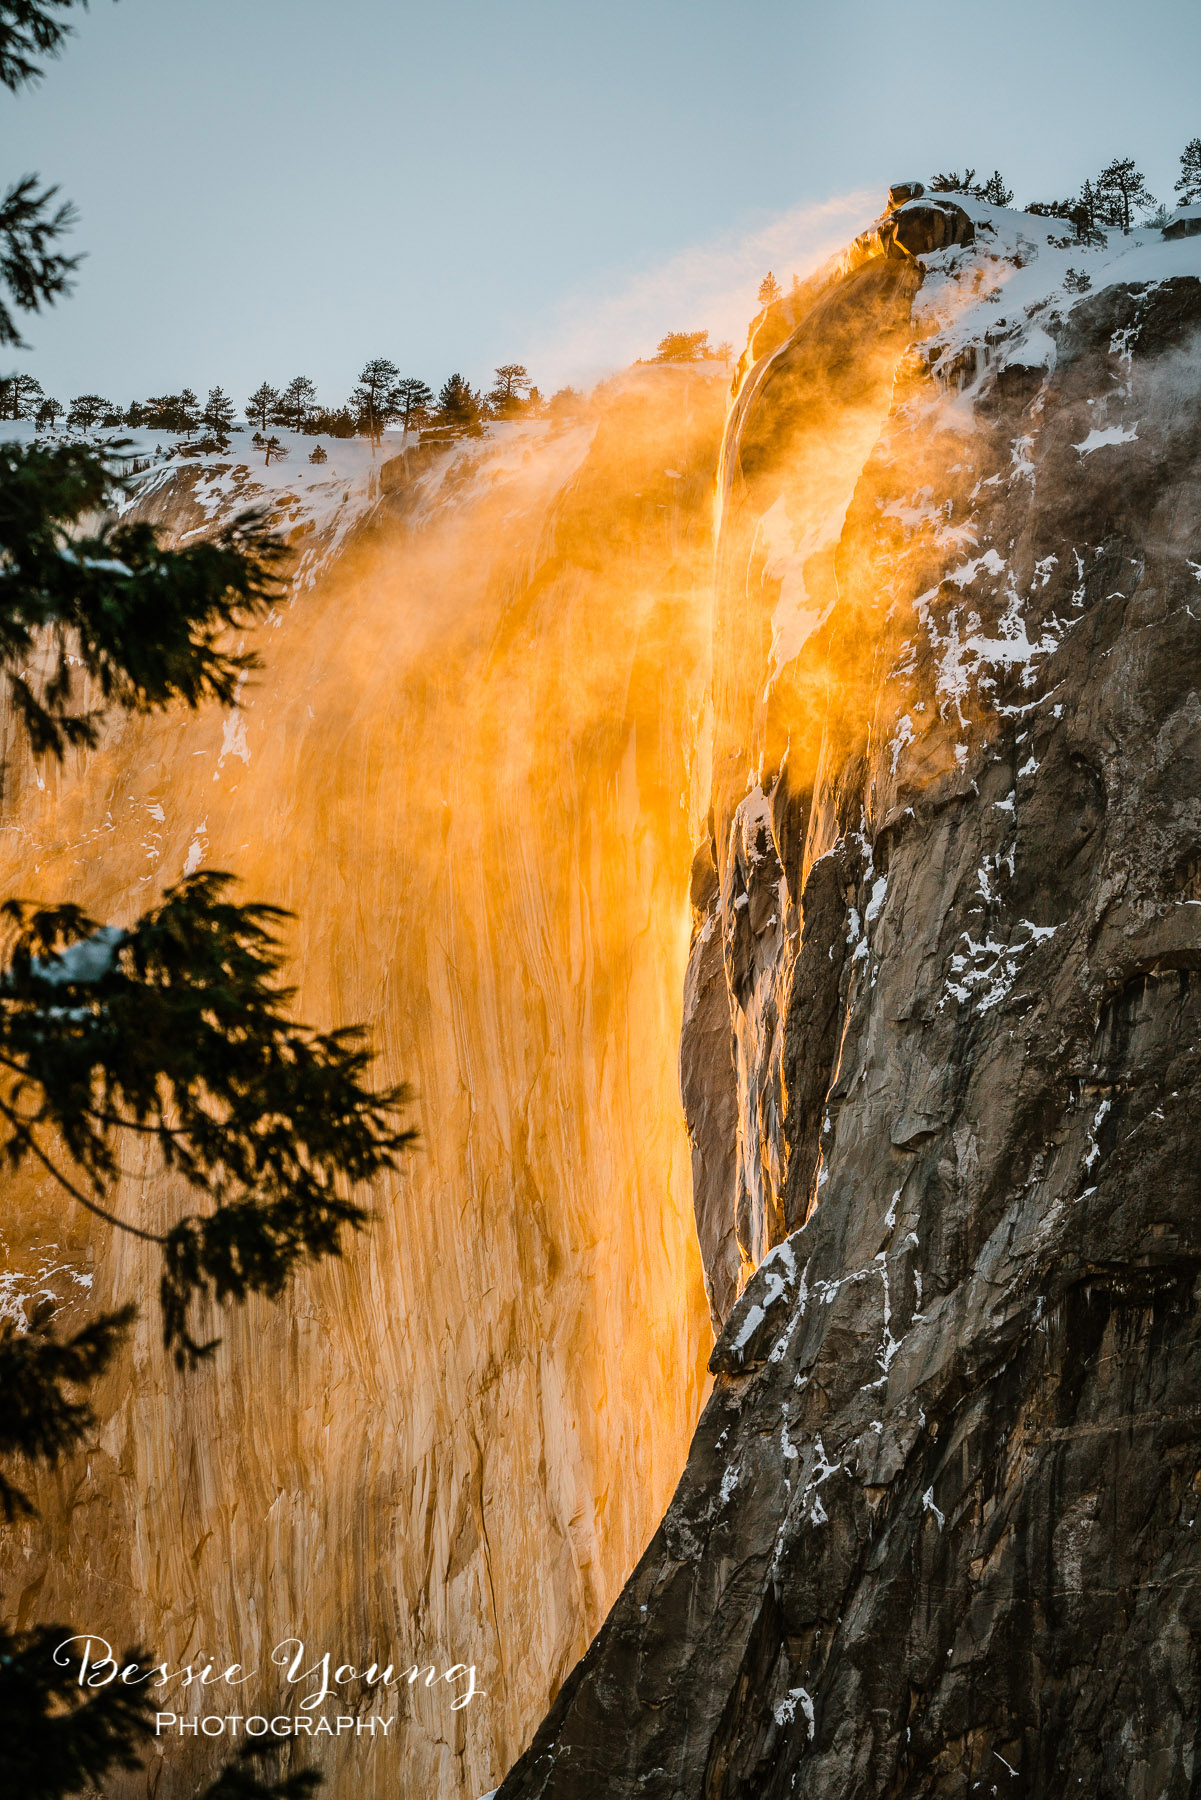
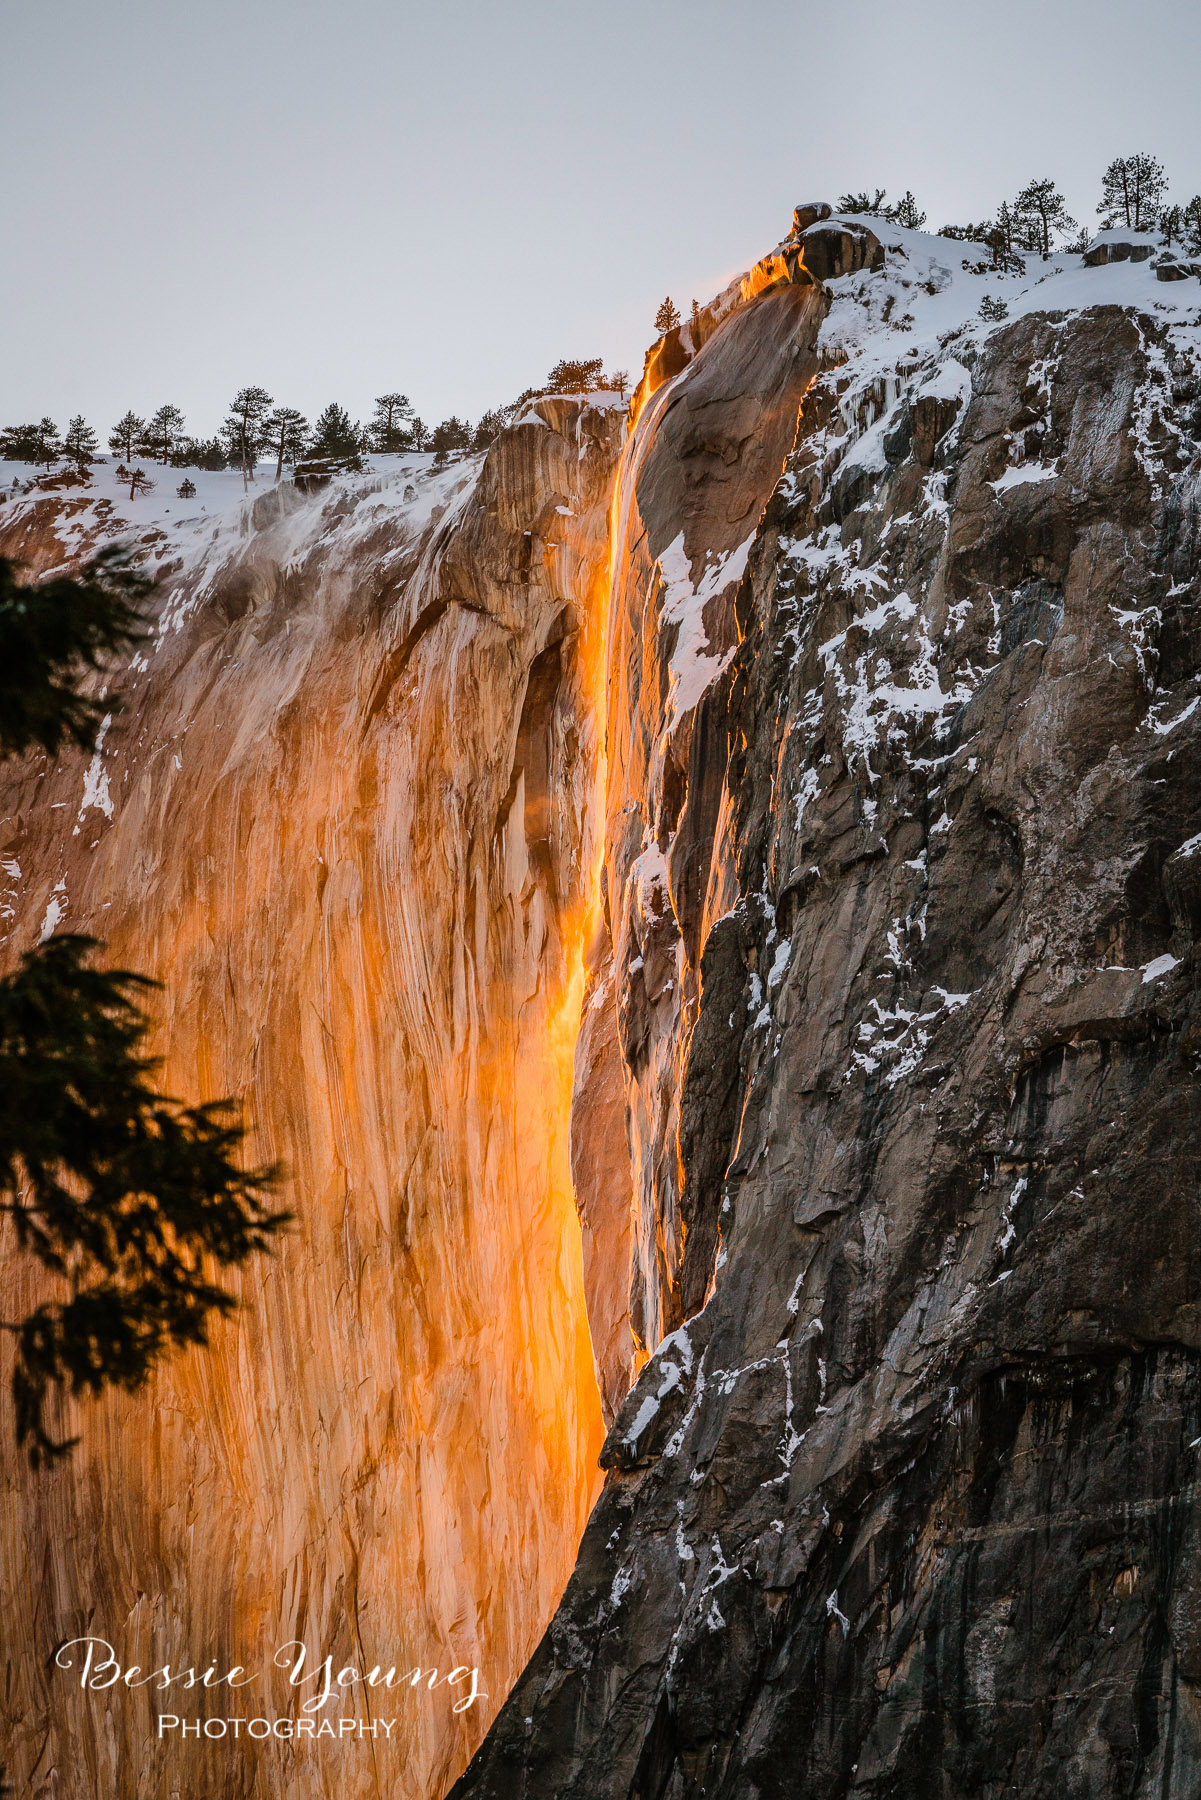
Yosemite National Park Firefall 2019 - Horsetail Fall - Landscape Photography

All Images For Sale in the BYP Shop-

Click the image to purchase or click the buy me button below.

Oh man was I hesitant to go to Yosemite for a second time to capture the firefalls. I kept thinking

you aren’t going to see it…

whats the point…

why do you continue to do this to your self? (put yourself through stress etc)…

Is it worth it?…

You aren’t a real photographer anyways (imposter syndrome at its finest)…

Let’s just say this battle went on for quite a bit but holy moly am I excited that my better side one :)

The Adventure

So my first attempt to see the firefalls was a bust. If you want to see more of that adventure head on over to Yosemite National Park Firefalls 2019 First attempt 1. Now in this attempt I learned alot of things. Things that made my second attempt go much smoother. One thing was the fact that Hwy 140 is a much easier drive when there is snow because they actually freaking plow that road. Hwy 41 was an absolute mess and took me over double the amount of time to get to the valley than it should have taken.

Yosemite National Park Photography by Bessie Young Woman Outdoor Photographer - Horstail Falls Yosemite Firefall

This attempt was so so so much smoother. I checked the Yosemite webcams and was able to see that the weather was looking amazing. I gathered all my gear and off I went.

The drive was beautiful! I always plan for breaks and hiccups along the way, so I left with ample time to get to my spot. As I was driving along hwy 140 there were signs for road construction…. ugh….

Slowly I turn each corner until I finally see the man with a big ole red stop sign. There I sat for almost an hour. Yep, didn’t plan for a one hour delay. Naturally, I am getting a tiny bit worried, but I did schedule for quite a bit of a buffer to be able to find my perfect spot, set up my gear, and not feel rushed.

Finally, the man let me though and I was off!

Yosemite National Park Firefall 2019

On the Yosemite National Park website there is a spot specifically discussing the Firefall. It had explained that there was absolutely no parking along the south side or north side drive of the Yosemite valley loop. The place you could park was in the Yosemite village parking lot. The park had closed down one lane for pedestrian traffic with the expectation that there were going to be hundreds upon hundreds of people trying to see this natural phenomena. The walk to the perfect spot, or at least the spot I planned to shoot from, is about 2 miles the parking spot.

So, I parked, gathered my gear, and began my trek. It was icy, super slippery, and incredibly cold. I believe it was supposed to get below twenty degrees that night. As I was walking I was keeping a close eye on El Capitan. Sunset was scheduled to begin about 5:20 or so, and I was right on time no thanks to the awesome construction I had to wait through.

All of the sudden, it started to look like it was going to happen. I was still about 1 mile away from my spot. Now, even with running, this would have taken me 8 minutes to get there. I didn’t have 8 minutes, but I started running anyway. Frantically looking from side to side to see if there was a good spot to set up. I was worried, I started to freak out, “i am right here and not going to be able to get a good picture of it” …. Let me tell you, alot of negative self talk was happening at this moment.

Finally I found a crowd of people and the absolute perfect spot. I waded through the crowd and found an opening with an amazing angle looking right up at the falls!!!! Thank you LORD!

I set up my gear and not moments later did I begin shooting…

All Images For Sale in the BYP Shop-

Click the image to purchase

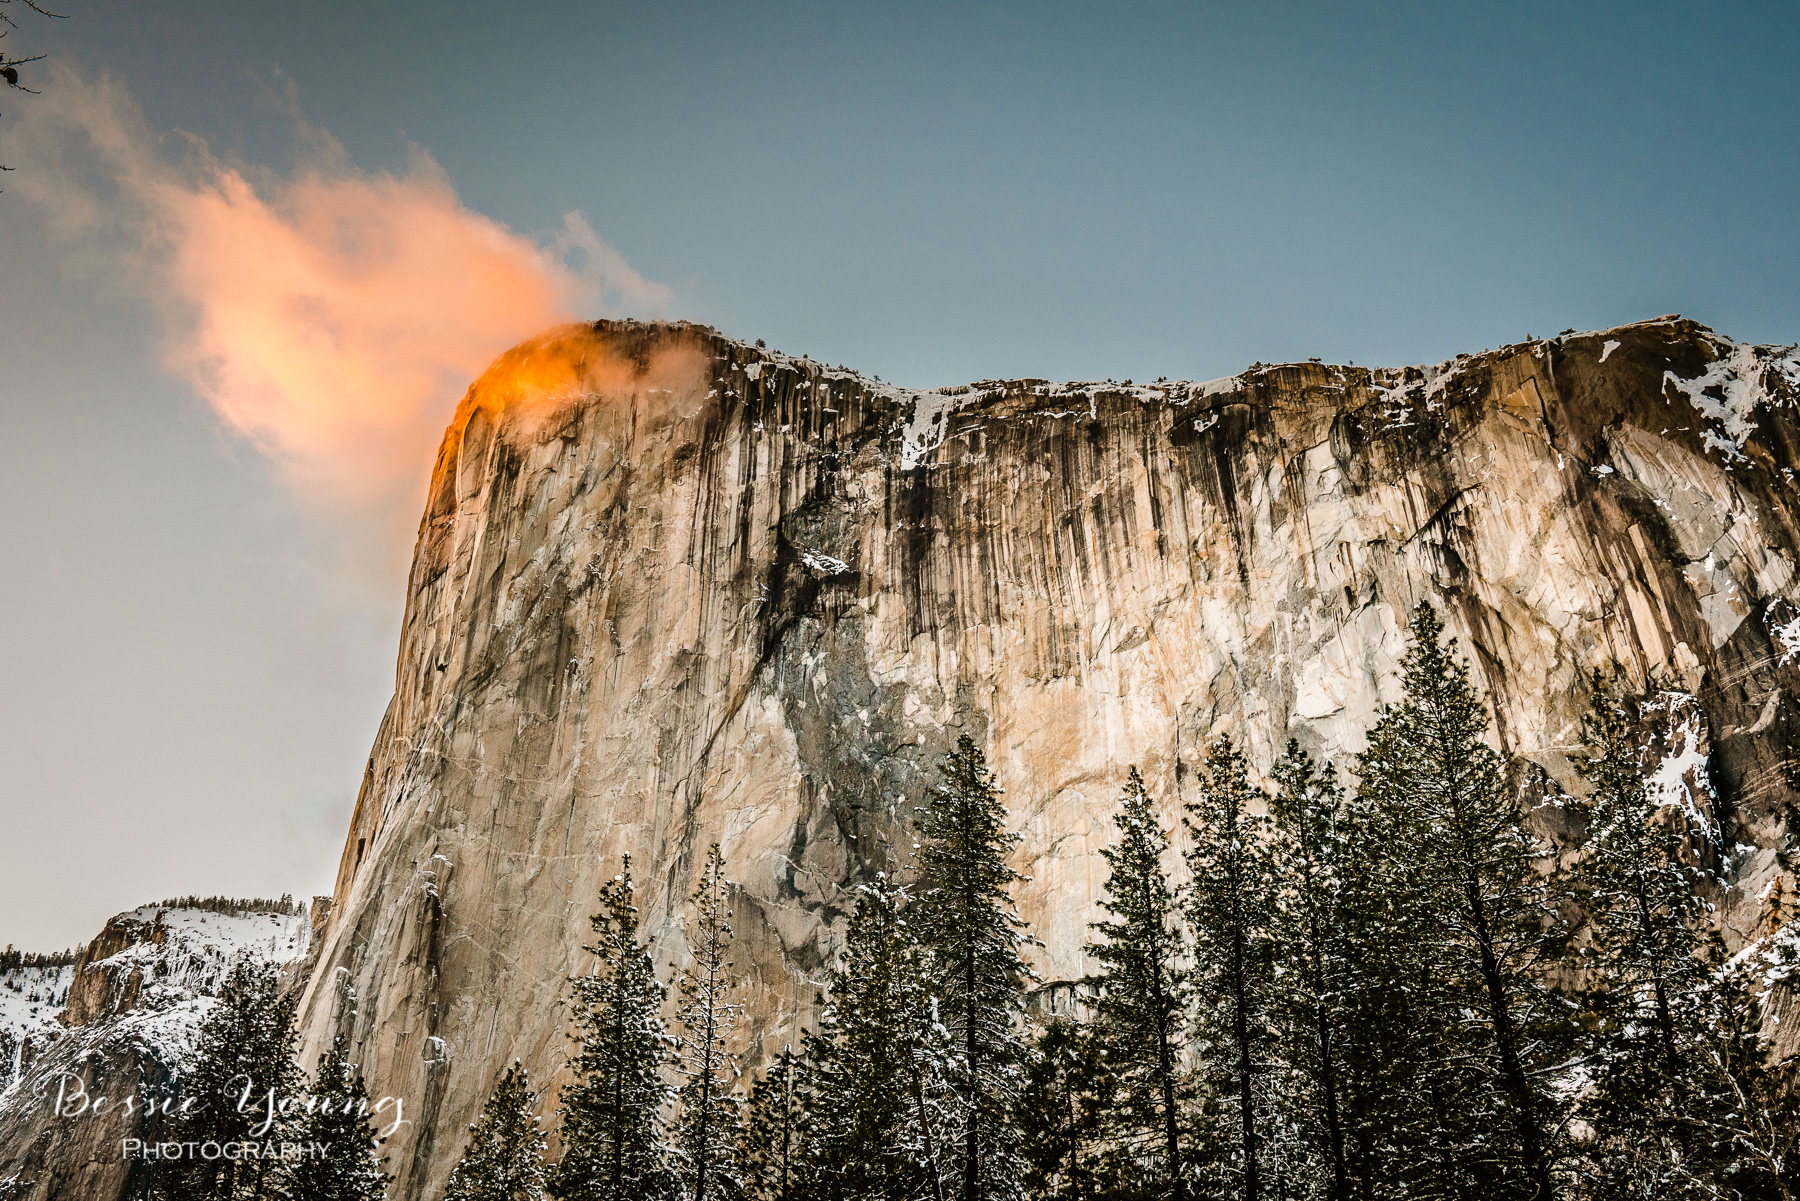
The face of El Capitan started to go from an normal granite blue color to a golden yellow. It then changed from a golden yellow to an orange and then it all of the sudden went dark. Like completely dark! Everyone sighed and some people even started to leave thinking that the show was over.

Slowly from the bottom the color started to come back, slowly the golden yellow started to glow, then the orange, and then the entire fall looked like it was on fire! This lasted for so long I was amazed. The colors then faded into a pink, to a purple, and then back to a blue as the sun started to set and the night began to fall upon us.

IT. WAS. AMAZING!

Long Lens Vs. Wide Angle:

The very very first time I was able to capture the firefalls I had done all the research. Everything said that you need to shoot with a long lens, or a telephoto lens. So naturally I used my 100 - 400mm lens. Now at the time I didn’t know any better and at the time I wasn’t lucky enough to have multiple camera set ups.

When I was taking the shot, it wasn’t exactly the shot I wanted. I ultimately wanted a wider shot. A bigger landscape shot, cause… duh…. that is what I love!

So this time I wanted to share with you some examples of a long lens vs. a wide angle lens. This way you can decide what image you actually want to get and be prepared to capture the image that you are dreaming of.

Set up 1:

Sony A7riii

Sony 24-70mm G master F2.8

Set up 2:

Sony A7rii

Sony 100-400 G master F2.8

I set up my cameras right next to each other. This way you can get the best comparison available. So here it is … Long Lens vs. Wide Angel: 35mm vs. 250mm

How to capture the Firefalls?

Make sure to head on over to my blog on “How to shoot the Yosemite National Park Firefalls” . This blog gives you all the details: What gear to bring, how to see it, where to go, what it is, so on and so forth.

So where was I for this shot?

I parked at the lodge and walked West along the North Side drive for about 1.5 miles. Here is a little aerial of where I was. I wasn’t quite at the El Capitan picnic area.

Patience, Persistence, Love, and Grace

I have to put this in here, because this was a huge part of my adventure and a huge part of my trip. I had tried to capture this image the previous day. I was feeling defeated after not seeing it, and after how stressful that day really was.

Ultimately, I didn’t want to try again. I was feeling super discouraged. I was having all sorts of negative self talk, and it just sucked. I wanted to give up. Wasn’t really being able to pin point why I was doing this in the first place. Once I thought about this long and hard, it helped me to get my lazy booty off the couch and go have an amazing adventure.

Yosemite National Park Firefall 2019 - Horsetail Fall - Landscape Photography by Bessie Young Photography 1.jpg

While I was in the park, running to my location because the firefalls were going to start without me, I began that negative self talk again…

So what is my point here. My point is to not give up and to freaking give yourself grace. It doesn’t always work out as planned. It doesn’t always go smooth. It doesn’t always even work, but you know what…. it is always worth it. You are always worth it. Doing what you love and what sets your soul on fire is always worth it; however, when you are struggling, just try to be nicer to yourself along the way. You can’t control everything. Remember that. For this trip… I coudn’t control that I was stuck in construction, yet I wanted to give all the reasons as to why it was my fault that I was running behind. IT ISN’T ALWAYS YOUR FAULT. YOU CAN’T CONTROL EVERYTHING.

If you can remember this while things are going a little sideways it is going to make your life, your outlook, and pretty much just everything that much better.

The other little part of this is patience and persistence. You are never going to get the shot that you want the first time. You will walk away from multiple adventures without the shot. This is landscape photography. You have to realize that you are working with Mother Nature and let me tell you, she doesn’t care what you want, she doesn’t care about your plans, and she won’t listen to your ideas. You have to be patient. You have to be persistent. You have to KEEP TRYING.

Ok…. enough said….

Have you ever seen the Firefall? Did you even know about it before you saw this post? Comment below and let me know.

Do you have any questions on how to shoot the falls? Ask your question in the comments below and I will get back to you.

Wishing you the very best!

Bessie


P.s. Love this post? Check out these similar ones:

Yosemite Firefall 2019 - Horsetail Fall - Attempt 1 - Landscape Photography

The Adventure

Horsetail Falls Yosemite Firefall is a sight to see. I have only ever seen it one time, but I have tried multiple times. This year I tried again.

The adventure started like every other one. Plan the trip, pack up the gear, and go. It should have been easy peasy right? WRONG! It typically takes me 2 hours to get to Yosemite Valley. I left around 1pm which meant that I would have over 2.5 hours to find my spot, set up, and enjoy the view.

The drive started out nice. You know, a nice clear sunny day, but as I started to get into the mountains the roads started to get a little snowy. Now I had planned for this. I drove my truck, brought my chains just in case, but I wasn’t prepared for the roads to be completely snowed over.

All Images For Sale in the BYP Shop-

Click the image to purchase

There were cars everywhere. Most were pulled over putting on chains, some were stopped while their kids went sledding, and others seemed…. well…. stuck.

This slowed me down quite alot. I was only able to drive about 15-20 miles per hour due to the cars in front of me with chains on. As I approached the entrance of the park it was already 3:30. That is 2 hours already. I should have been on the valley floor by this time, but I was still an hour away if things went smooth. The firefall should start at 5:20 - 5:40.

Since I was already so far behind, I almost turned around, but I figured I had made it this far I might as well keep going. Unfortunately the roads were the exact same condition almost the entire way to the valley floor.

As I approached Cathedral Beach Picnic area it was already 4:50pm! It took me almost 4 hours to get to the valley floor. That ate away all my cushion time to adventure around and find the perfect spot. I only had 20 minutes to get to my location and set up. By the way, my spot was about a quarter mile hike to the river in the snow.

As I tried to hurry, I slipped quite a bit on the ice and in the snow, but I made with over 10 minutes to spare! YAAAASSSSSS!

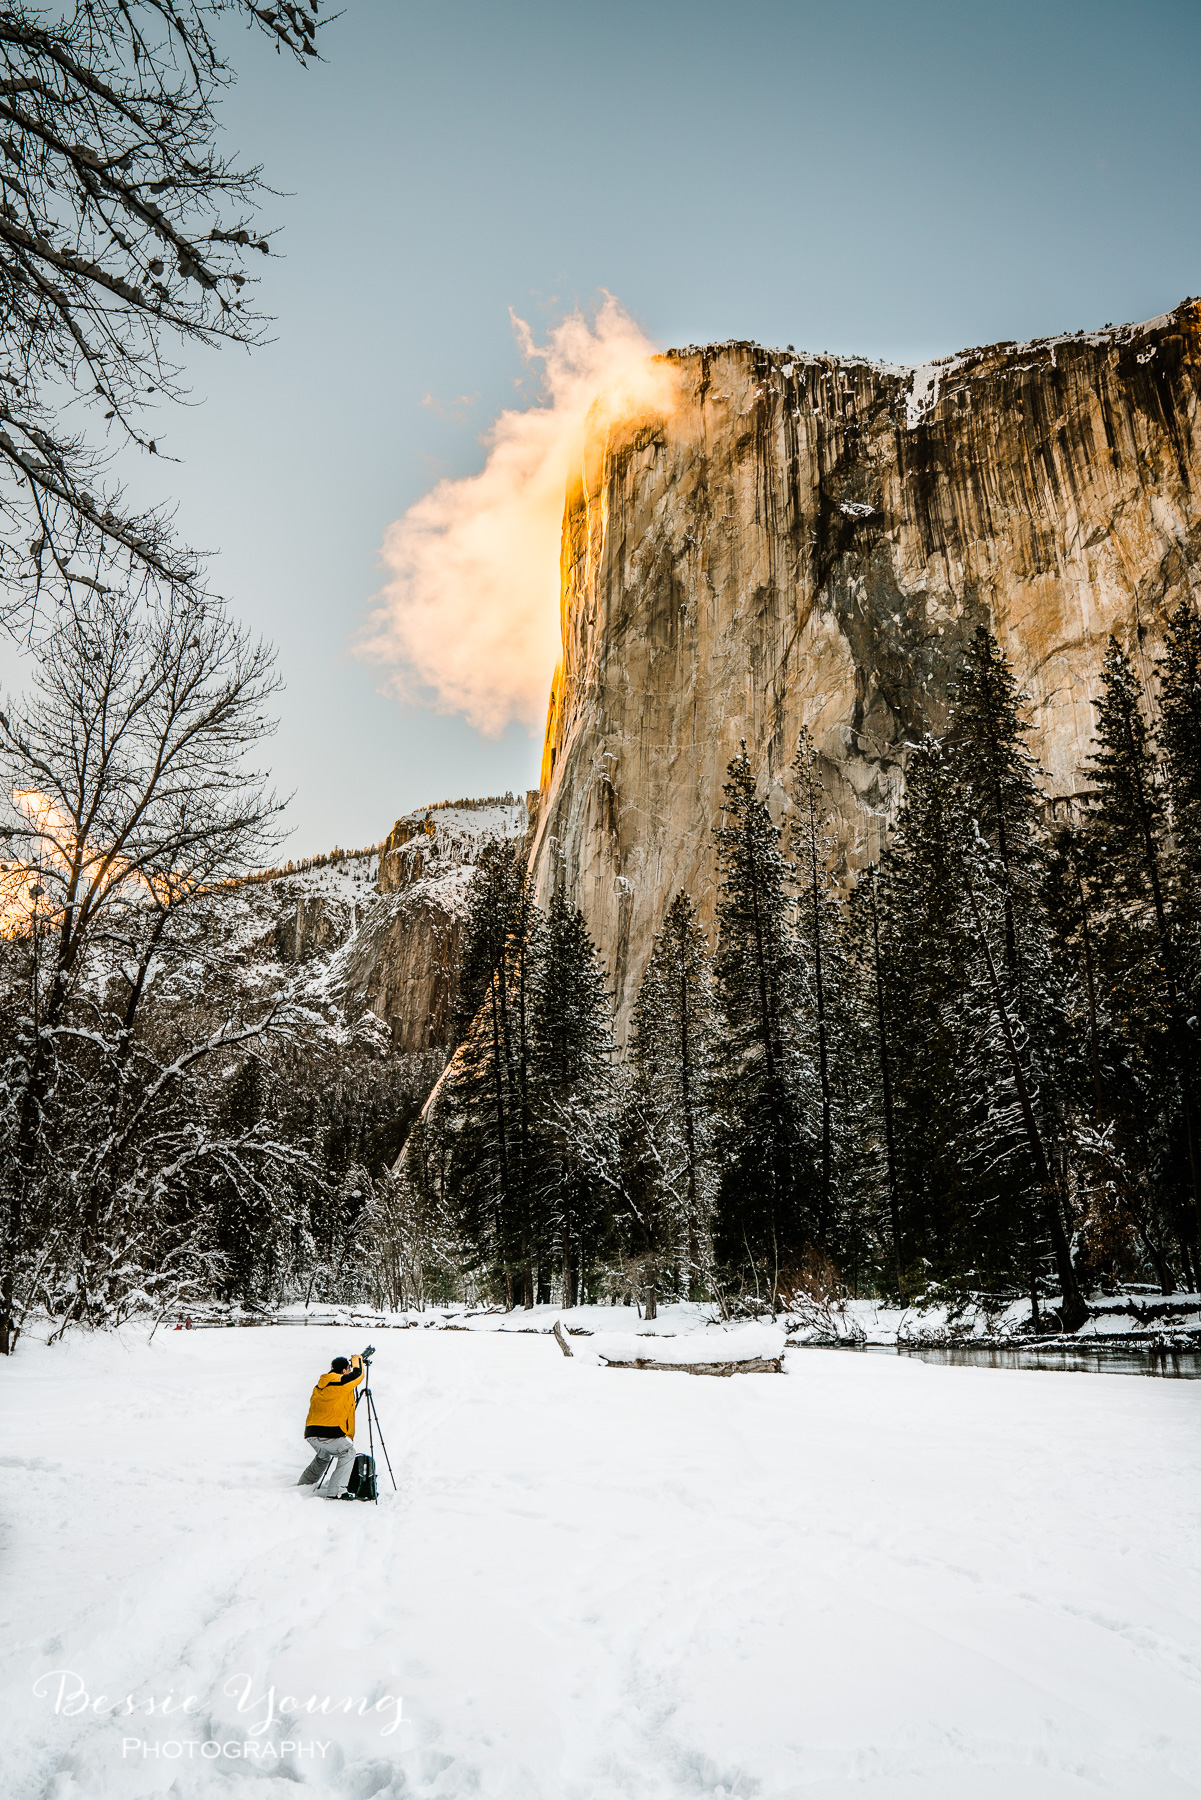
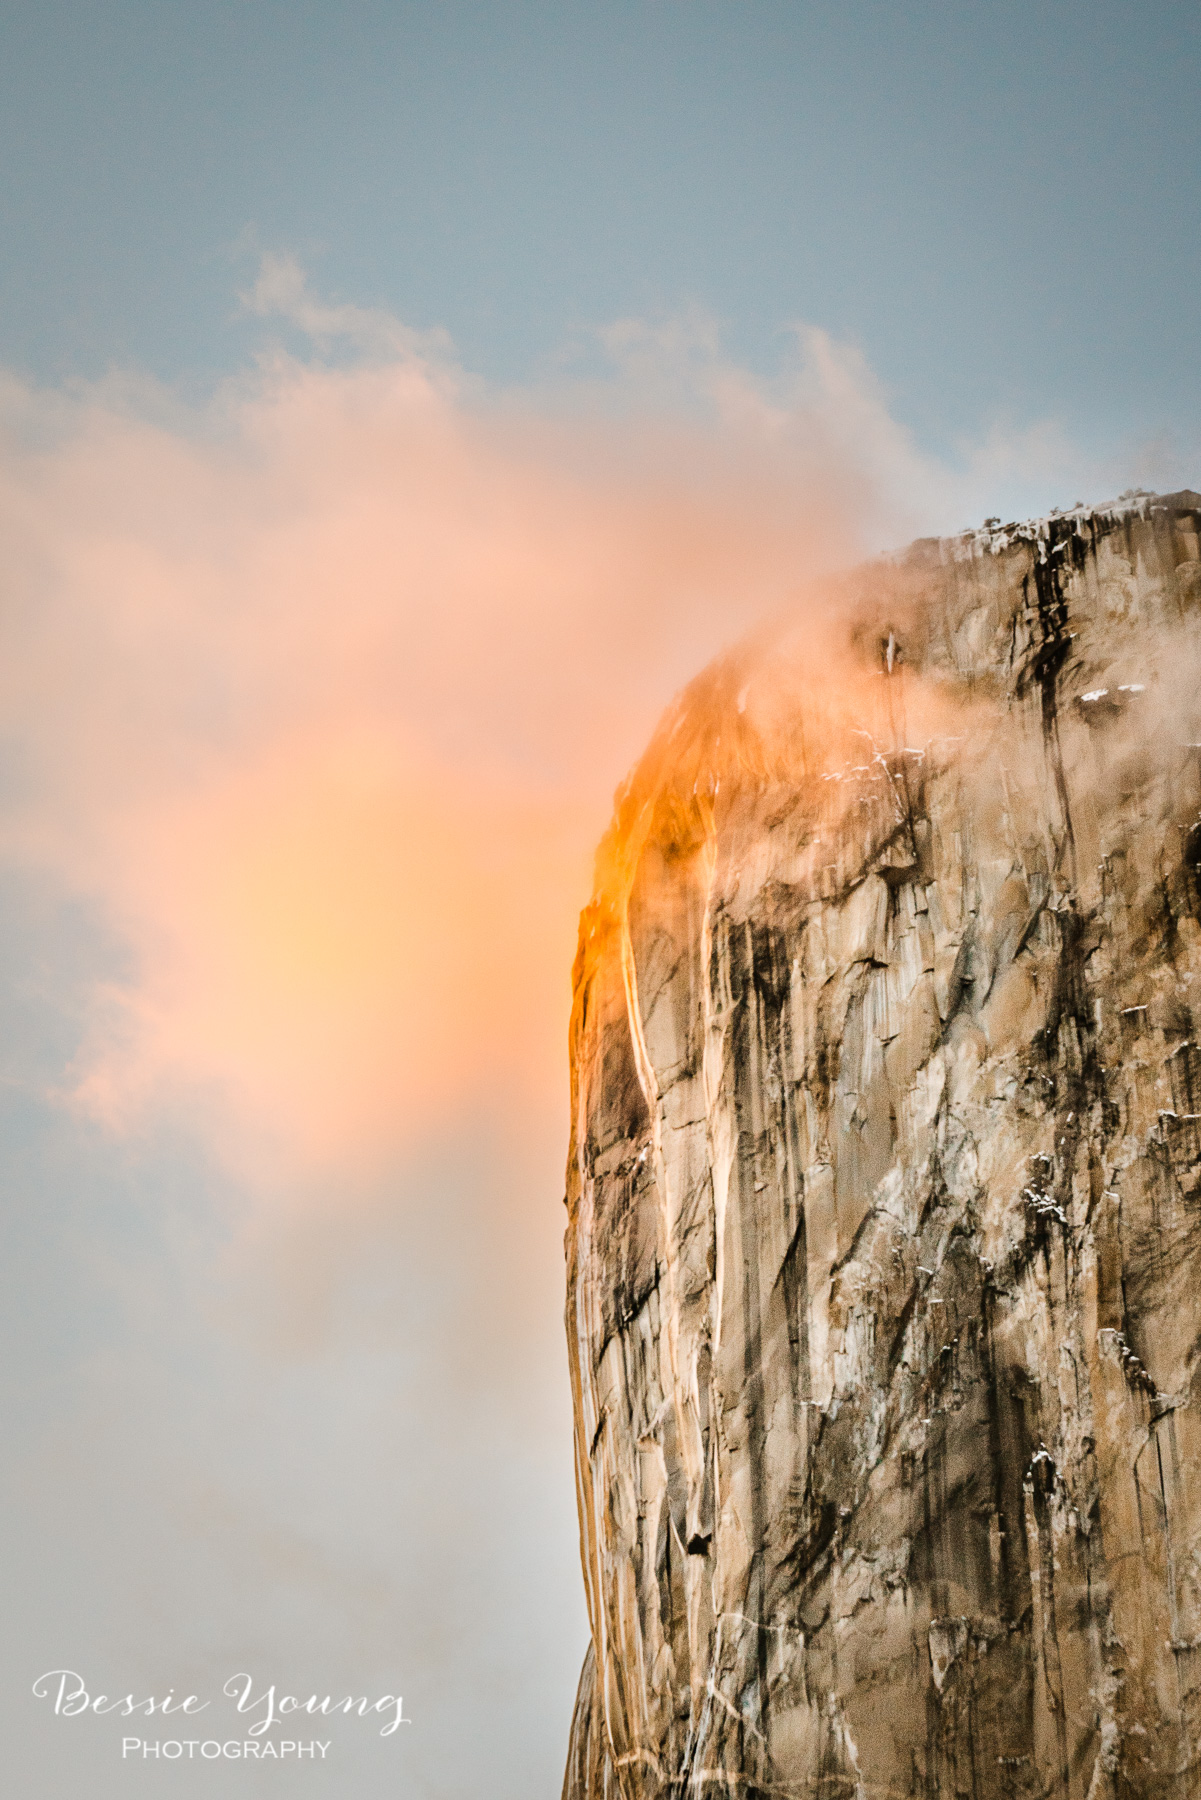
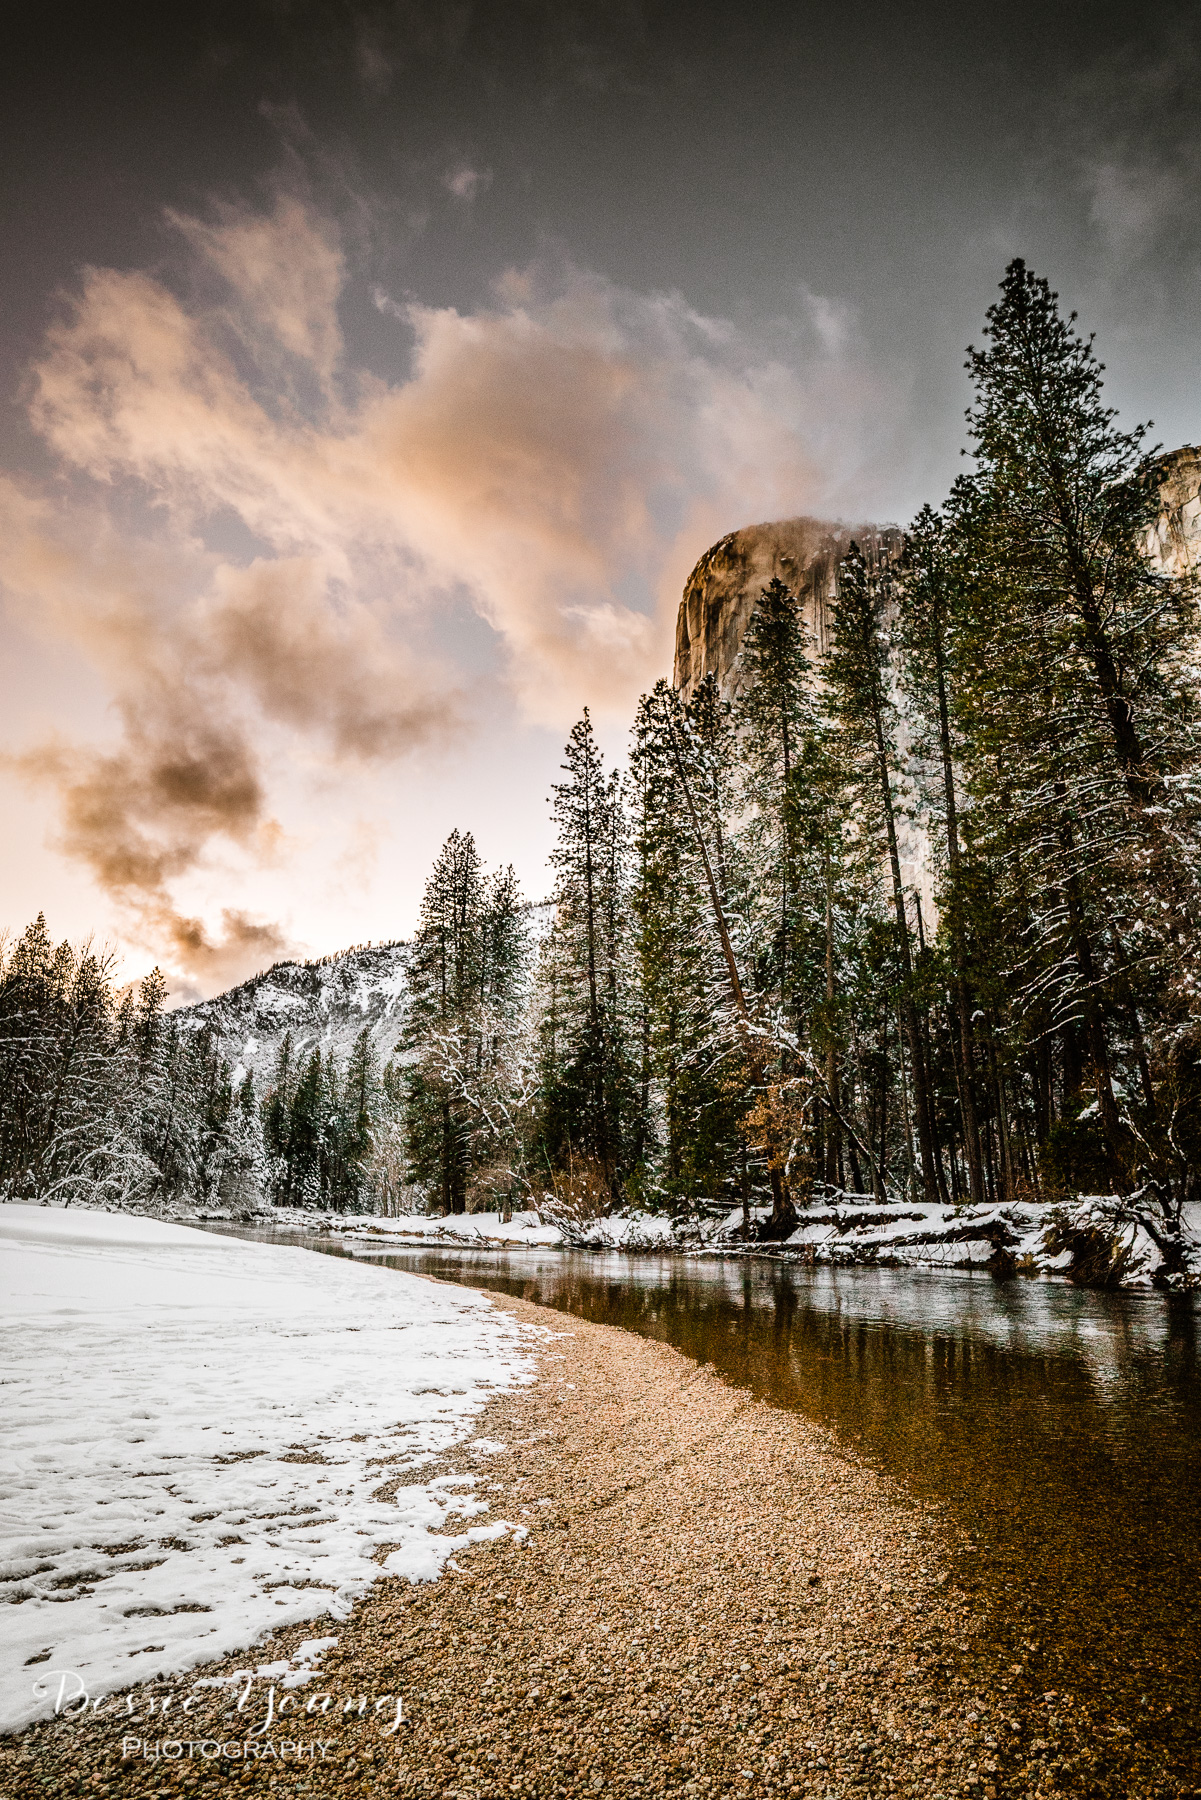
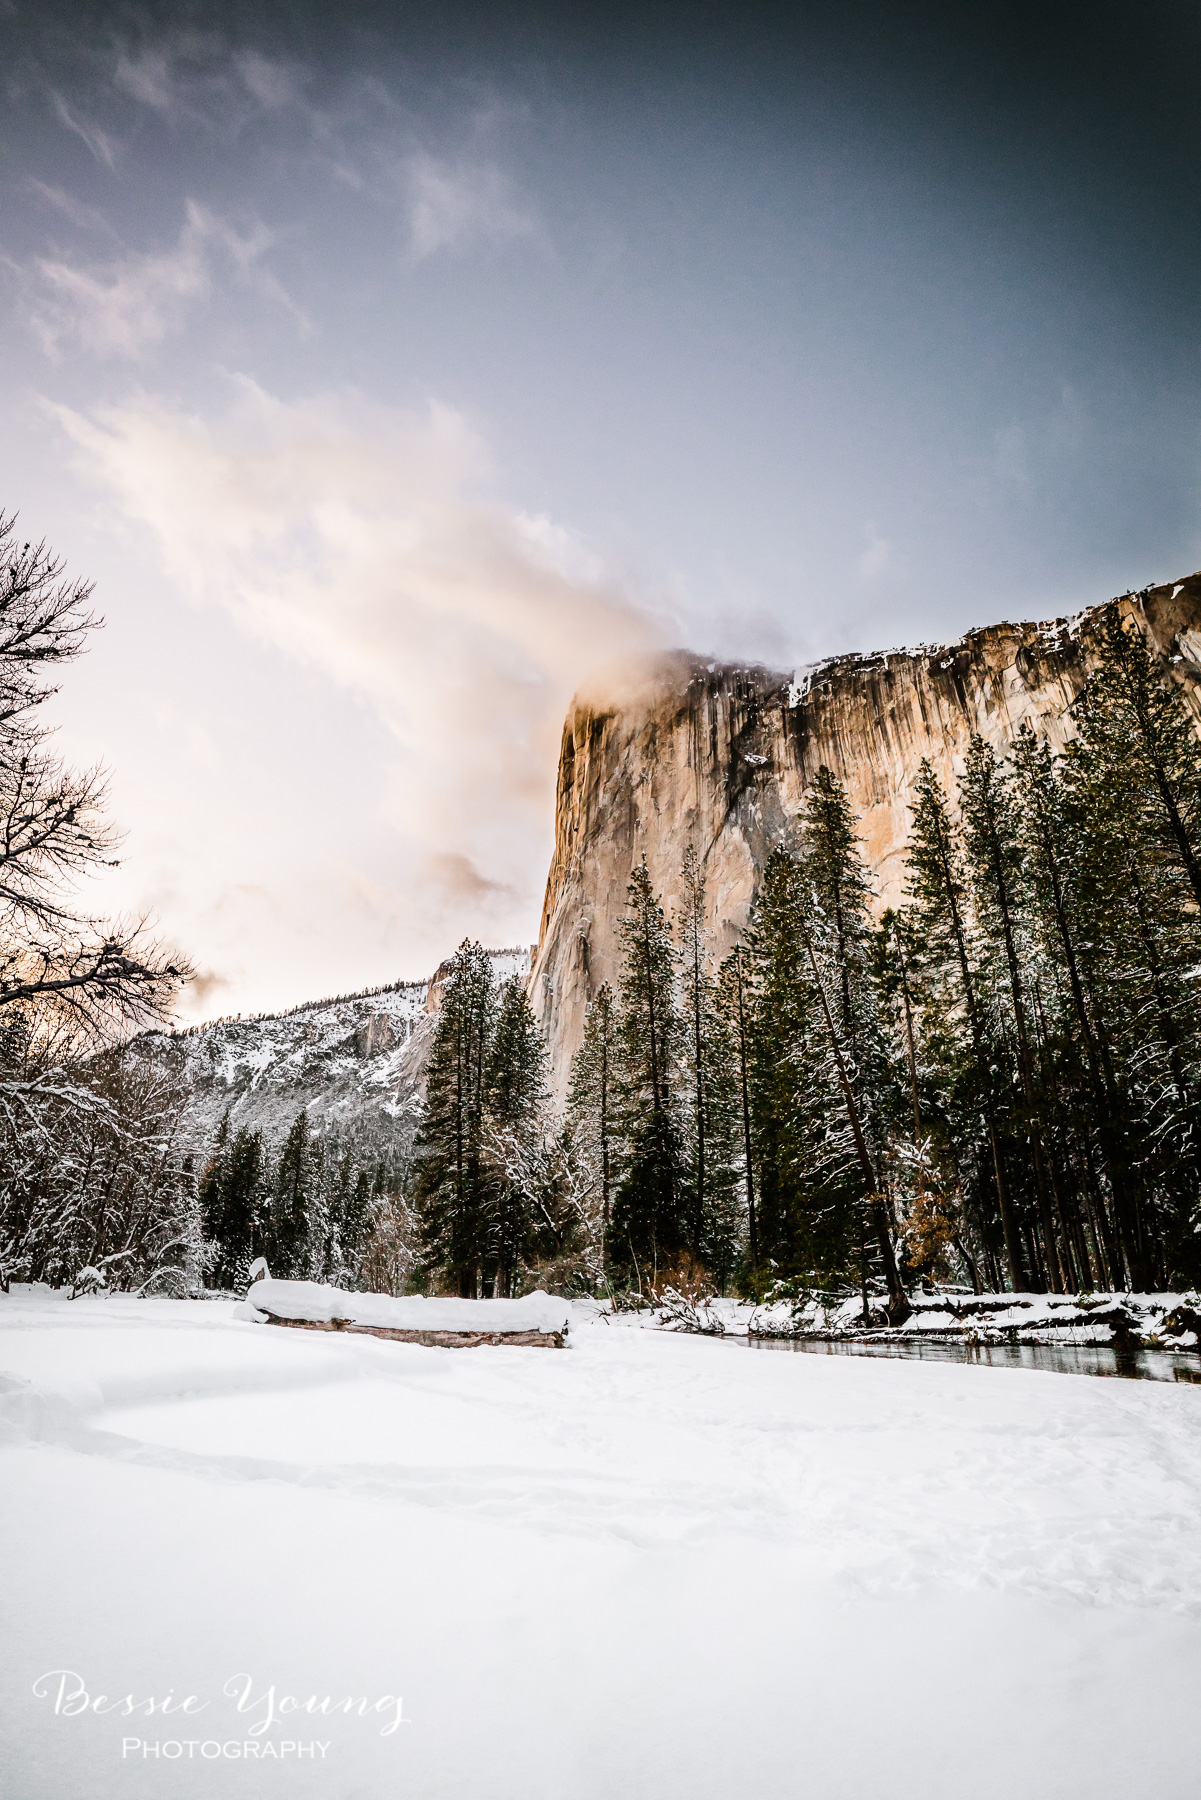
I set up my gear and got ready for the show. The sun was setting and the light was looking just right. There was even a super neat little cloud right over the face of El Capitan.

It was 5:20. As the sun lowered, the falls started to turn yellow. It was happening!

Then, all of the sudden, out of now where, the light went away. Everything went dark except that tiny little cloud over El Capitan. It stopped. The firefall stopped! I sat there and waited…

Nothing.

5:30 came around and Horsetail falls was still dark.

Still Nothing.

5:40 came around and everything began to get blue… blue hour was upon me and it was obvious that it didn’t happen that night.

So, I took advantage of where I was and got a few pictures with the remaining light that was in the sky.

Unfortunately, I didn’t get to see it, but this was only Attempt 1. I am determined to see it, so stay tuned for Attempt 2…

To Be Continued.

Luckily I was able to see it in 2016 so I wanted to share that series of images with you:

Yosemite Firefall Series - Yosemite National Park Landscape Photographer Bessie Young

How to Photograph Horsetail Falls Yosemite Firefall

Let’s talk about what the Yosemite Firefalls actually is, how to see it, and how to photograph it…

1. What is the Yosemite Firefalls?

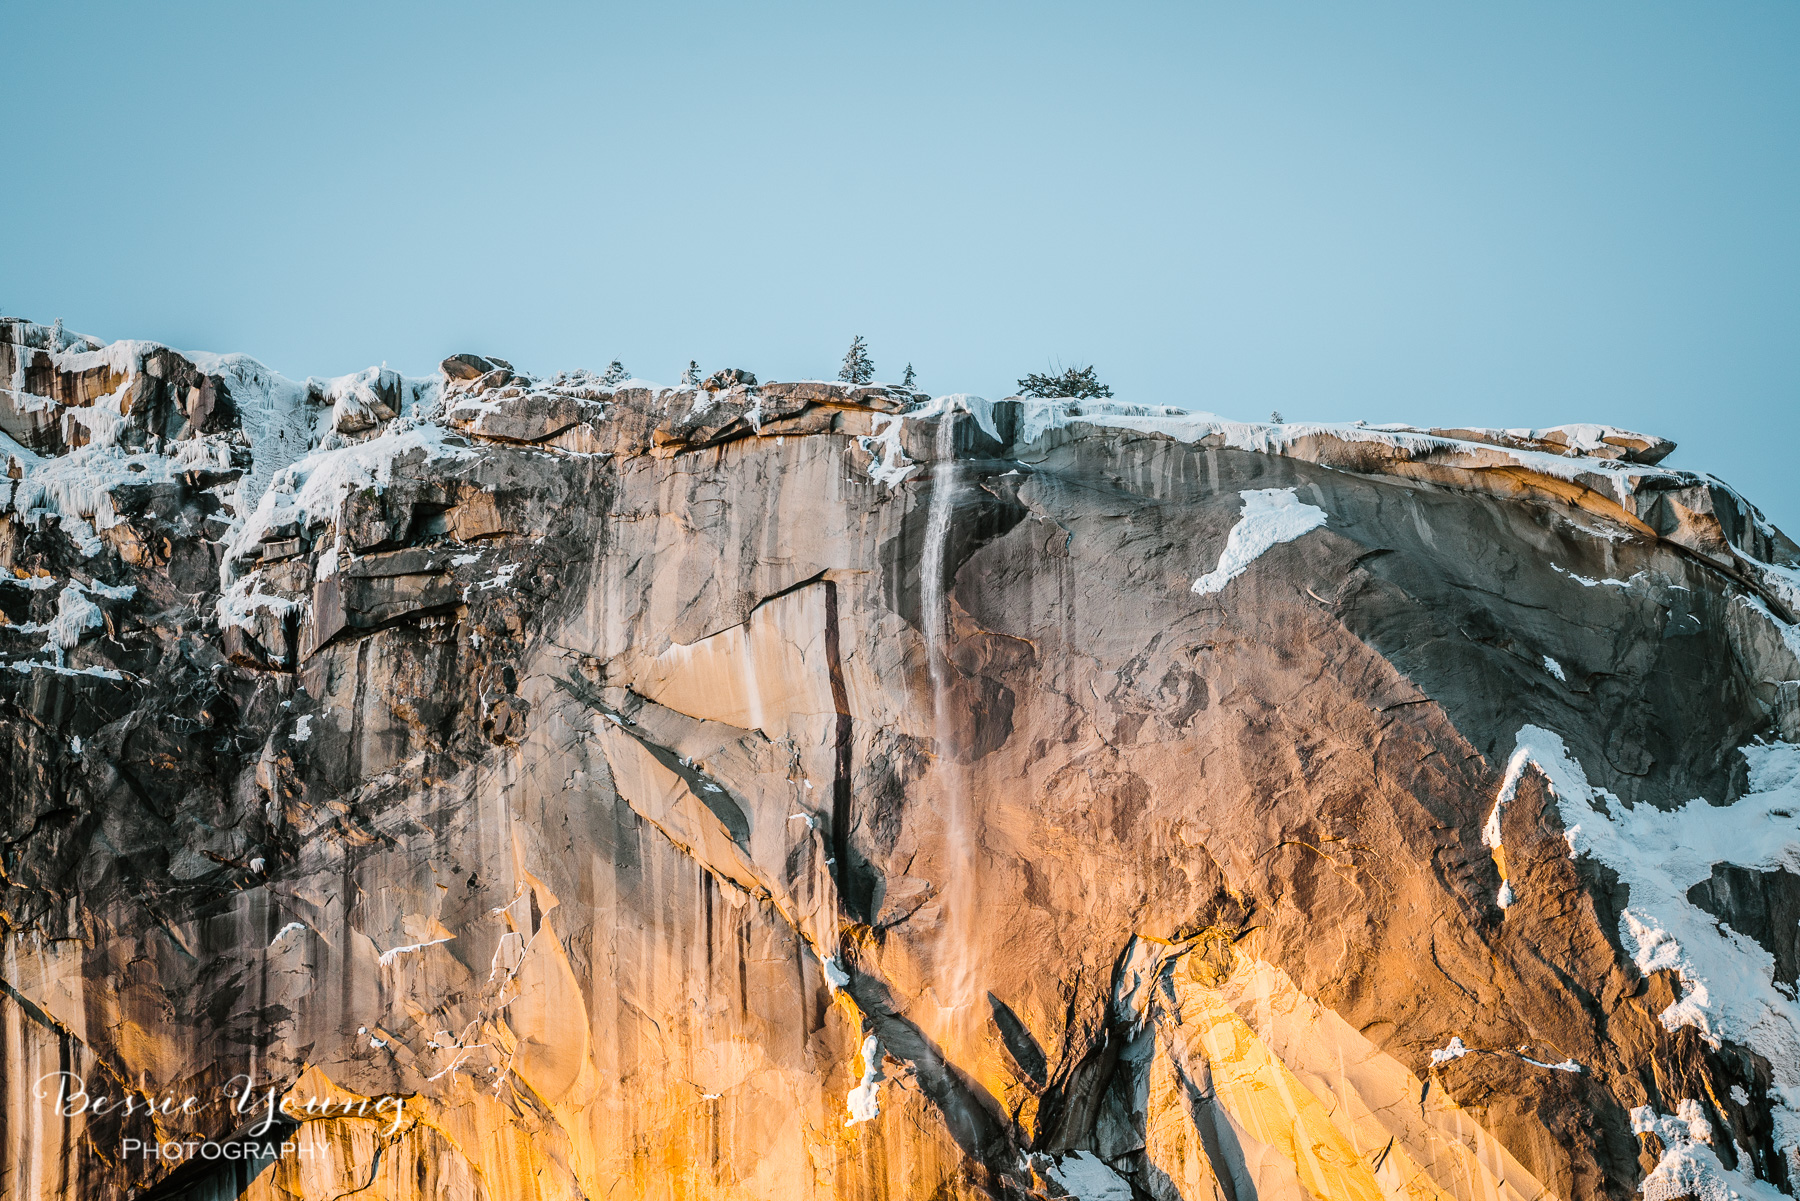
This is an amazing natural phenomena that occurs in Yosemite. Basically, it is where the waterfall that runs off of El Capitan, called Horsetail Falls, lights up and looks as though it is on fire as the sun sets. It turns a bright yellow, then orange, then pink color.

Yosemite National Park Photography by Bessie Young Woman Outdoor Photographer - Horstail Falls Yosemite Firefall.jpg

2. How to see the Firefall

In order to to see the Firefall off of Horsetail falls you have to have all the right conditions. It is a little tricky:

  1. The Horsetail fall waterfall that runs off of El Capitan must be flowing.

  2. The western sky must be clear. Basically, you don’t want any clouds to cover the sun as it sets or else you won’t see the falls change colors.

  3. You have to be there at sunset (this year it was around 5:20)

  4. You have to be at the right angle. You need to be on the east side of the waterfall looking up at it.

  5. The angle of the sun has to be just right in order to hit the waterfall and create the gorgeous colors. This only occurs in late February. Basically the 2nd and 3rd week of February are the optimal times to see it.

3. How to Photograph the Natural Phenomena

Alright friends this is where it gets fun! So obviously you have to be there at the right time of year, have the right conditions, and be at the right angle. Now how do you make sure to get the shot you want?

You need to explore Yosemite and decide where you want to take the picture from. Try to envision the photo that you want to take. Do you want a tight cropped photo? Do you want a wide landscape photo? Once you figure out the composition that you want, this will help you choose your spot.

4. Other Gear You Need (Not Photography Related)

SO MUCH GEAR! lol, no not really, but kind of. Ok so you need your photo equipment obviously, but you also need to bring other things.

  1. Water

  2. Snacks

  3. A chair to sit and be comfy in (not necessary but nice)

  4. A head lamp to walk back to your car

  5. WARM CLOTHES - This happens in February in the High Sierra Nevada Mountains. Think COLD. This year it was getting down into the teens people. I bring:

    • Yoga pants under my hiking pants

    • Thick wool socks

    • Hiking boots

    • Beanie

    • Base layer long sleeve shirt

    • Down Jacket

    • Gloves

  6. Hand warmers. This things are amazing if you get cold easy.

  7. Backpack to carry all your things

5. Other things to consider

According to the Yosemite National Park website they are going to be implementing a permitting process. It was supposed to start this year, 2019; however, due to the snow they decided to push out the permit requirement to start next year 2020. I am uncertain as to how that his going to look, but make sure you are prepared so you don’t go to all the planning just to get to the entrance of the park and have to turn around.

Have you ever seen the Firefall? Did you even know about it before you saw this post? Comment below and let me know.

Do you have any questions on how to shoot the falls? Ask your question in the comments below and I will get back to you.

Wishing you the very best!

Bessie


P.s. Love this post? Check out these similar ones:

Rocky Mountain National Park Sunset Landscape Photography

Rocky Mountain National Park Sunset Landscape Photography

by Bessie Young

Rocky Mountain National Park Sunset Landscape Photography Tutorial by Bessie Young Photography .jpg

I have always wanted to see a moose. Always. It has been a dream of mine or goal of mine to actually finally see one.

A few years ago, I went to Yellowstone and the Grand Tetons. I was super excited to be in these locations as I thought for sure I was going to see one. Well… not so much. It didn’t happen.

Then a couple years ago I was up in the northern most part of Idaho. I was certain this was my time to see a moose… well, it didn’t happen again.

This year I traveled over to Colorado to take a long road trip back to California. My goal was to just see some beautiful landscape. As I planned my trip, of course moose was on my mind. I researched where to see moose in Colorado and the Rocky Mountain National Park was one of those places so of course that was going to be my #1 destination.

As my plane got ready to land the pilot began to speak letting us know that there is ‘some weather’. Now what that meant no one knew, but one thing I did know was that could effect my Rocky Mountain National Park adventure. The plane landed, and it was slightly snowing in Denver. I wasn’t too worried about it, but did think there was a bit of potential that my travels were going to be thwarted.

Denver was my home for the night. It snowed all night. When I woke up in the morning there was a dusting of snow, so I got on my phone to check the conditions of the park. Of course the main road through the park was closed, but good news was the valley was still open! Yay!! I was pretty excited as the meadow was one of my main destinations and one of the main places that you would be able to see moose!

So, I packed up all my things and headed to the park. The pass to the park was beautiful and snowy, well actually the entire drive was beautiful and snowy. As I entered the park there were so many beautiful views and even better, there was absolutely no one there! It was like I had the entire valley of the park to myself! Let me tell you, this was a huge freaking treat.

I traveled through the limited open area of the park searching for moose along the way. To my disappointment there was none. I do not know much about moose habits; however, I was definitely wondering if the snow had ran them down into lower elevation.

Wildlife photography by Bessie Young Photography 2018-7.jpg

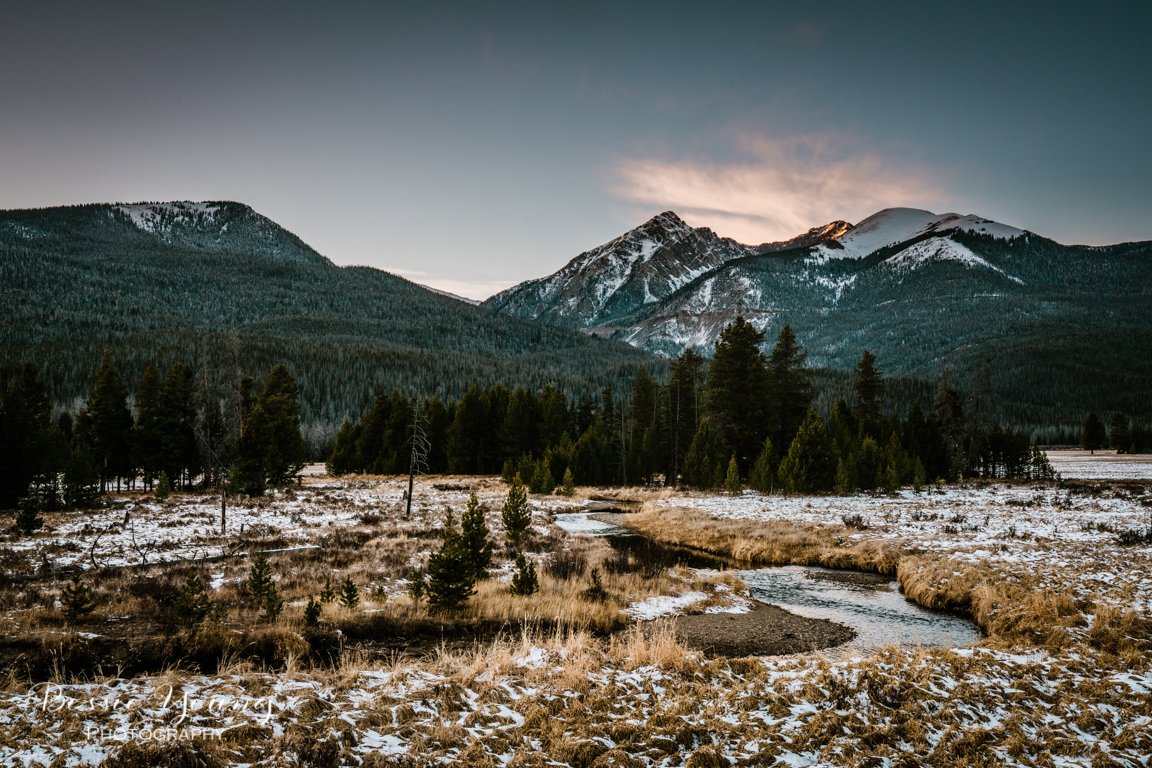
Since there were no moose, my next goal was a good sunset landscape photograph. As I was wandering through the park I found some amazing views. I made it all the way to the closed gate, I sat there for a moment watching the cutest birds ever, and then decided on my final location for my sunset photograph.

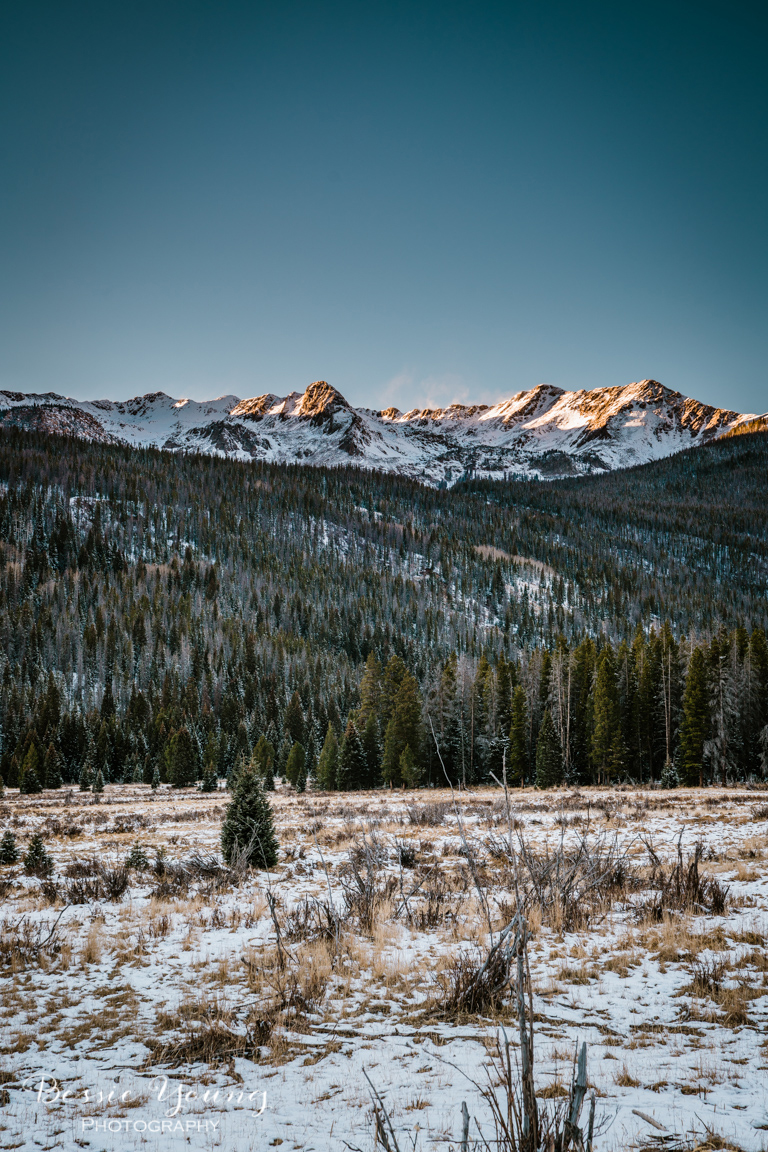
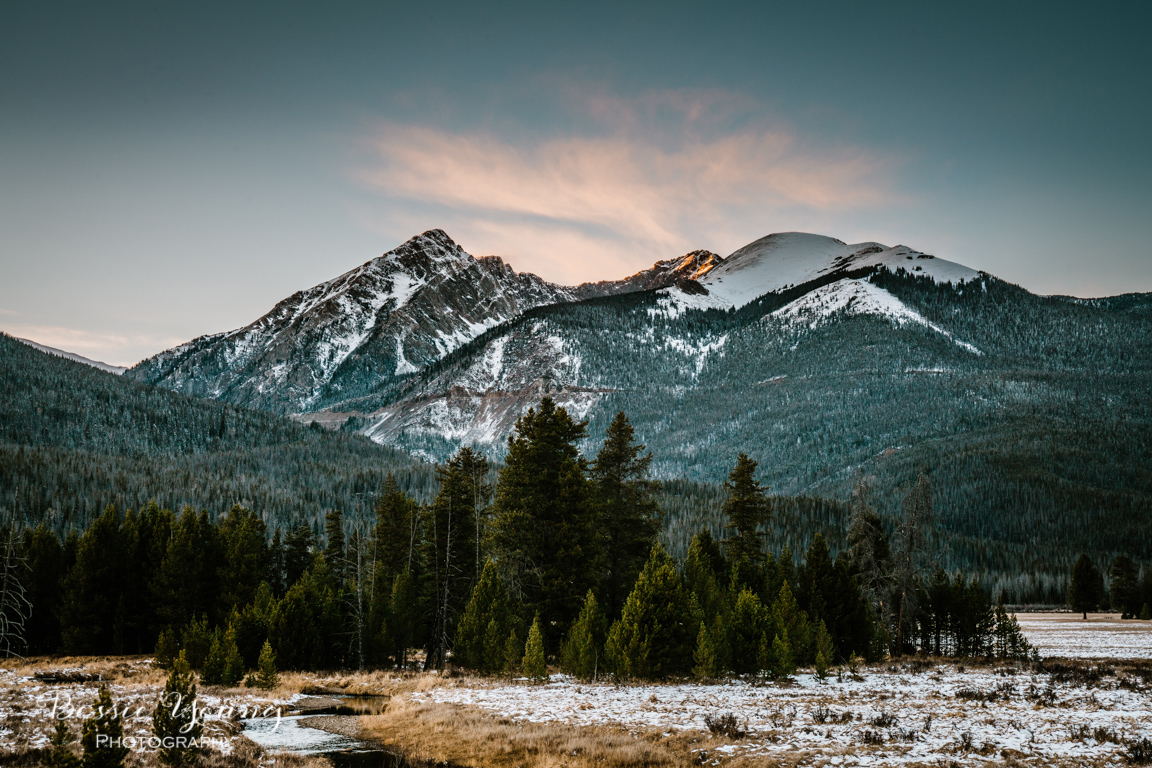
The location for my main sunset image was an easy decision. There was a beautiful meadow with a stream that meandered through, the snow capped gorgeous mountains in the back, and surprisingly the only cloud in the sky. The stream was the perfect leading line right up to the mountains.

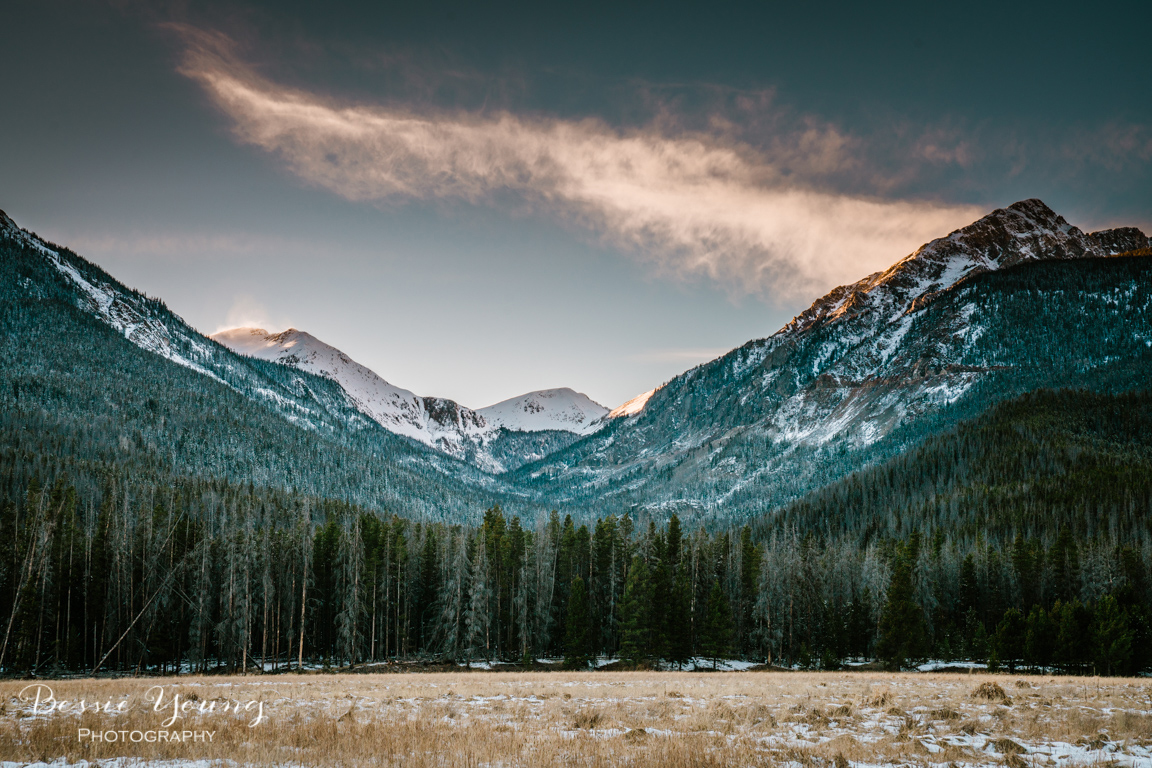
After I knew that I ‘got the shot’ I started playing around getting a few different images. Here are a few additional images that I got of the sunset:

On my way back to my hotel I was driving uber slow with big hopes that I might see a moose. Unfortunately, I didn’t get to see one, but I was able to capture some pretty awesome images on my way.

I hope you all enjoyed this blog. Have you been to June Lake before? If so leave a comment below . I would love to hear about your trip!

Wishing you nothing but amazing adventures and pretty pictures!

Bessie


P.s. Did you like this blog? Check out these ones as well:

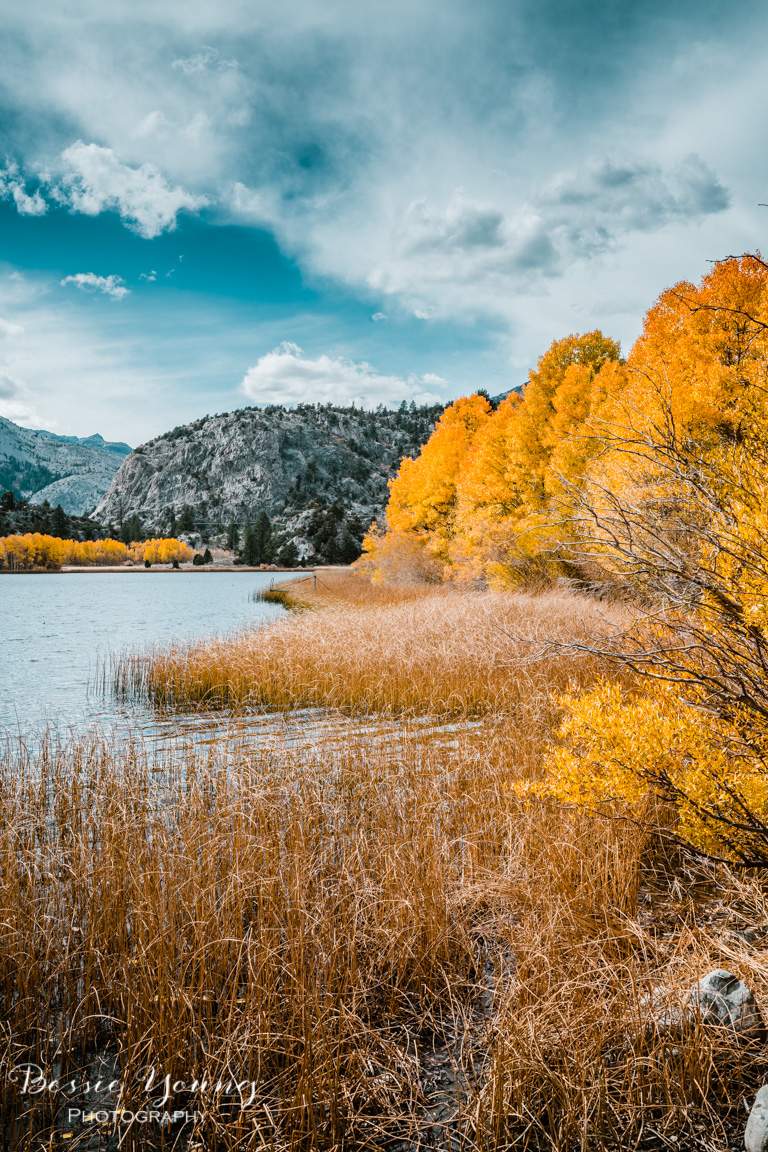
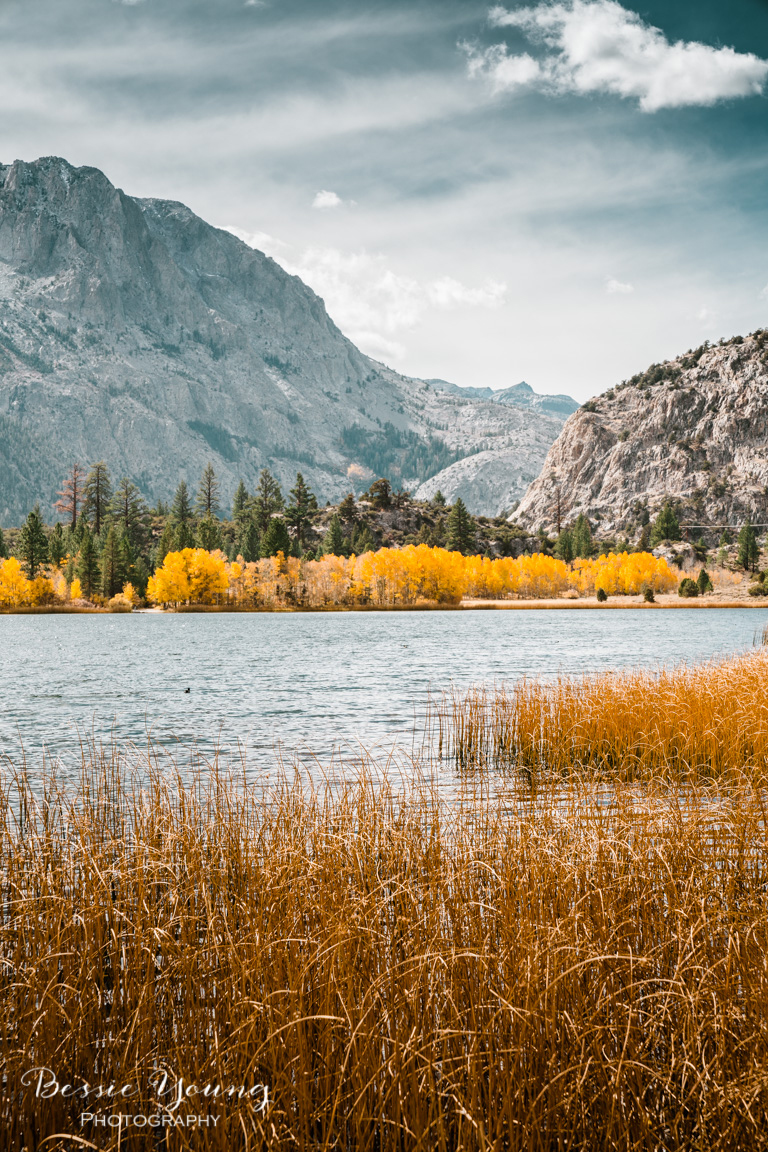
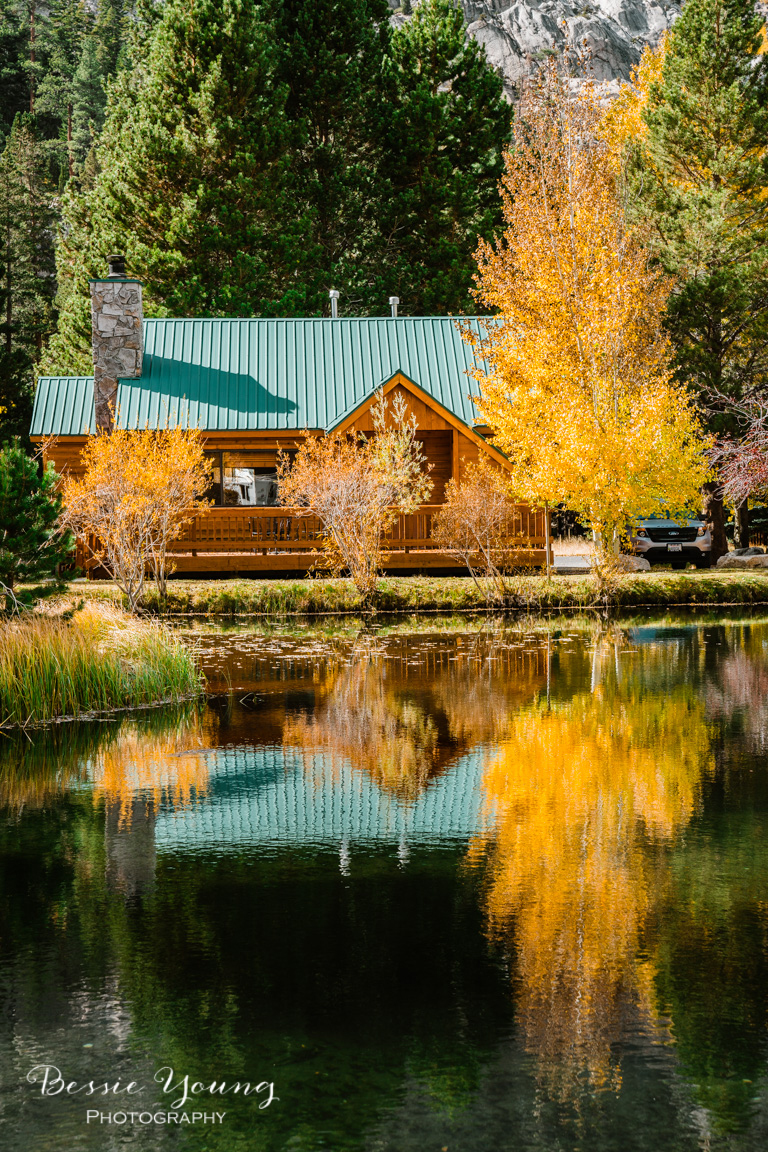
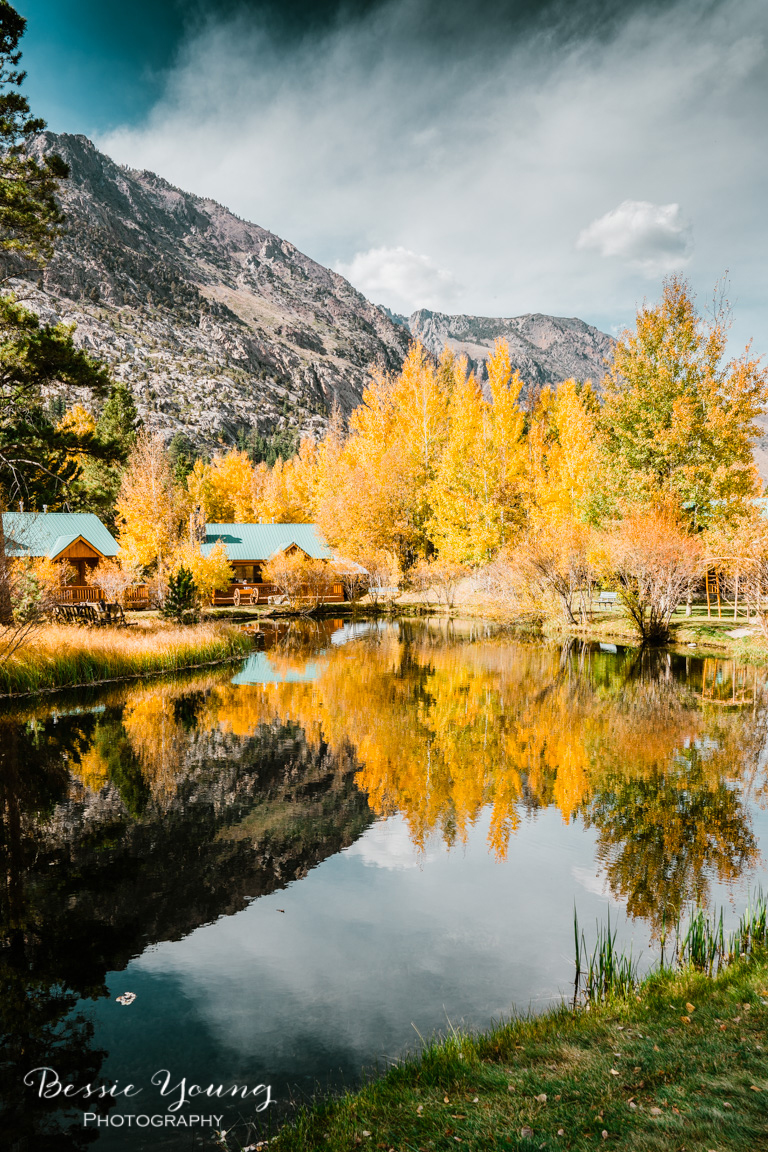
Fall Landscape Photography | June Lake California | Why have I never shared these?

Fall Landscape Photography | June Lake California

Why have I never shared these?

Landscape Photography by Bessie Young

Alright, lets chat a minute….

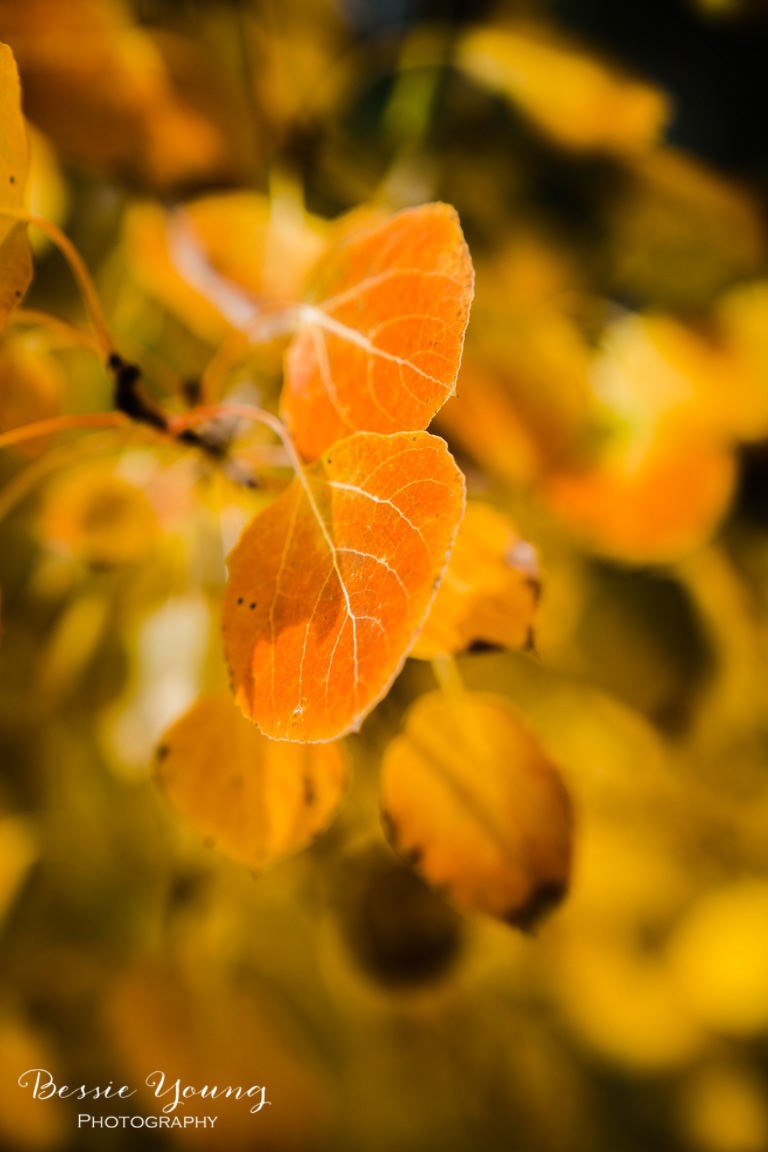
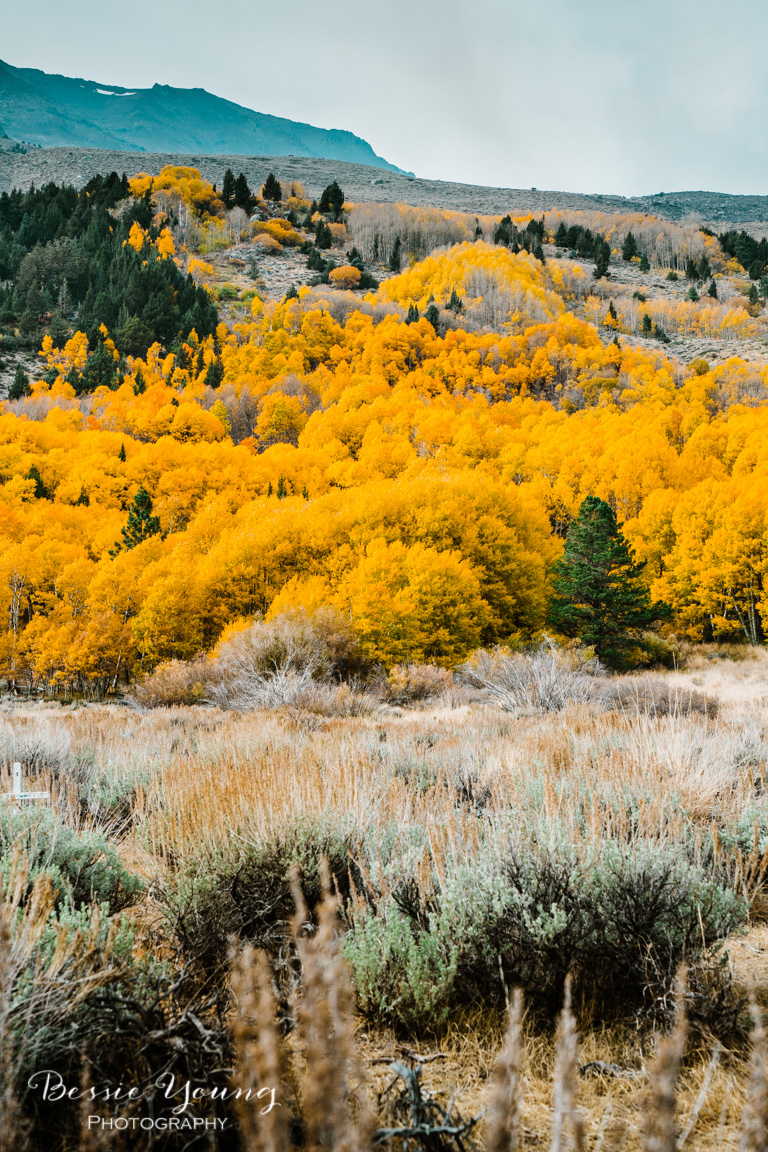
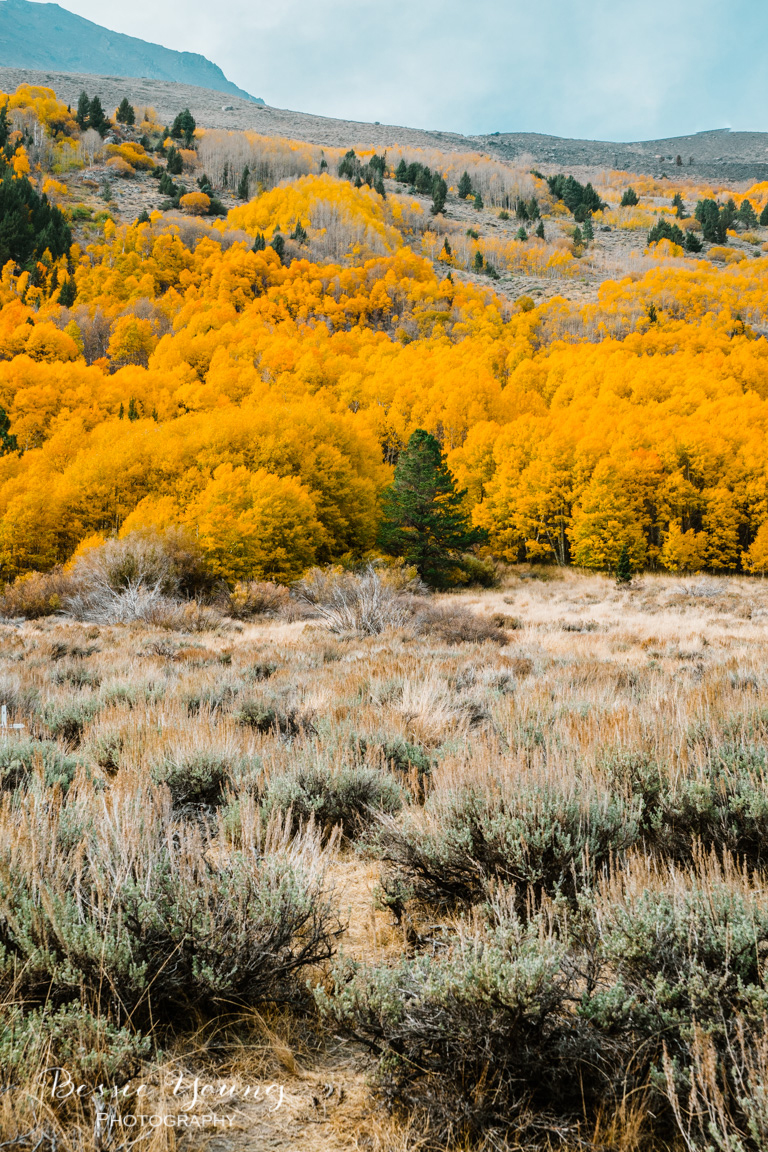
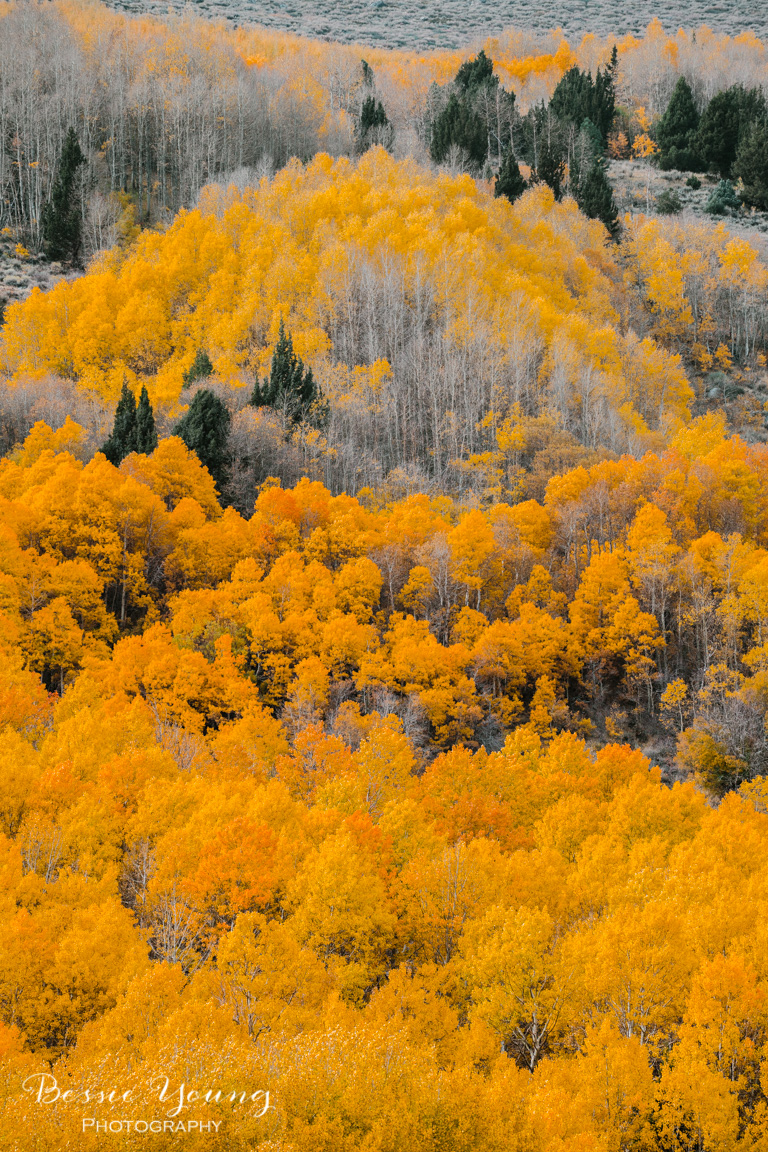
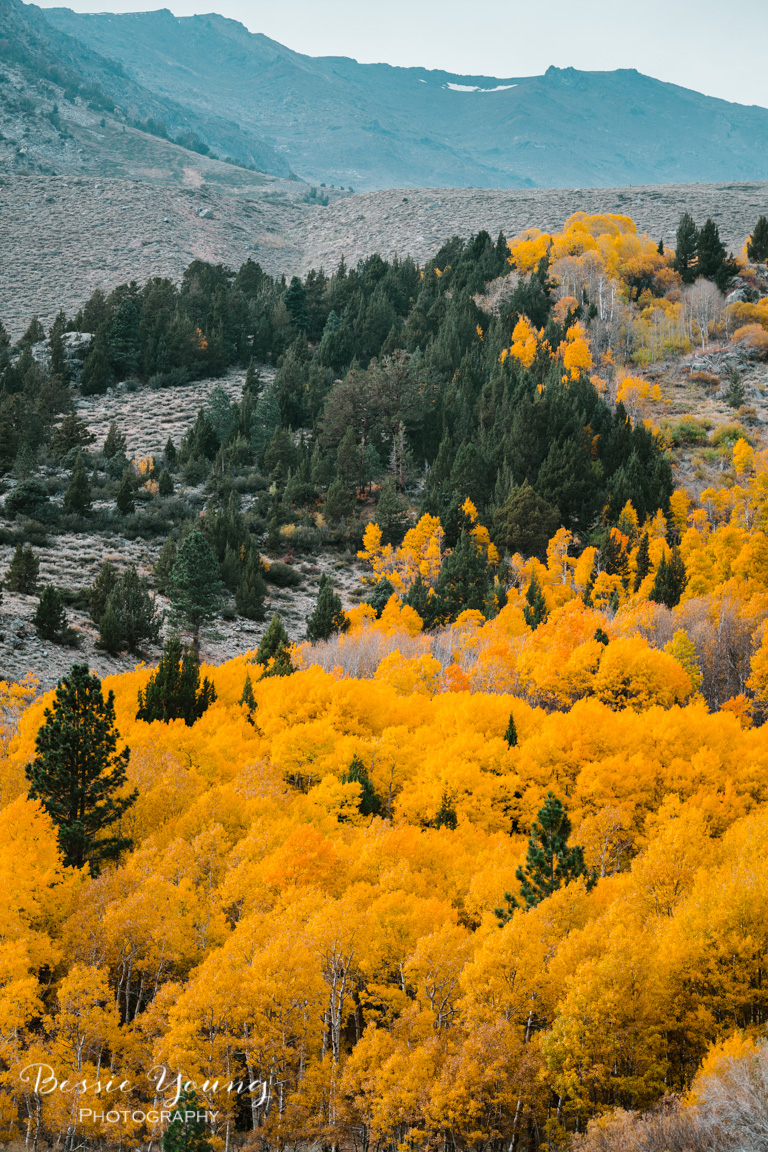
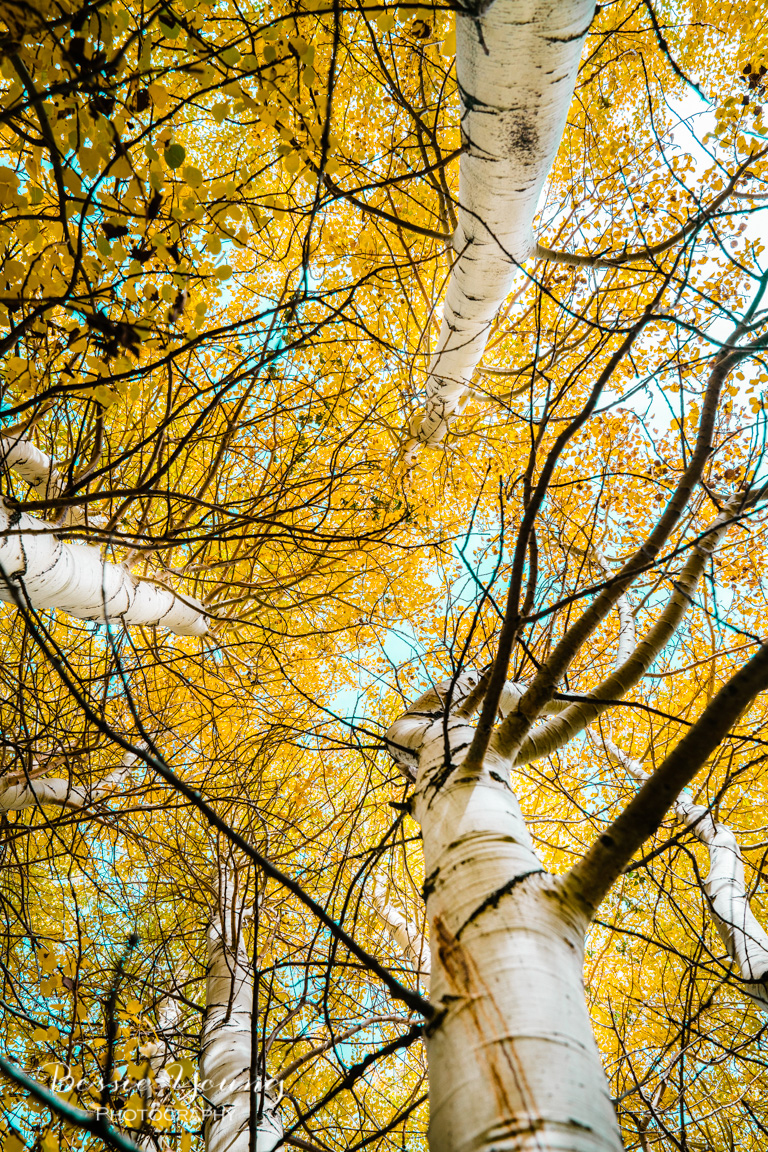
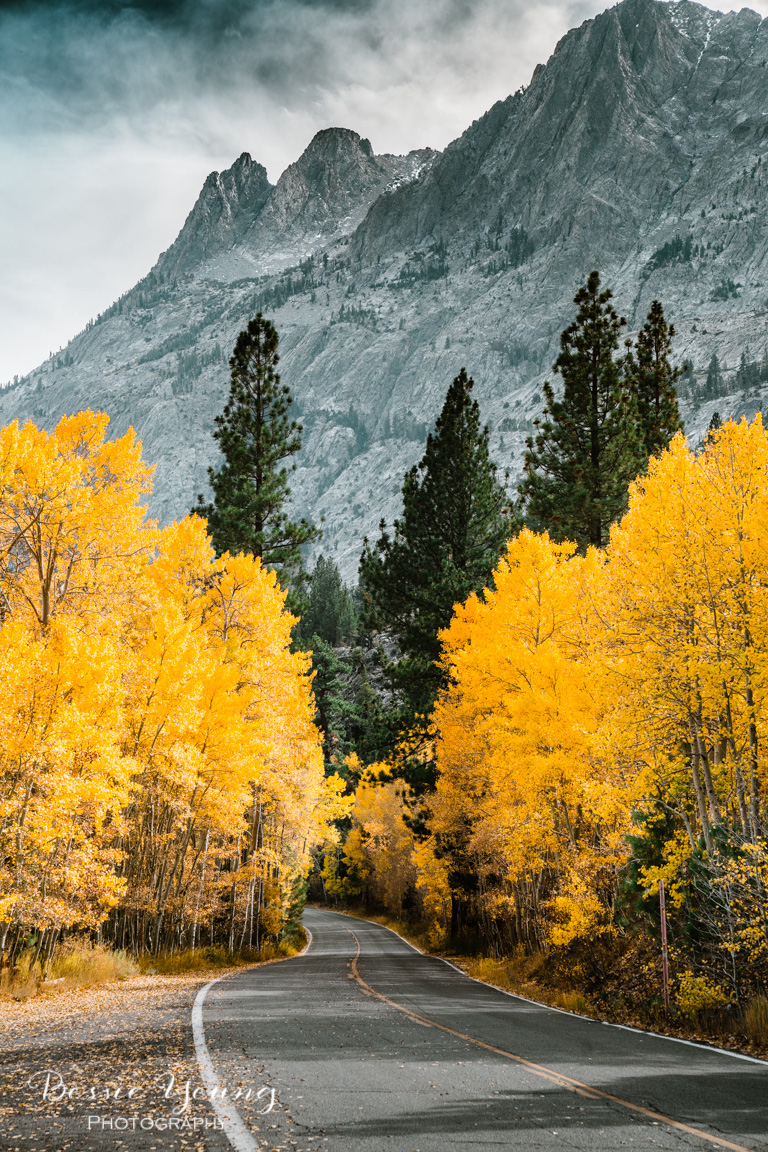
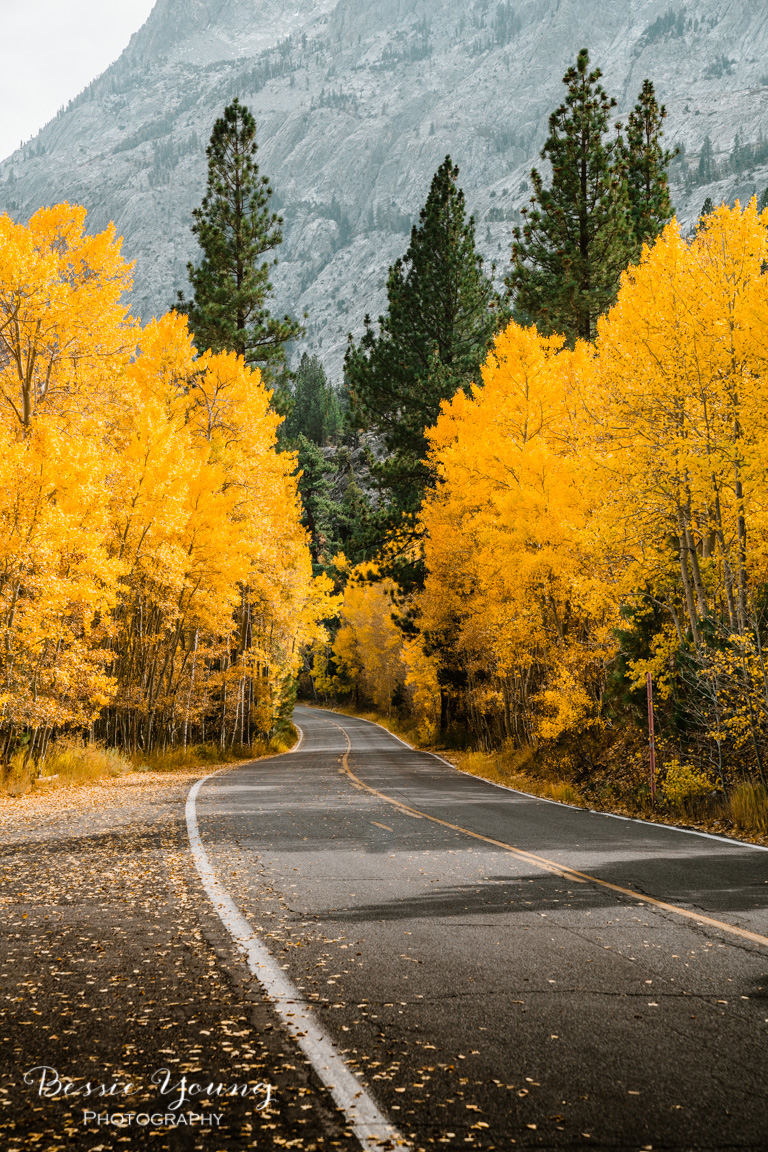
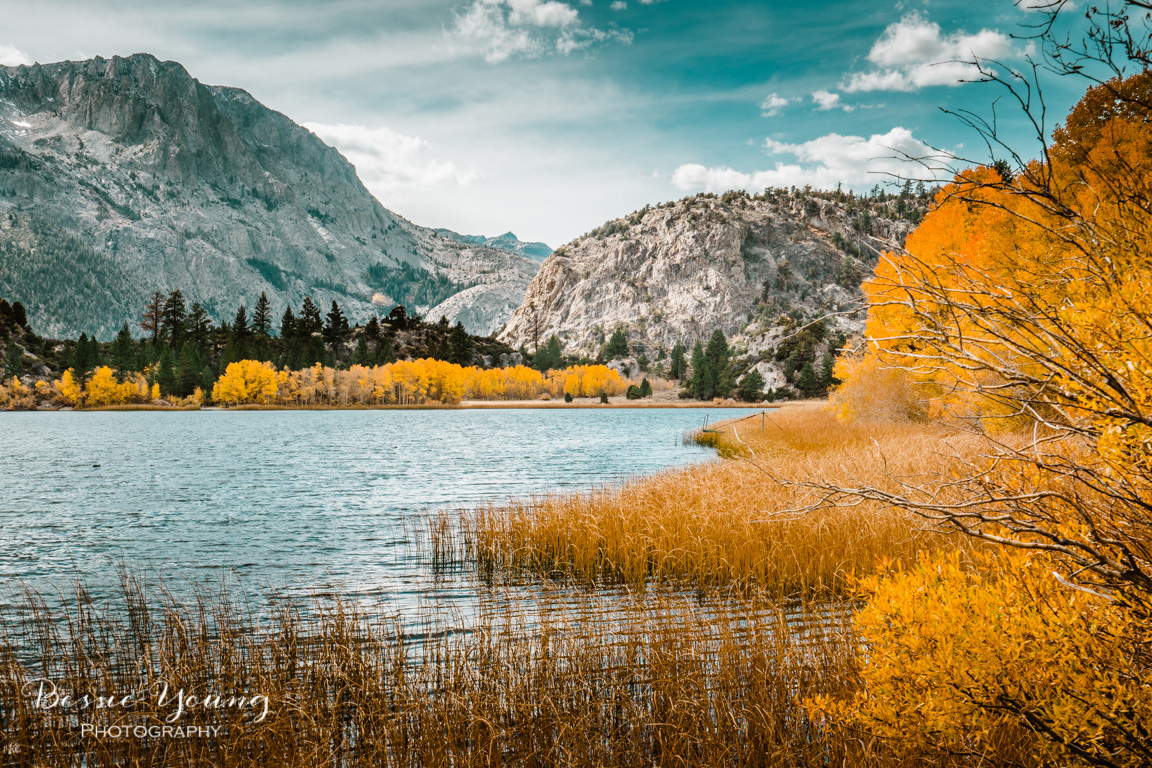
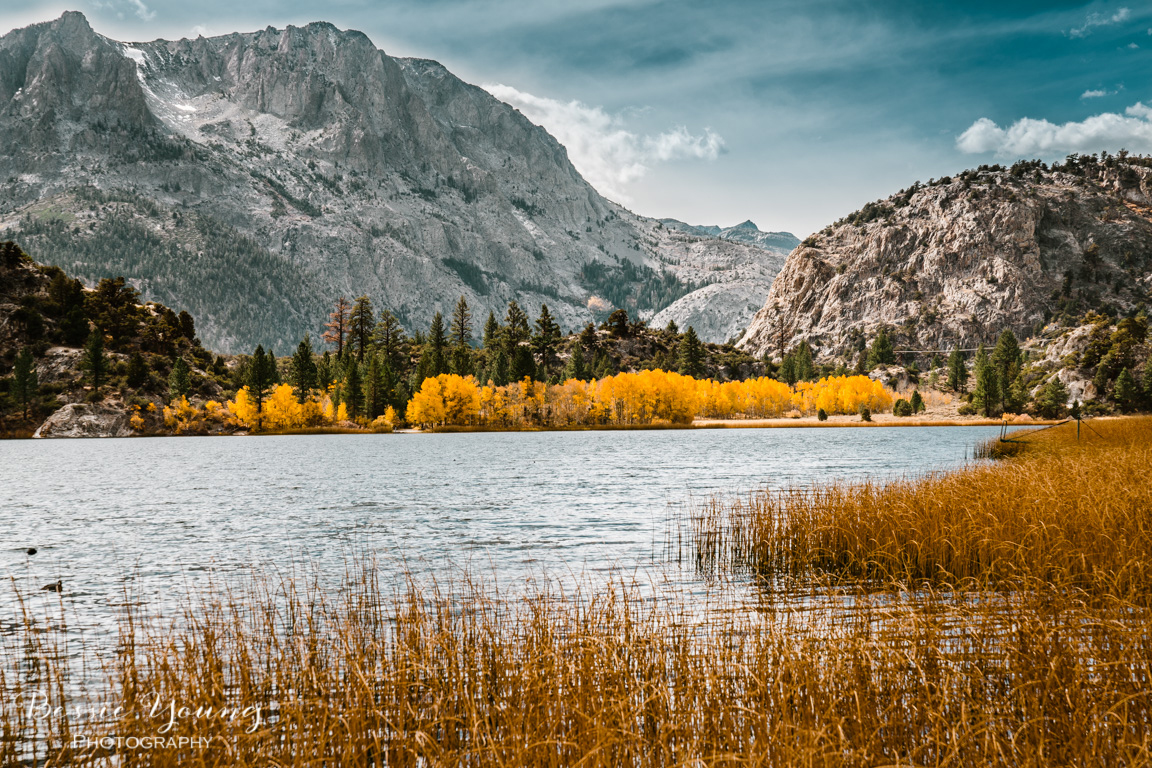
Last year I went on a trip to find fall. Fall is my absolute favorite time of year and I was determined to get some pretty fall images. Well on my adventure I ended up in June lake at the absolute perfect timing. All the aspens were gorgeous variations of yellows and oranges. I was ecstatic.

So I thought it was the perfect opportunity to create a beautiful fall landscape photography video. After I got all my footage and took some of the best fall images I have ever taken I got home and headed right to the computer to edit my video. I just HAD to share these images with you.

Well…. lets just say I was disappointed to say the least. The footage that I captured pretty much sucked. Yes…. sucked. I tried and tried and tried to make a video, but I just couldn’t. Everything about the video just wasn’t awesome. So I sat on it.

Later on I tried again to create the video because I just really wanted to share the images with you; however, I still just couldn’t. Maybe that is my perfectionist inside of me, but I just really didn’t like any of it. It was a crazy windy day which made for terrible noise. The video didn’t have much sequence behind it and seemed to just jump around like crazy. So again I didn’t post it.

Now it’s Fall of 2018. One whole year later. I thought to my self ‘hey this is the perfect time to post that video. Let’s do this!’ So again I tried and again I failed. Then I decided that there have just been too many times that I haven’t posted. Too many videos that I have created and that just end up in the recycle bin on my computer. Too many times that I have been a perfectionist and not shared some of the goodness with you even though it isn’t really up to snuff.

I decided that it was finally time to share this no matter what. So I created a different sort of video. Something that I wasn’t happy with, something that was less than par, and something that I forced myself to post anyways….

My thought behind this video is that it is better to share something less than perfect than to not share anything at all.

We are our own worst critics. We judge ourselves, talk negatively about our creations, and eventually just talk ourselves out of creating and / or sharing with others due to this idea that everything has to be just so.

Shop fall landscape fine art here:


I truly believe that so many amazing things have been created and thrown away just because the creator thought it wasn’t good enough. It could have been the next world masterpiece; however, it ended up in a trashcan somewhere.

So, it is time to just stop it. To stop throwing our creations away. So what if they aren’t perfect, and so what if they don’t get the best reviews. The idea is that you are still creating, still sharing, and still inspiring others. Plus, sometimes the imperfect things are really the best.

So here is my imperfect video with some of my best photos I have ever taken. Here is the video that I didn’t post for over a year because I judged everything about it. Here is a different take on my normal style, something that I am incredibly nervous to share and something that might have people judging my abilities, but here it is anyways.

I hope you all enjoyed this blog. Have you been to June Lake before? If so leave a comment below . I would love to hear about your trip!

Wishing you nothing but amazing adventures and pretty pictures!

Bessie


P.s. Did you like this blog? Check out these ones as well:

Backpacking Dinkey Lakes Wilderness - Landscape Photography

Backpacking Dinkey Lakes Wilderness

Landscape Photography

I am just now finally posting about my backpacking trip back in August! Man where does the time go? Seriously though, just crazy. Anywho, lets get to it!

Hike to Cliff Lake - Base camp Day 1

There are two ways to get to Cliff Lake (two different trailheads). This trip I decided to take the trailhead out of Courtright Lake. The reason being that it is a paved road the entire way and the hike is about 1.5 miles shorter.

The Hike Details from the Trailhead to Cliff:

Distance: Approximately 5 miles. - everytime I hike to this lake my tracks shows a different number. Once it showed 4.75 miles, once it showed 5.5 miles, so I am averaging it out to be about 5 miles.

Max elevation: 9209’

Lowest elevation: 7979’

Trailhead elevation: 8363’

It ultimately took 2.75 hours to get to Cliff Lake from the trailhead.

Day 1 Sunset

I always have a few photography goals when I am out backpacking:

  • Document the trip

  • Get a few time lapses

  • Star shots

  • Sunrises for that nice soft water at the high mountain lake with the beautiful reflection

  • Sunsets with all the beautiful colors

After finding the perfect camping spot setting up base camp the sun just started setting and it was the absolute best sunset of the entire trip. I set up my camera for a fun time lapse and also got some amazazing shots!

Hike Around Cliff Lake - Day 2

Backpacking Cliff Lake - Dinkey Lakes Wilderness - Landscape Photography by Bessie Young - California Hiking Trails

Funny enough I have never hiked all the way around Cliff Lake. I have been here a handful of times but never actually have I hiked around it. So I decided day 2 was going to be a rest day just enjoying the beauty of the wilderness. During this time, I figured it was the perfect time to take a lesurely stroll around the lake.

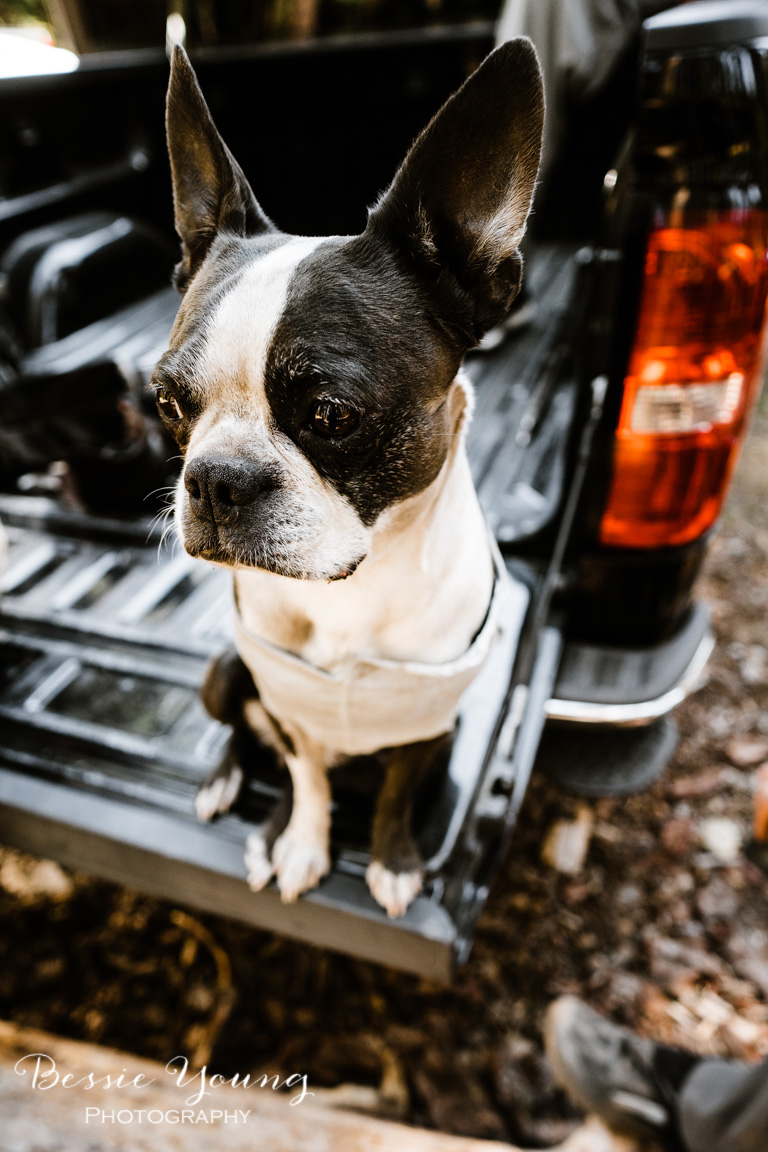
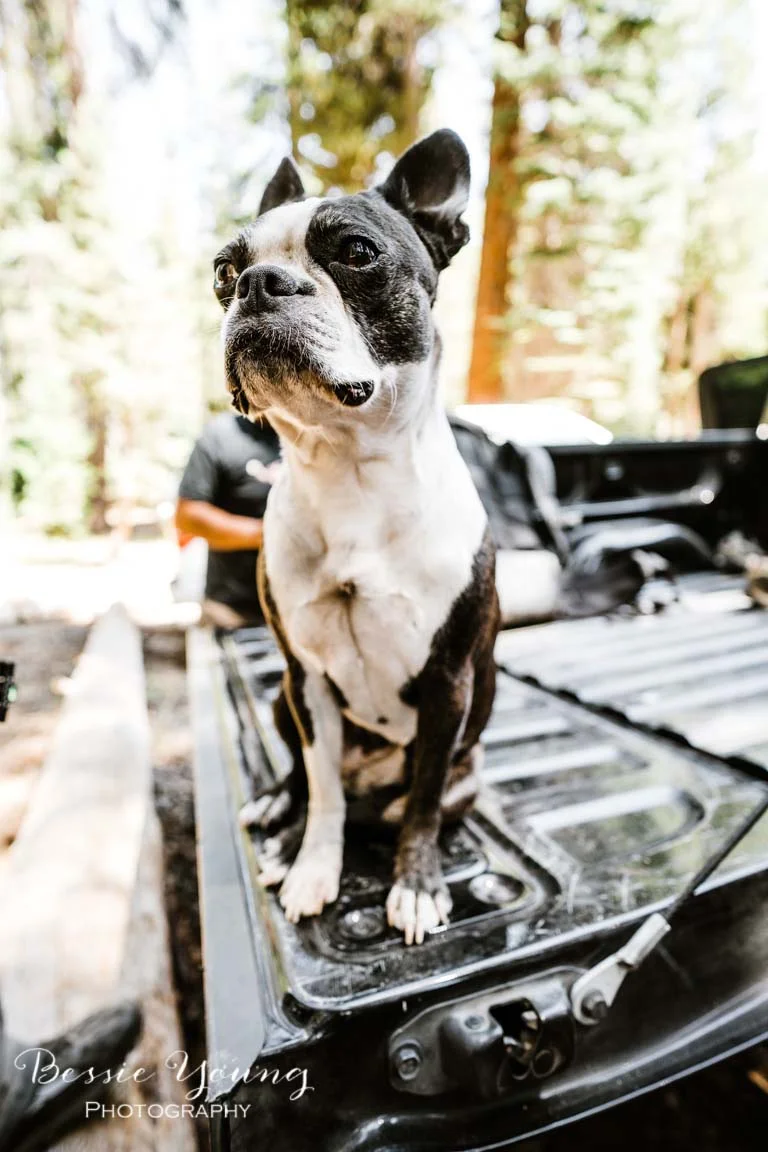
For the most part the lake is easy to get around during the summertime. There is a nice trail that meandures around the lake and it is mostly flat. Then there is the cliff side of Cliff lake. Yes, where the cliff runs into the water. Now this is no joke, and definitely not easy to get around especially when you have a little dog. It doesn’t look too bad from the other side of the lake, but believe me it isn’t very easy. Now, it is definitely doable, especially if you didn’t have to worry about your Boston Terrier, but with Yota, it made it a little hard. I do have to say I ended up scooting on my booty with my dog in my lap a couple of times to make it to the other side :)

The walk around the lake took about an hour, but then again it took me much longer than it should have because of Yota and those steep rocks. It is definitely a must because the southerly side of the lake is the only spot that you can see Dog Tooth Peak from.

Day Hike to Little Lake - Day 3

On Day 3 I thought it would be perfect to hike to a lake called Little Lake. This lake is deep within the Dinkey Lakes Loop and rarely traveled to. It is about 2.3 miles from Cliff Lake to Little Lake. It is probably one of my favorite lakes for multiple reasons.

  1. There are always cute tree frogs

  2. It is the only place that I have seen Grouse

  3. It has pretty much the best view of Dog Tooth Peak

  4. There is never anyone here

  5. It has the best fishing of all the lakes

Hike Details:

The hike from Cliff to Little and back is not the easiest. Basically you go up a mountain and down the other side to reach Rock Lake. Then you continue downward to reach Little Lake. Now when you think about it, that means it is mainly uphill back to Cliff Lake.

Distance: 2.3 miles

Highest Elevation: 9961’

Lowest Elevation: 9081’

Elevation at Little Lake: 9493’

Round trip from Cliff to Little to Cliff: 4.6 miles

The Stars Came Out - Day 3

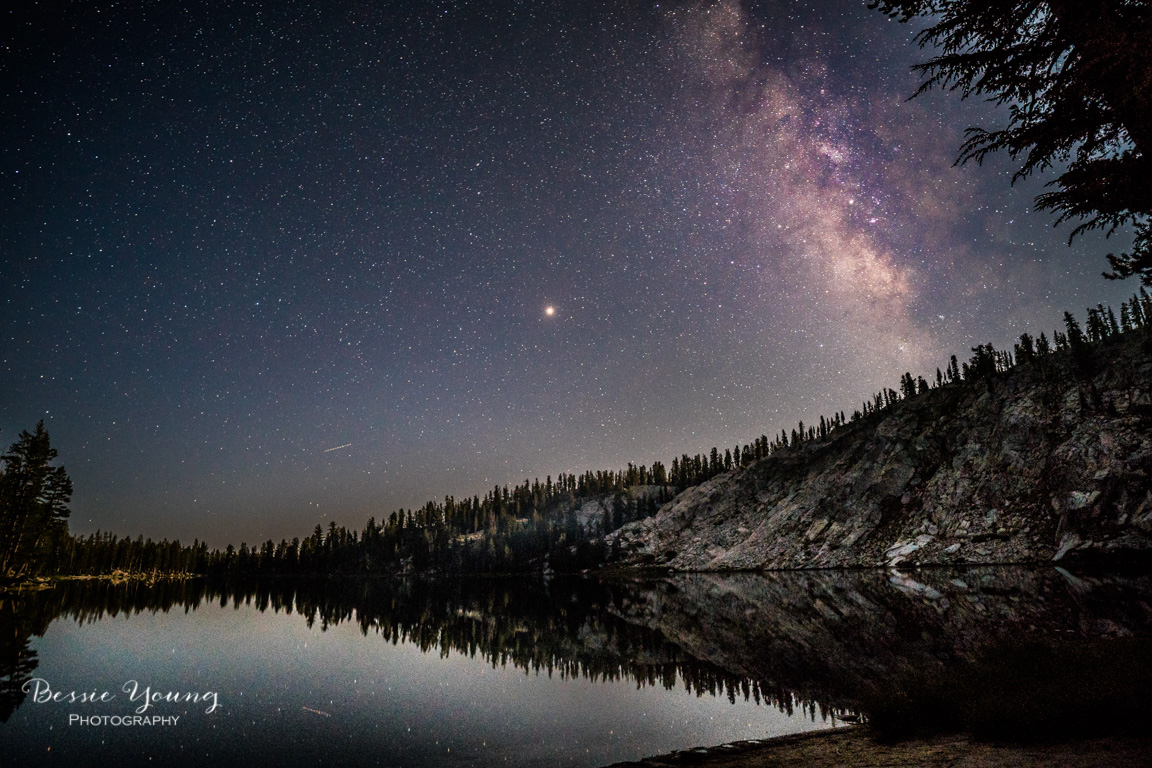
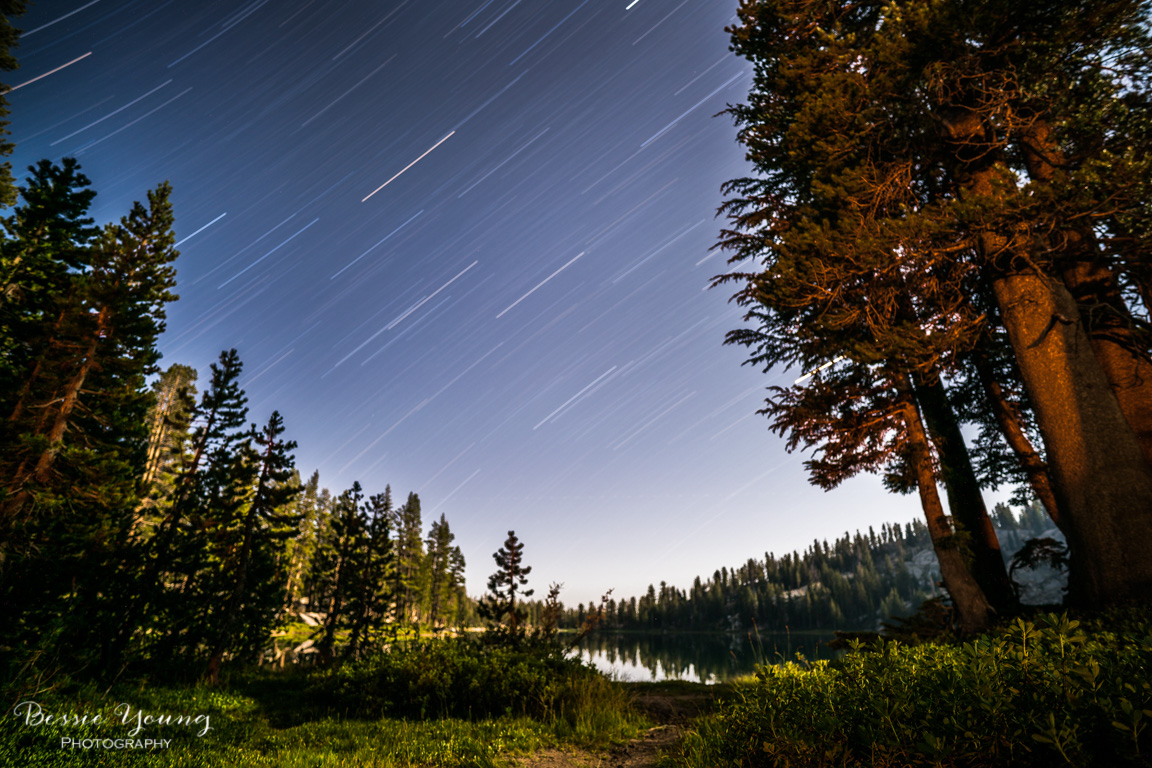
As I said previously one of my main photography goals is to get some awesome star photos. I loooooovvvvvveeeeee getting start photos of these beautiful high mountain lakes. It changes the perspective and makes it look like a completely different world. It is seriously awesome!

If you are interested I did make an entire blog post on How to Take Night Photos. Make sure to head that way for all my tips and tricks on how to get amazing shots like these ones!

The Last Day - Day 4 the hike out

The hike out is always the saddest time. It means that the trip is coming to an end. It means that reality is just around the corner. To remedy these post backpacking blues, I always make sure to pack a beer in my car for when I get back. This way when I am loading everything up I can enjoy it with a nice cold brewskie. I also make sure to pick a really yummy place to eat, because after multiple days eating dehidrated food, you really want ice cream or a big ole burger. This time I decided that my food of choice was going to be something from the Hungry Hut in Shaver Lake. (Yes I got a burger and a big ole berry shake. Amazing)!

I hope you all enjoyed this blog. Make sure to watch the video at the beginning to see a bit of the behind the scenes and how I got the shot.

Wishing you nothing but fun adventures, beautiful sunsets, and amazing memories.

Bessie


P.S. Did you like this blog? Check these ones out:


Things don't always go as planned - Backpacking Devils Bathtub Graveyard Trailhead

Things Don't Always Go As Planned....

Backpacking Devils Bathtub

Landscape Photography by Bessie Young

Earlier in July I set off for a 4 day 3 night backpacking trip into the Ansel Adams Wilderness. The Graveyard trailhead starts at Edison Lake in Fresno California. The original plan was to stay at Devils Bathtub for a night and then head over to Graveyard lake for the remainder of the trip. Well let me tell you, things don't always go as planned.

The Trip to Devils Bathtub

The trip started off hot. The weather was calling for highs of 70 and lows in the lower 40's. The first day was a tad bit warmer than expected, but I started in the late morning so it wasn't too hot. I hiked from Edison lake to Graveyard Lake having to take quite a few stops to let Yota, my Boston Terrier, take a breather and cool off. We made it to the lake with plenty of time to enjoy the evening, set up camp, cook dinner, and just relax.

That night seemed incredibly warm, but I didn't think much of it. I didn't have my thermometer on, so I thought it was just my metabolism being heightened from the long walk in and the big pasta dinner I ate that evening.

Devils Bathtub Hike Details:

Distance: 4.5 miles one way

Elevation Gain: 1,551 feet

Trail Type: Out and back

Lake Elevation: 9,167 feet


Things don't always go as planned - Day 2

After packing up all my gear I headed off to Graveyard lake as planned. The day was getting hotter and hotter and with that I was getting a little concerned that Yota would be able to finish the hike.

About halfway to Graveyard I decided to take a break. You see Yota is a dog that will definitely out walk me, but not on this day. She wasn't panting hard, her tongue wasn't large, but she kept laying down every time I would stop. This was just weird. She is always out in front chasing lizards along the way. The break was the moment that I needed to make a decision. Was I going to head back to Devils Bathtub or continue on to Graveyard. As I sat there contemplating my day, Yota kept falling asleep. She was just so tired.

The Decision

I knew from the moment that I decided to take a break I was going to carry Yota. I might be overly cautious, but I couldn't imagine if anything happened to her. 

My choices were to hike to Graveyard which was all uphill, or head back to Devils Bathtub which was all downhill. Now Yota is 22 pounds and adding 22 pounds to an already 35ish pound pack is quite a big deal for me. So I decided to go with the flow, take it easy on myself, and head back downhill to Devils Bathtub.

Backpacking Devils Bathtub Graveyard Trailhead - Landscape Photography by Bessie Young Photography - California Hiking Trail

Ultimately it ended up being a really nice day after accepting the fact that I wasn't going to be able to see all the pretty lakes that I wanted to see.

When I got back to Devils Bathtub I ended up taking a nice long swim in the lake and then relaxing on the beach for the afternoon. After my lazy afternoon I set up camp and started to scope out my area in order to get ready to take some pretty sunset images.

That night I made sure to turn on my thermometer to see how cool it got. It ended up only getting down to 58, mind you it was supposed to be in the low 40's. Ya, so much different that what was forecast.

So, the moral of the story is to really just go with the flow. If I wouldn't have gone back to Devils Bathtub I woudn't have gotten some really pretty pictures and early morning shots. I also wouldn't have been able to just relax and enjoy the moment, the breeze, the fresh mountain air, and just being in nature.

I hope you all enjoyed this blog. Have you been to Devils Bathtub or Graveyard lake? If so leave a comment below . I would love to hear about your trip!

Wishing you nothing but amazing adventures and pretty pictures!

Bessie


P.s. Did you like this blog? Check out these ones as well:

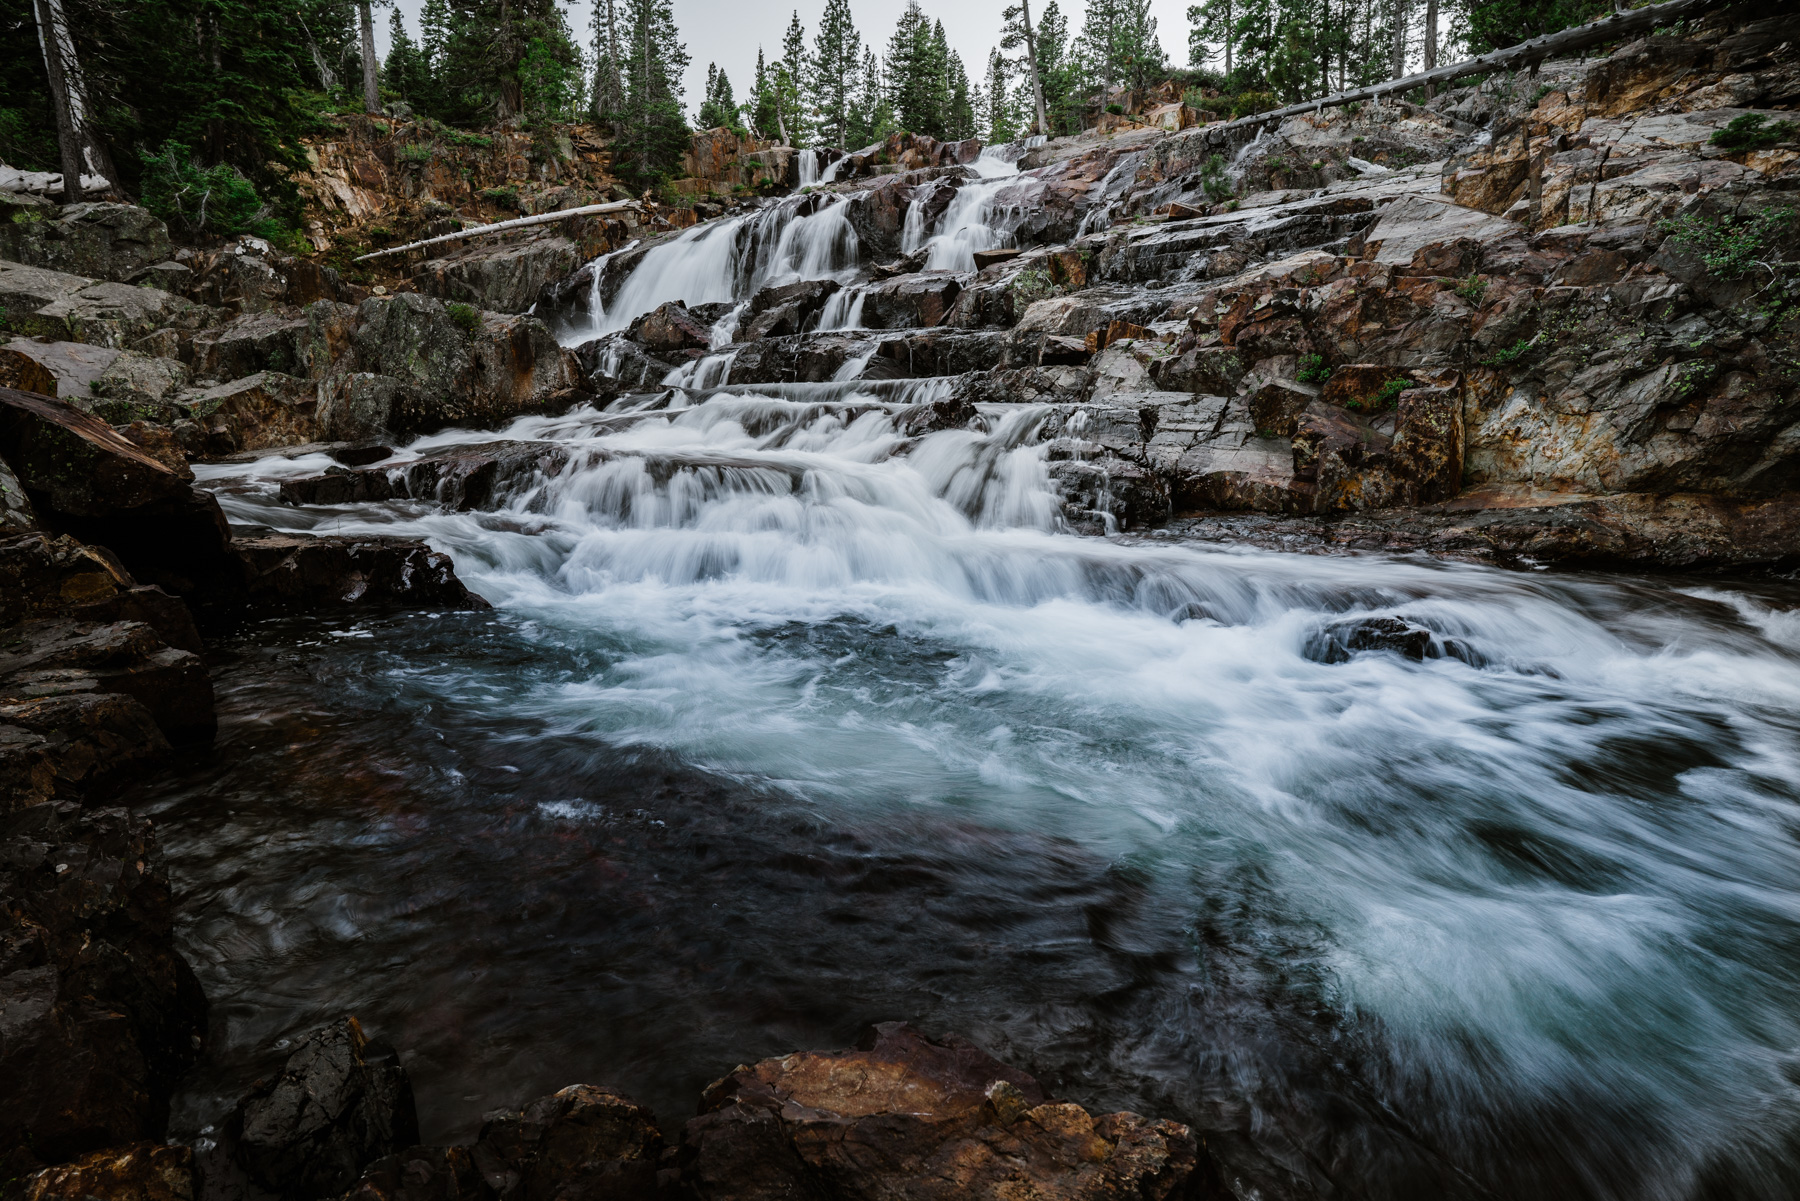
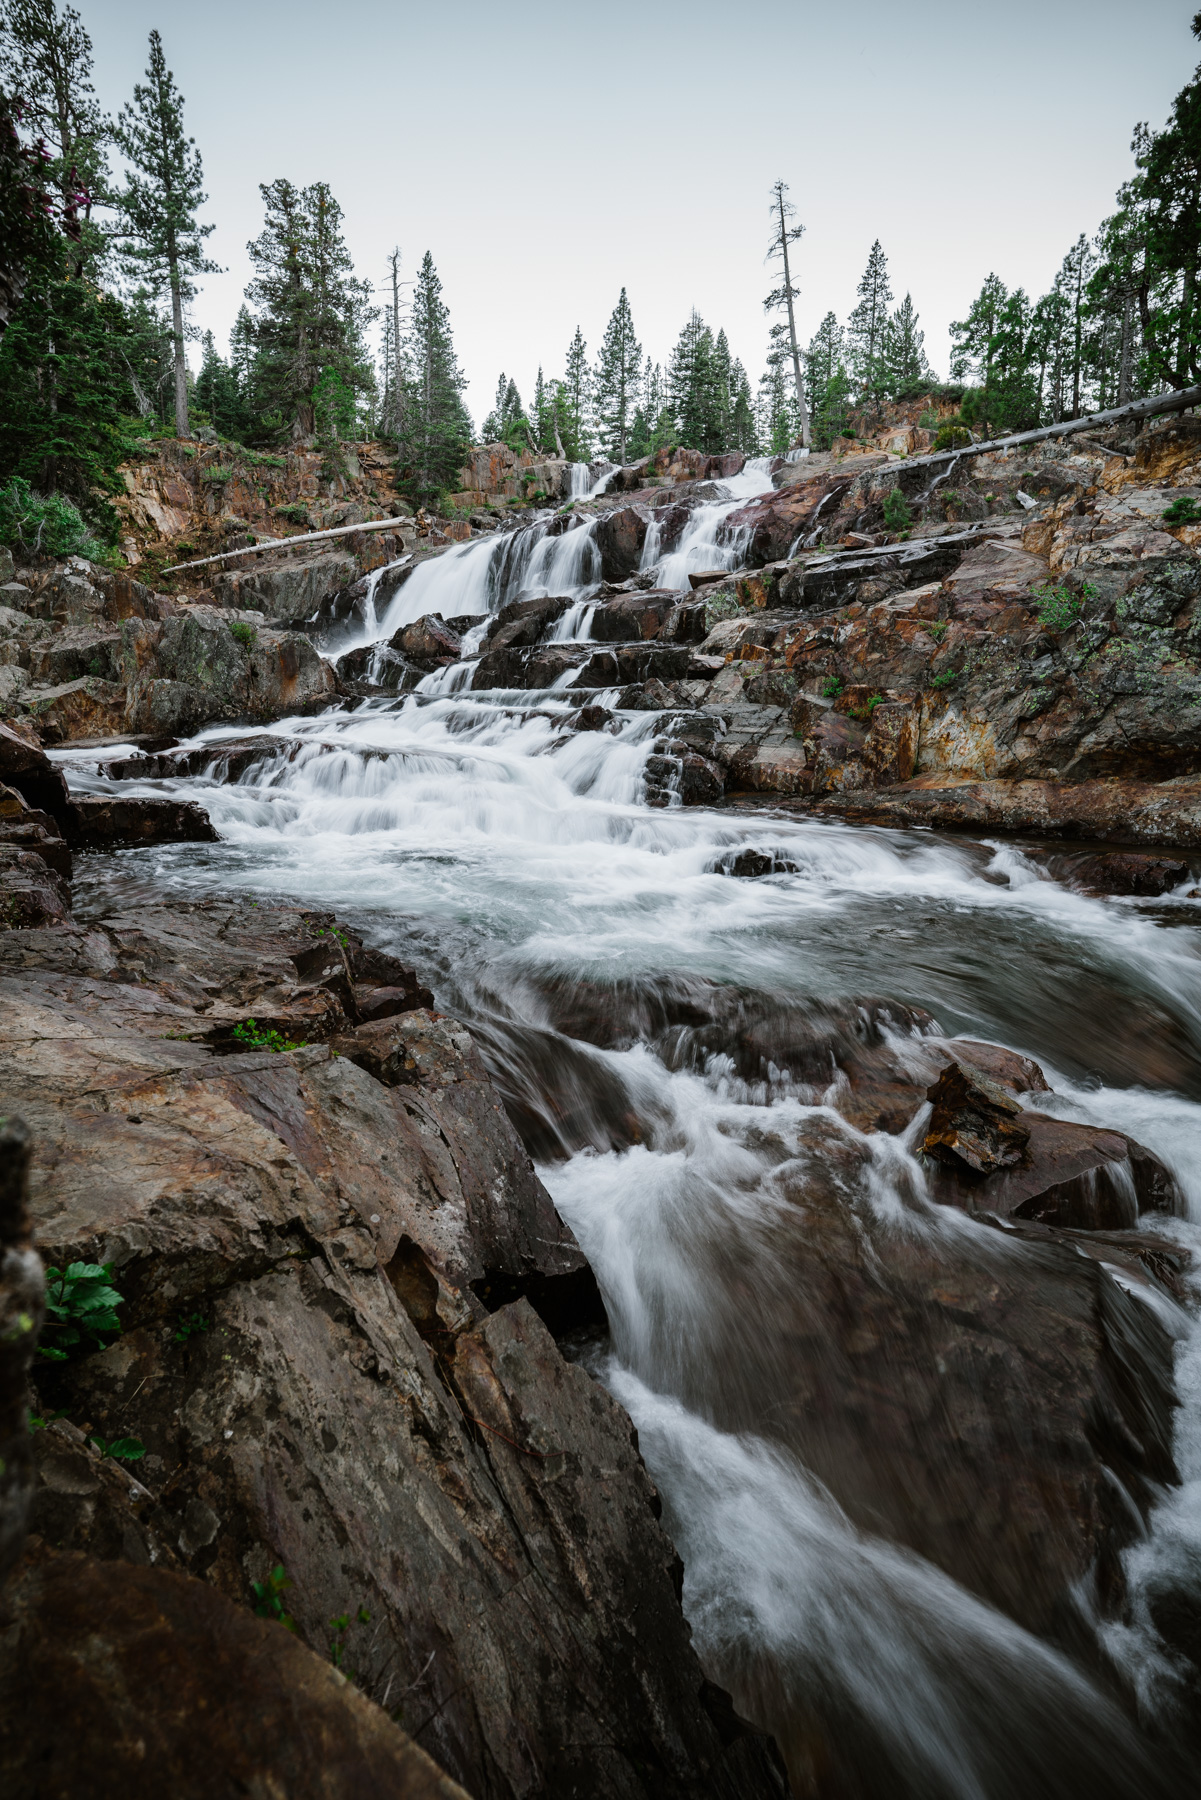
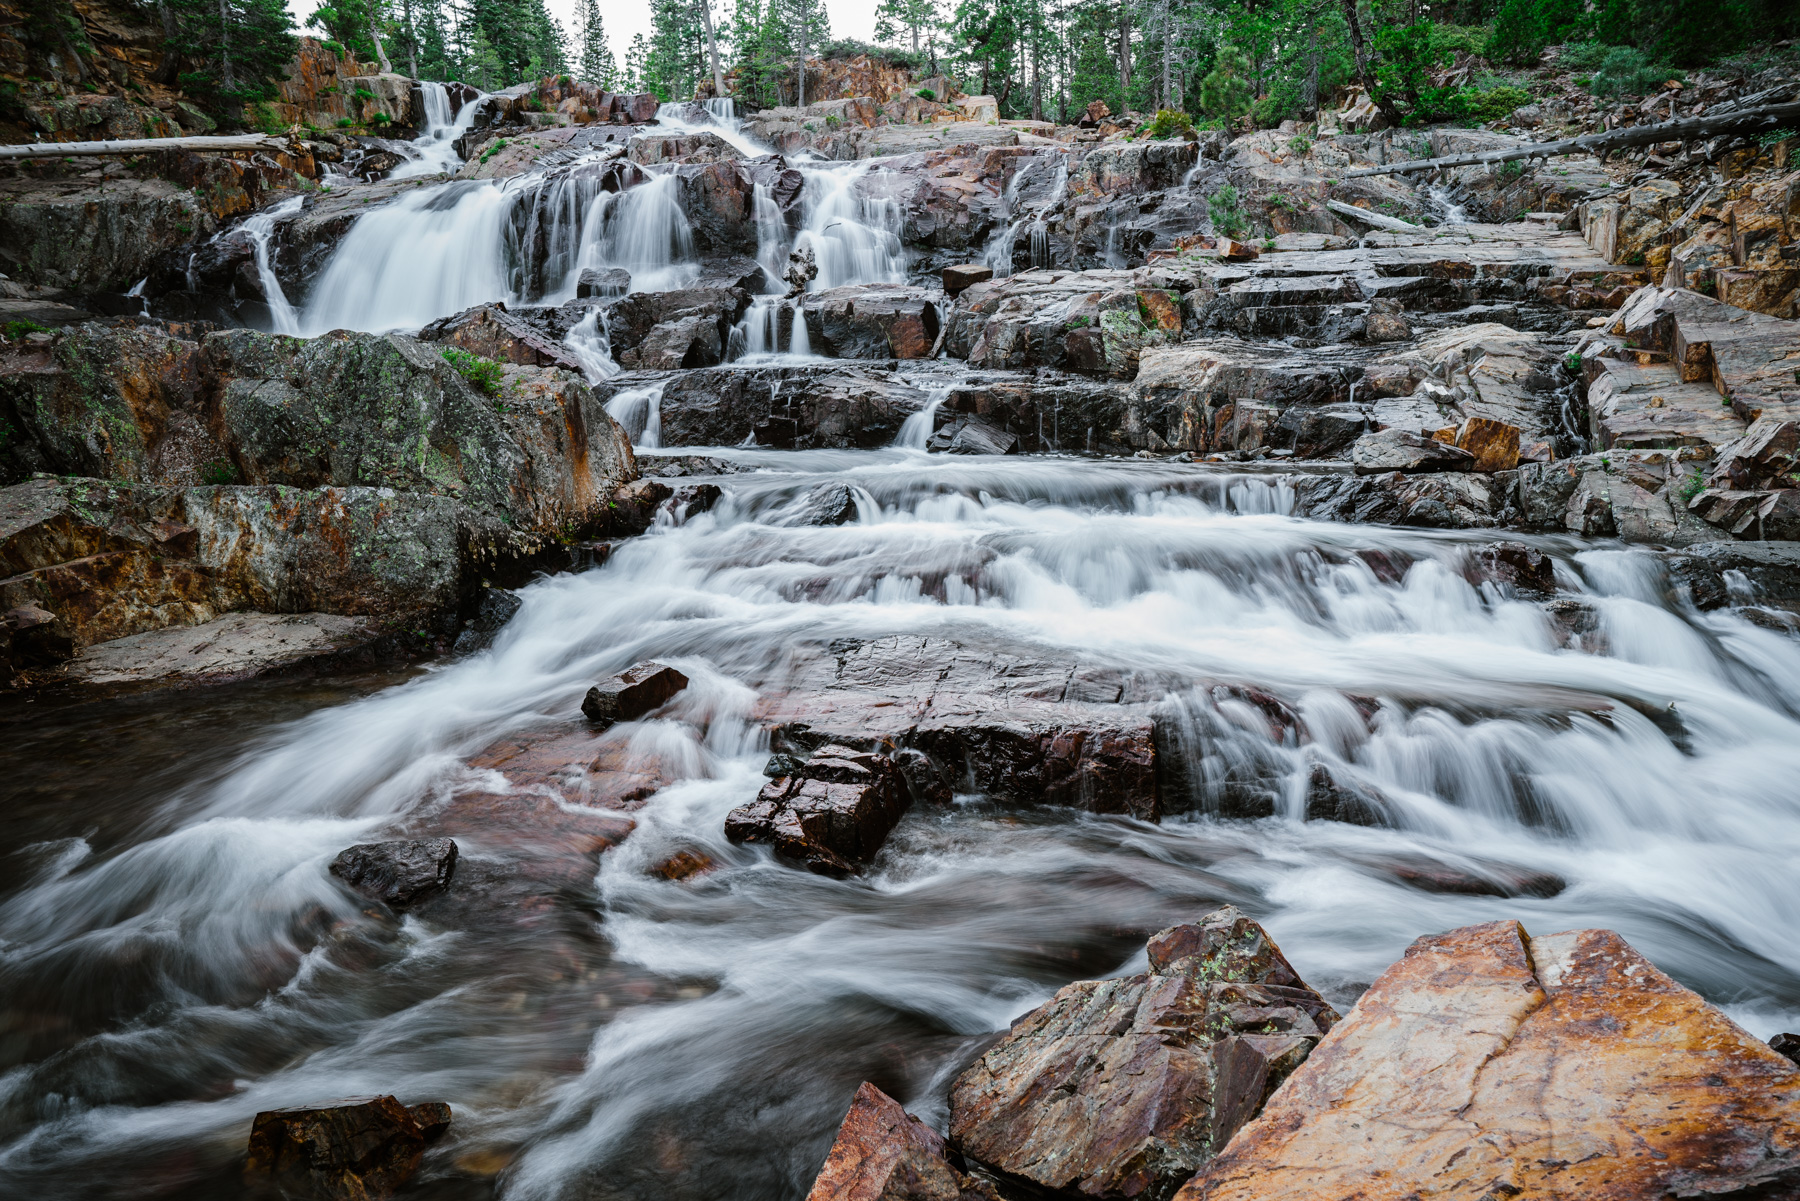
How to Photograph Waterfalls - Glenn Alpine Waterfall South Lake Tahoe

How to Photograph Waterfalls

Glenn Alpine Waterfall South Lake Tahoe

Landscape Photography

If you don't know by now, I am completely obsessed with waterfalls. I love going to new places and searching for waterfalls. They are so much fun to photograph and just amazing to be around. The rush of the river, the sound of the water, and the creative touch that you can add to each photo is beyond awesome.

So a few weeks ago I just so happened to find myself in South Lake Tahoe for an amazing Destination wedding. You guys, it was freaking awesome! I ended up going up the night before, and like I always do, I had to get out of the hotel and find a pretty landscape image. I am always saying "take advantage of where you are".

I have been to South Lake Tahoe a bagillion times; however, I have never been to the Glenn Alpine Waterfall near Fallen Leaf Lake. To be honest I didn't even know it existed. So off I went to catch a pretty waterfall landscape photograph during sunset.

The drive took about a half our from the boarder of California and Nevada. The road was pretty much a one lane road and quite rough, but the waterfall was beyond beautiful!

Let me tell you, I could have stayed here all night just sitting by the water, but the mosquitoes were out in force. They weren't your average mosquito either. They were like pterodactyl mosquitoes. So unfotunately I had to leave before I became one big mosquito bite.

If you get a chance, make sure to stop by the Glenn Alpine Waterfall along the Glenn Alpine creek in South Lake Tahoe. It is right off the road only about 200 feet and totally worth the trip.

How to Photograph Waterfalls:

  1. Use a low shutter speed for smooth water
  2. F 6.3 - F11 for a good depth of field
  3. Keep your ISO low (like always)
  4. Shoot when there is soft light (best at sunset or sunrise)

These steps will get you a nice smooth beautiful waterfall image.

Have you ever been to Glenn Alpine Falls or are you also obsessed with shooting waterfalls? Leave me a comment. I would love to hear about your trip and see your tips for shooting wateralls :)

Wishing you nothing but the very best!

Bessie
 

P.s. Did you love this post? Check out these similar ones:

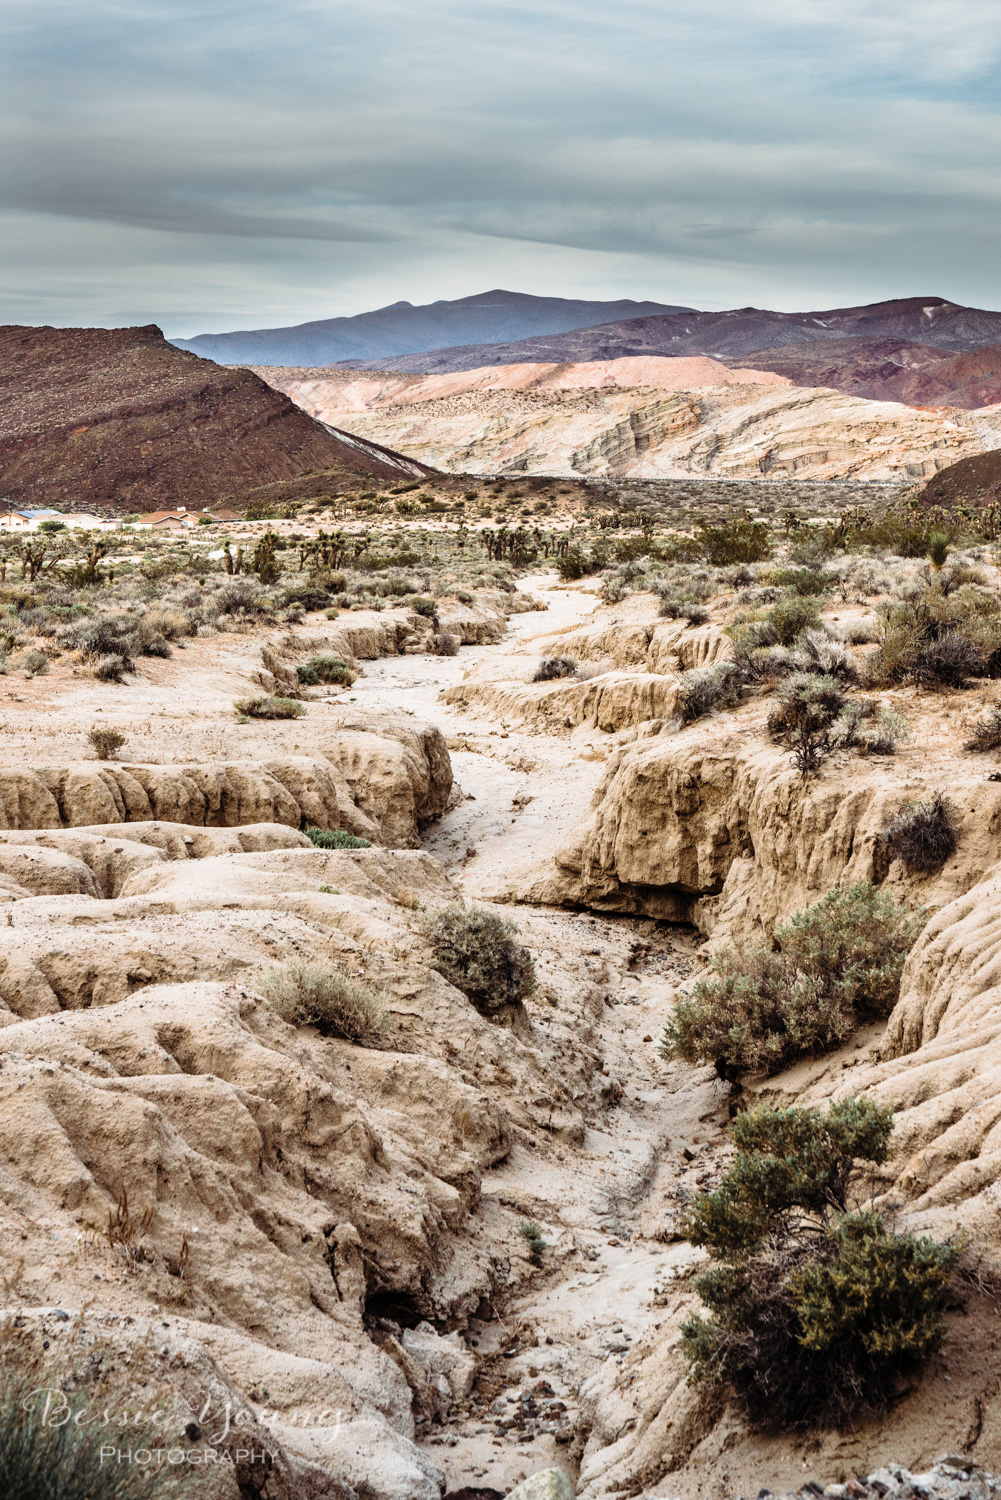
Desert Landscape Photography - Red Rock Canyon State Park

Desert Landscape Photography

Red Rock Canyon State Park

Landscape Photography

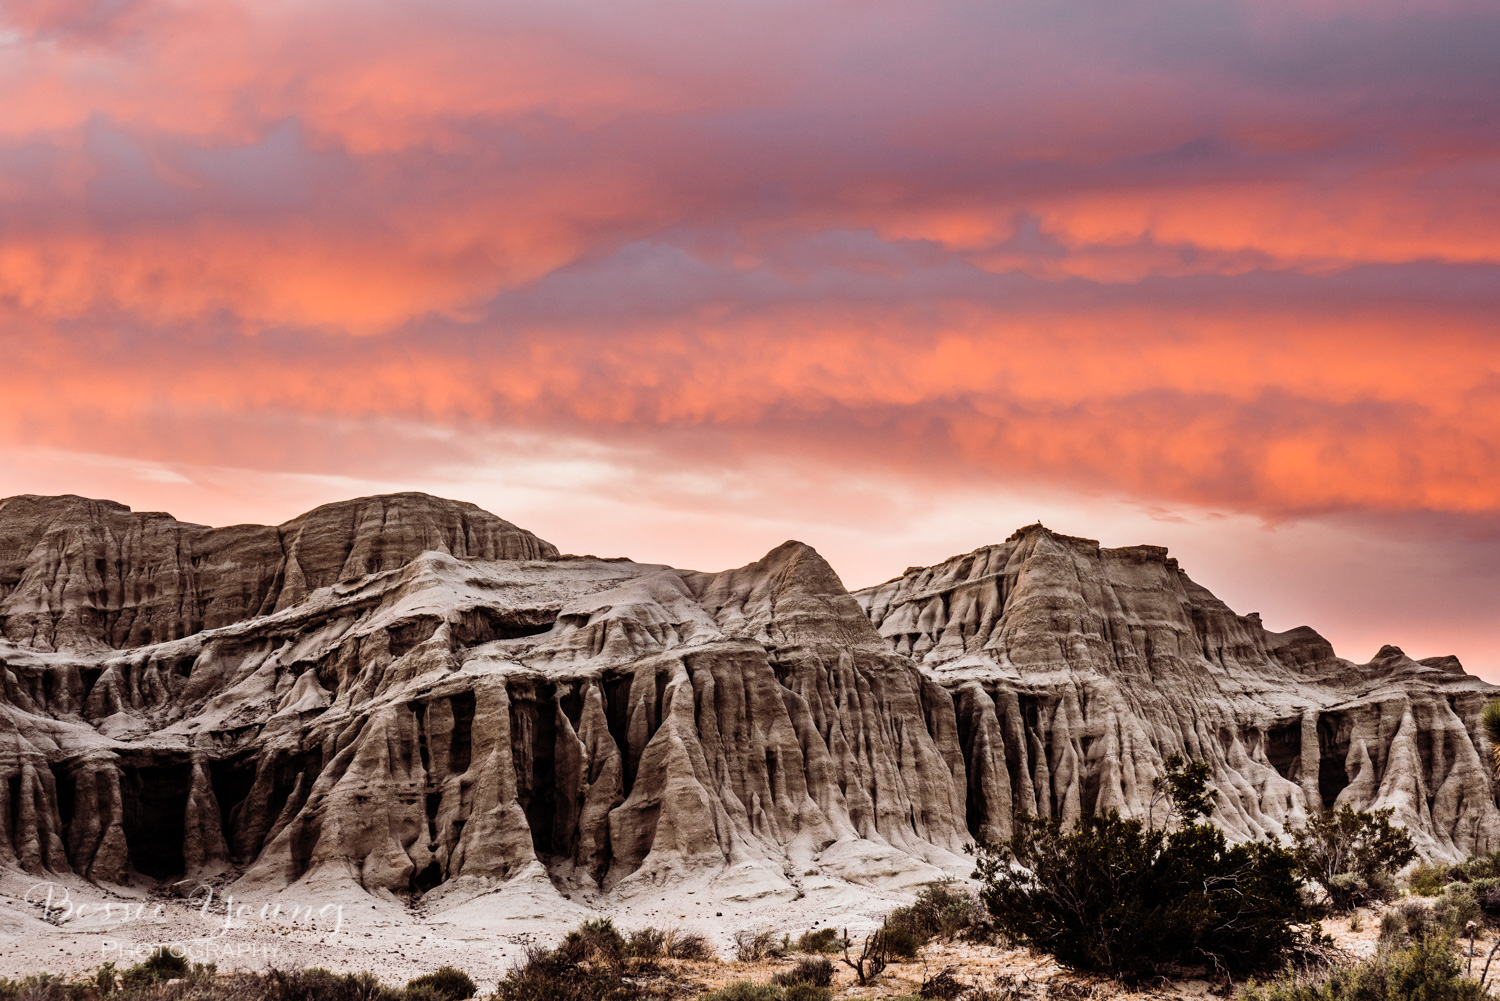
The sunset was like none I have never seen before. Let me tell you it was amazing....

There is a part of me that is obsessed with the desert. It is strange since I grew up in the foothills of the Sierra Nevada Mountains; however, when I travel into the desert I feel as though I am going home. I am not quite sure what that is all about, but ever so often my heart and soul aches for the desert. This adventure was one of those times. One of those times that I needed to fill my soul with desert goodness.

So, off I went into the desert for a fun sunset image. I decided to head over through Tehachapi and into Red Rock Canyon State Park. The reason I chose Red Rock Canyon was because I have only driven through there one time on my way to Mammoth Lakes. I wanted so desperately to stop there and wait for sunset; however, I wasn't on a Desert Landscape photography trip at that time, I was on a Mammoth trip :)

When I arrived in Red Rock Canyon State Park it was incredibly windy. This created a little bit of an issue as far as creating a video, but wasn't going to be an issue for any photographs as my plan was to get a large image of the beautiful red rocks and the sunset. There wouldn't be any movement issue with the photograph that I wanted. The only concern I had was that my tripod not fall over while my camera was mounted to it :)

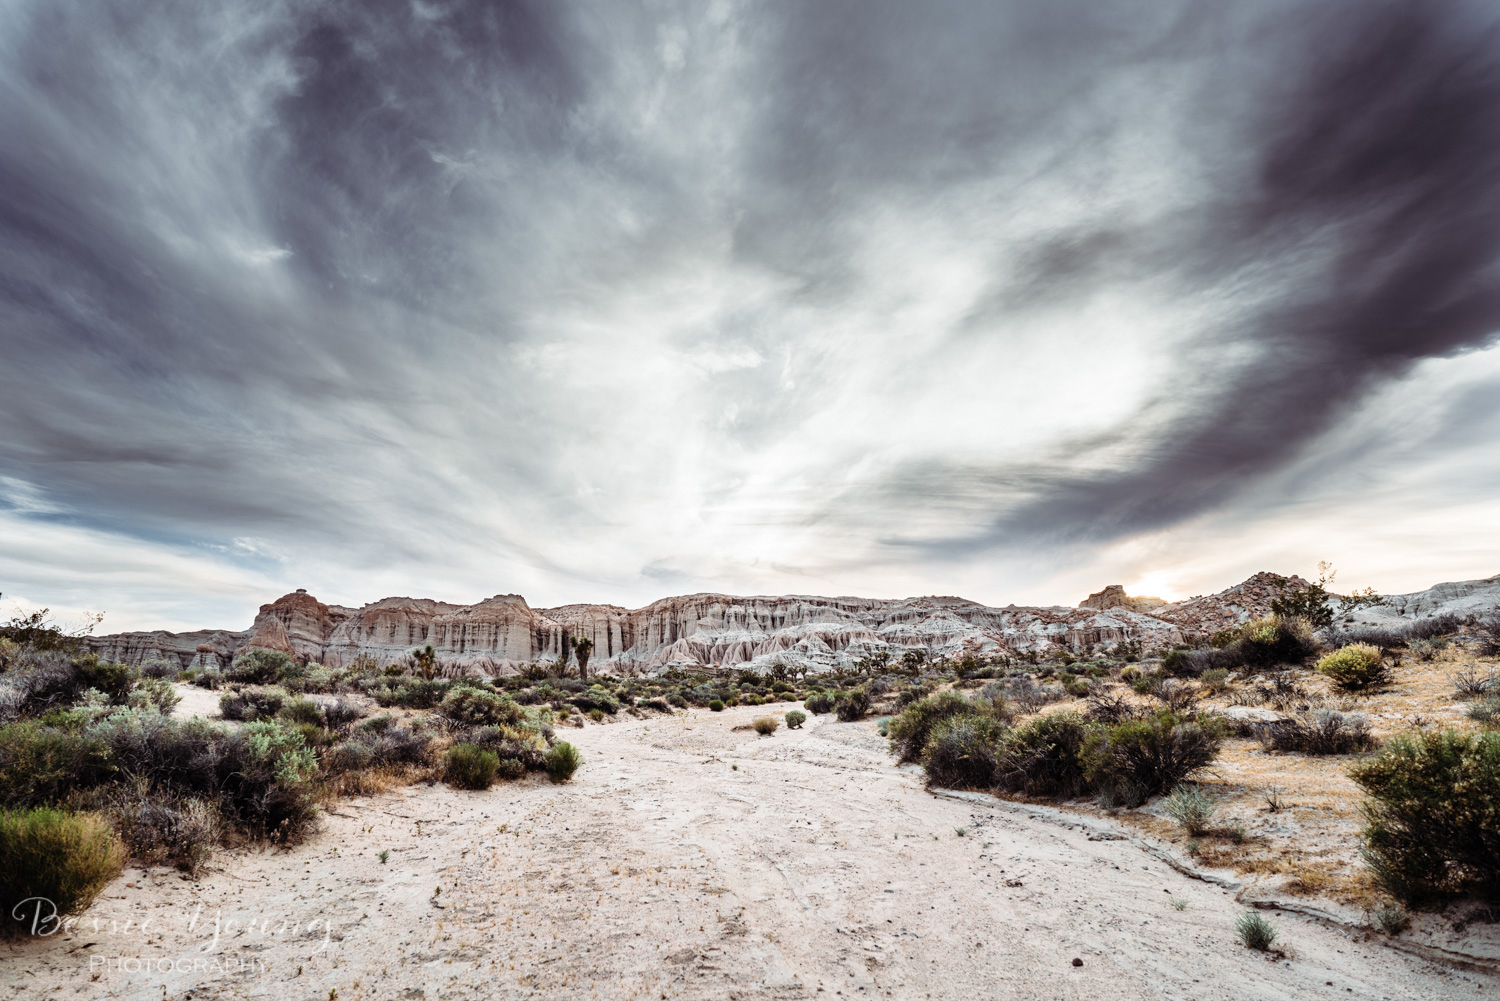
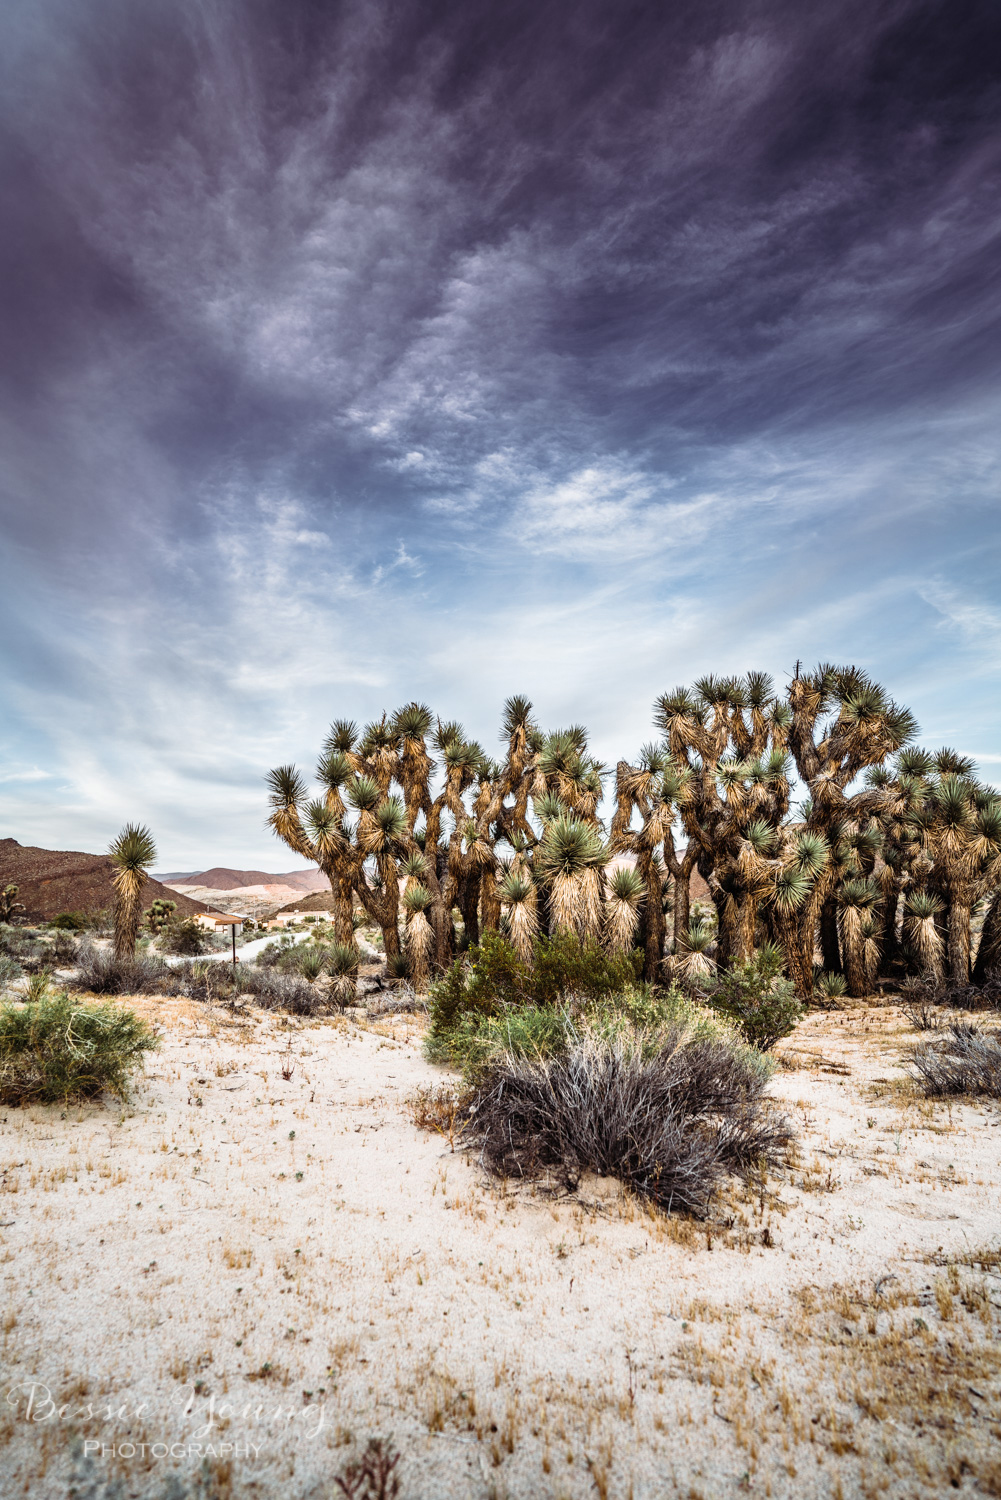
I arrived with plenty of time to scope out the area and find a good location for sunset, ending up in the Red Rock Canyon campground also known as the Ricardo Campground.

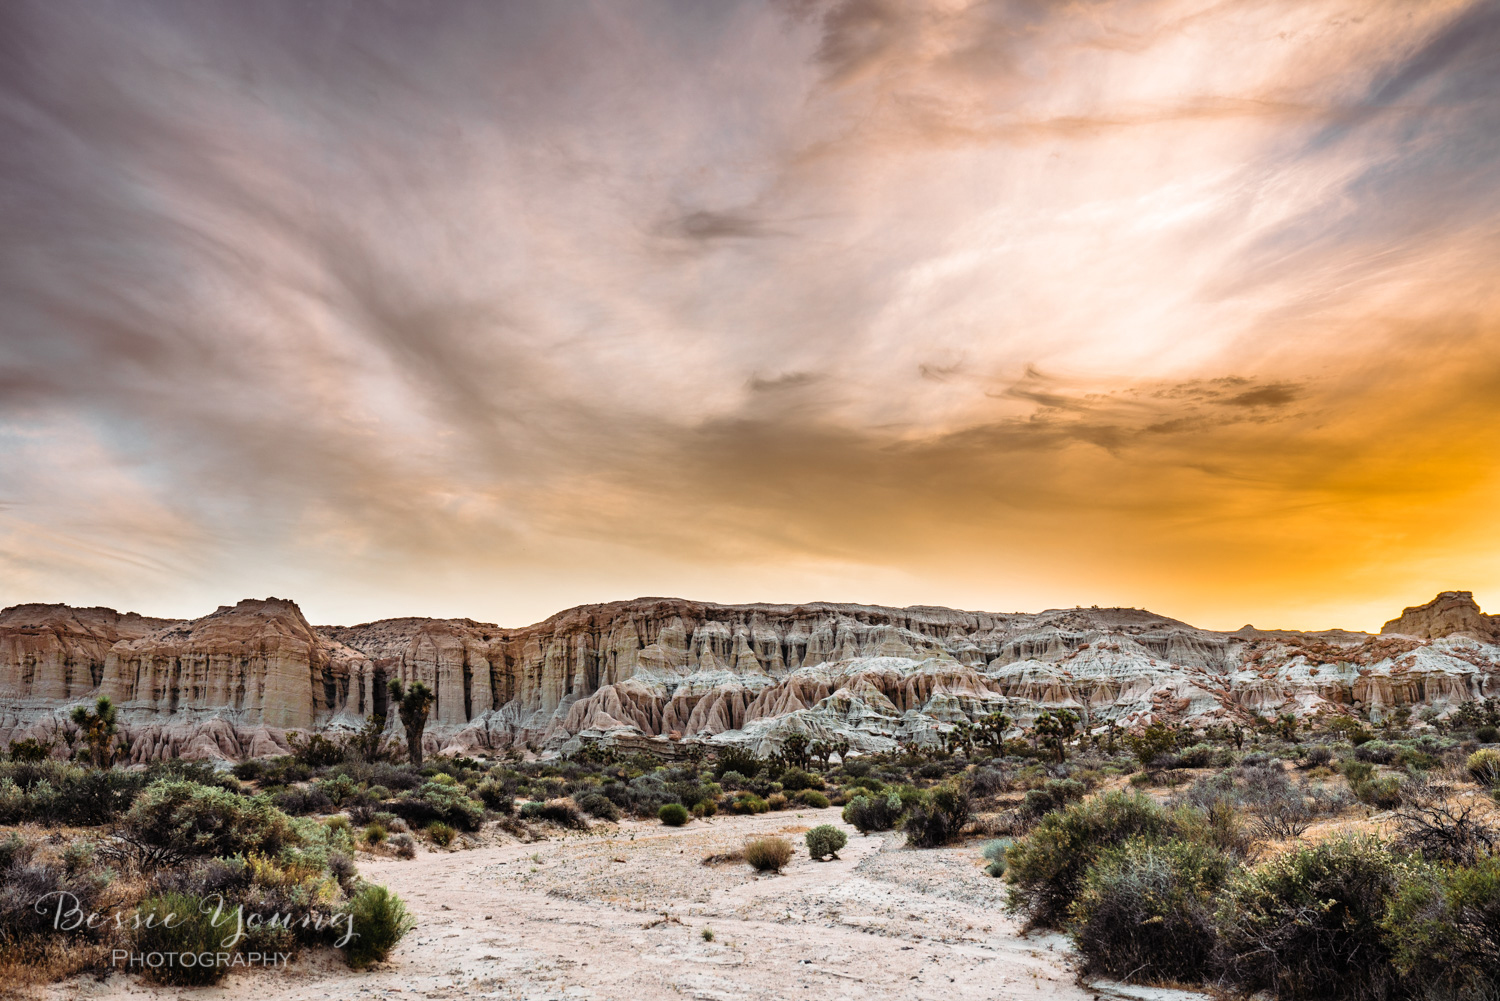
My ultiamte goal was to get a vast image with beauitful red mountains and a sunset. As I walked around, it was difficult to find my composition. I ended up finding a nice wash / dry creek that I could set up in and use as a leading line to the sunset.

Then it was all about waiting for sunset to arrive. As I waited, I found more and more compositions that I wanted to shoot. Everyway you looked there was a beautiful photograph.

The sky began to change color, so I took my 'safe shot'. Then I waited. Waiting for the best moment... the best color... the best shot. As the sky continued to change the clouds continued to move. This sunset seemed to last forever. Pretty soon, every way I looked there was an amazing sunset image. A different composition. A beautiful desert landscape photograph

As time went on, I decided to pick up and move my camera. Now, this is where I want to pose a question to you. Why stay in one position? Why stay in one composition shooting the same image over and over and over again?

I am all about planning out your trip, planning for one shot, and getting that one shot; however, once you get that shot, why do we keep taking the same photograph over and over and over again? STOP! Just stop taking the same image. Take advantage of where you are. Get your one image. Get that shot and get it right, but once you get it right, move your feet. Move around and get another composition if you have the time to do so.

This particular sunset and landscape was amazing. There were so many different compositions and the sunset seemed to last for hours (even though it really didn't last for any longer than normal). I decided, that I got the shot I wanted, so moved around and got additional images of the area around me.

This place is definitely going to be a place that I head back to. During this trip I did not have any time to hike around the trails, I was only able to stay along the established roads to find a composition. In my opinion, this area has endless potential.

Wishing you nothing but fun adventures, beautiful sunsets, and amazing memories.

Bessie


P.S. Did you like this blog? Check these ones out:


Lake Tahoe Sunset - Incline Village Landscape Photography

Lake Tahoe Sunset - Incline Village

Landscape Photography

Spontaneous trips are seriously the best trips!

To Go to Lake Tahoe or Not?

I was sitting at home in my living room trying to decide what to do for the day. I have been longing to go to Tahoe, but haven't been able to find the time. Tahoe kept popping up in my head as something I should go do; however, it was about 10am and Tahoe is 5 hours from me.

This particular weekend, was a long weekend which made it more feasible. For some odd reason, I just couldn't make up my mind. Do I stay home and have a lazy weekend, or do I head to Tahoe with an adventure filled weekend? Tough decision right? To be honest with you, I wasn't being able to decide. I was weighing out the pros and cons, but my lazy bone was just getting the better of me. It is a little funny, but I ended up texting my mom and asking her for her opinion. "Tahoe of course!" 

So it was decided... a spontaneous Tahoe trip was in my weekend plans :)

Will there be a Lake Tahoe sunset?

I already knew where I wanted to go for a sunset image. It is a small hike up a paved road to an old fire lookout. So, there was no planning needed there other than making sure I allowed myself enough time to head up the mountain for sunset.

The entire drive there were clouds in the sky which made me super happy. I was thinking that the sunset was going to be on fire; however, the closer I got to Tahoe the more cloudy it became. After driving a ways, I ended up needing gas and finding a hotel room online.

I booked my hotel in Truckee, California and got there with plenty of time to eat dinner and plan out my evening. So naturally I had to try out the local Thai food place (my new obsession) and grab a beer at the local brewery before heading out. As I was eating dinner, I began to wonder... is there going to be a sunset? It sure didn't look like it. The clouds were getting thick and it actually started to look like rain again. Long story short... I debated for awhile on whether I should go for the hike or not. I decided to go for it. I mean after all I drove all the way up there just for a picture. Plus I had been sitting in the car all day so I needed to move a bit.

The Lake Tahoe Sunset - Incline Village Fire lookout hike

The drive was about a half our from my hotel and the hike was all uphill. It took a little over 10 minutes to get there, so lets just say 15 minutes. As I was almost to the top, the sun started to peak through the clouds. Man, my heart fluttered, and my hopes sky rocketed! Is there going to be a Lake Tahoe Sunset tonight? Oh please oh please oh please!

As I finally made it to the top, the clouds were completely broken up! Plus, I made it just in time for sunset! Plenty of time to scope out the area, find a good composition, enjoy the view, and get a good shot.

So the moral of the story is to just go! Just do it. You will never regret an adventure. Even if there wasn't a sunset the entire trip was super fun. Yes, it would have been nice to sit on my couch, in my Pj's, and watch something on Amazon Prime, but you know.... the adventure is way more worth it. The memories... the stories... all of it.

Next time you are debating on getting out and trying to get that sunset, go and try. The worst thing is that there may not be a sunset, but believe me, the time isn't wasted time. It is time making memories, enjoying nature, and being outside.

I hope you all enjoyed this blog. Make sure to watch the video at the beginning to see a bit of the behind the scenes and how I got the shot.

Wishing you nothing but fun adventures, beautiful sunsets, and amazing memories.

Bessie


P.S. Did you like this blog? Check these ones out:


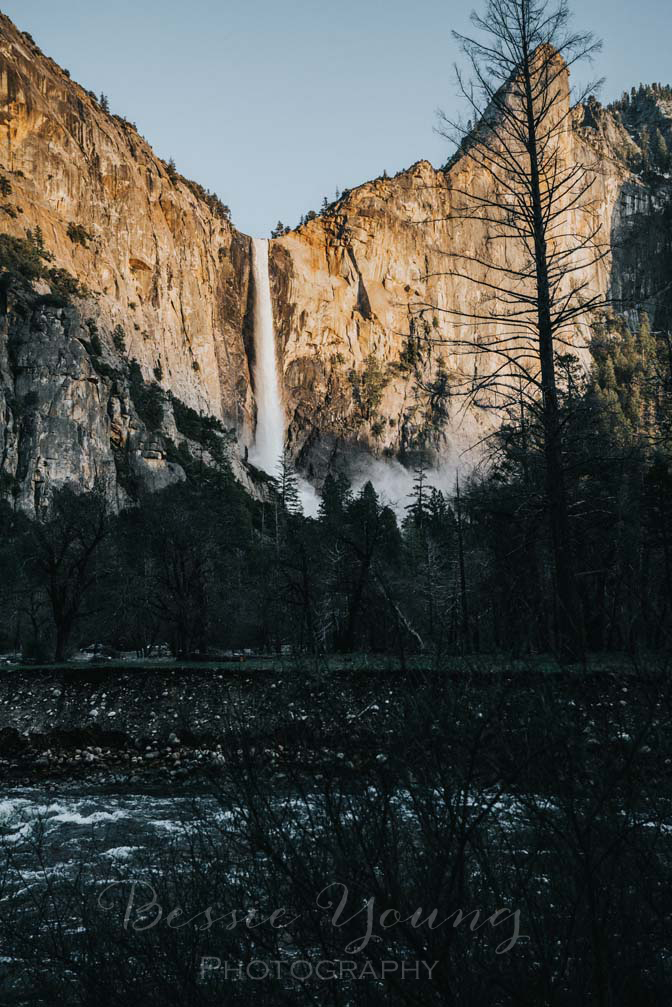
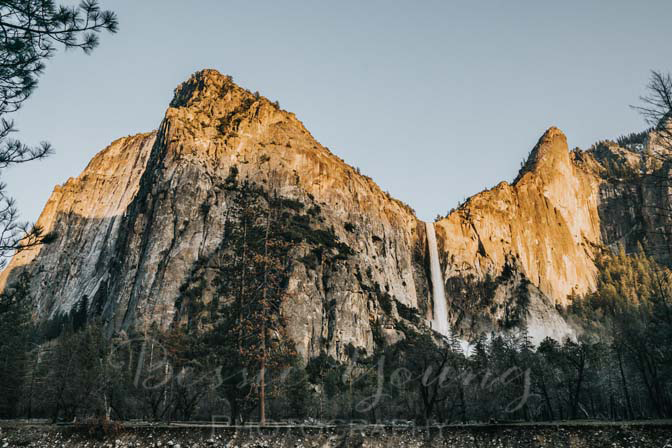
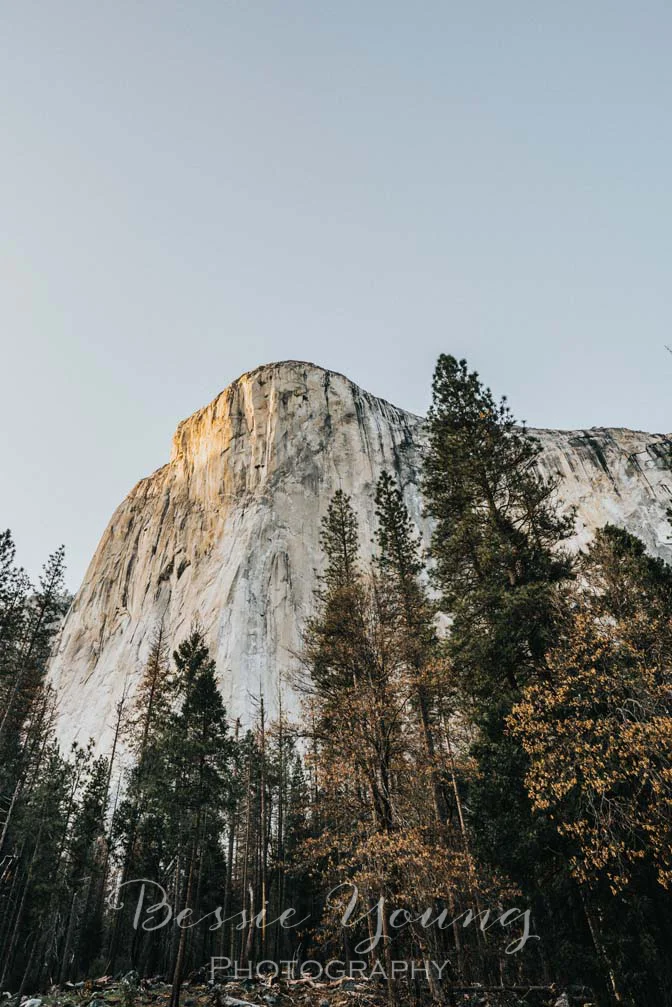
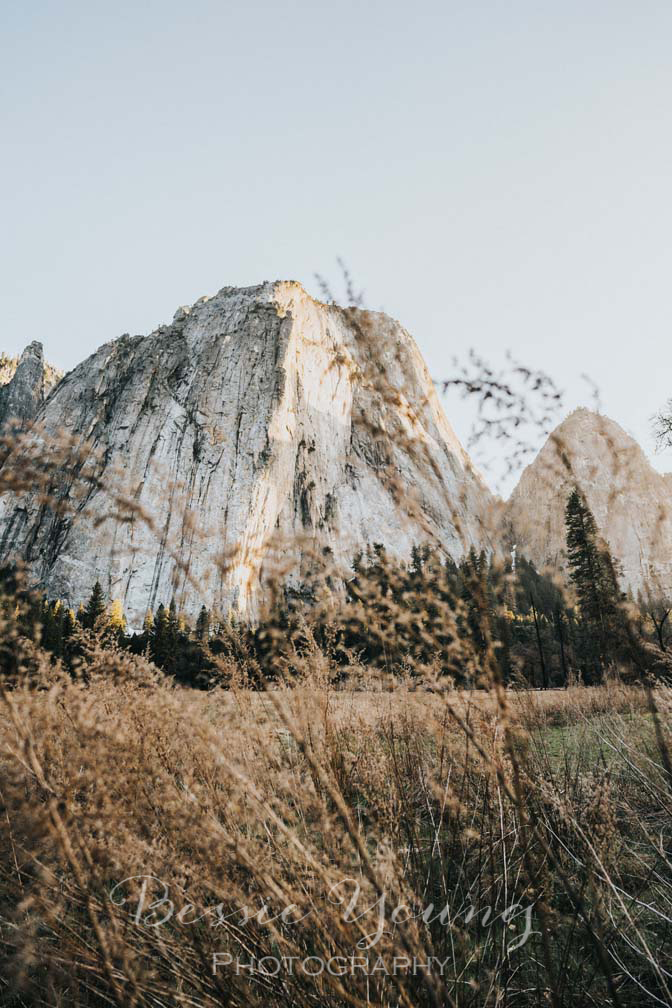
Yosemite National Park Sunset at El Capitan - Landscape Photography

Yosemite National Park Sunset at El Capitan

Landscape Photography

Yosemite, you stole my heart...

This year has been lacking when it comes to landscape photography, behind the scenes, and how I got the shot videos. Well, I got done fed up with that so I decided to take a spontaneous trip to Yosemite for sunset.

I packed myself a delicious pasta to have a picnic, my backpacking stove to make the pasta of course, all my camera gear, and off I drove. When I approached the booth I handed the ranger my year pass and she looked at me... "oh no this is a free admission day sweetie". I politely said oh sorry, thank you and drove into the park. The entire way to the valley I debated on turning around. Typically free admission days mean ALOT of people. I just wanted a nice trip to Yosemite, a yummy picnic, and a beautiful photo. I didn't want to be bombarded by people.

Ultimately, I decided to keep driving and to my surprise the park wasn't too busy. Yay! I drove around the park just enjoying the afternoon as I got there a few hours early. I knew exactly where I wanted to take my sunset photos so I wasn't in too big of a rush to find that perfect spot. My plan was to get an image of El Capitan and the Three Brothers with their reflection on the water of the Merced River.

California has received quite a bit of rain lately, so this hindered my sunset image as the Merced river was incredibly full and flowing quite quickly. So a reflection image obviously wasn't going to happen with a full swiftly running river, but it still was an incredible spot to be.

There were no clouds in the sky, so when golden hour rolled around my plans changed ever so slightly. With no clouds in the sky, means no color, which means the ultimate goal would be for the granite to turn a beautiful golden color. This happens well before sunset which actually worked out perfectly. I was able to capture El Capitan during the golden hour, and then drive the Yosemite Valley Loop to get these additional images.

The day was so incredibly peaceful. It was wonderful to get out and about on my first real landscape photography adventure of the year.

I hope you all enjoyed this one. Have you ever been to Yosemite? Leave me a comment with your favorite spot in the comment section below.

Wishing you nothing but fun adventures and beautiful photos.

Bessie


P.S. Liked this blog? Check out these other ones:

2 Essential Apps for Landscape Photography

2 Essential Apps for Landscape Photography


2 Essential Apps for Landscape Photography by Bessie Young Photography - Photography tips and tricks

Let's get real here for a minute. There are so many dang terrible Apps out there to download. The struggle is real! It seems as though there are more bad, not helpful, clunky apps than there are good ones. Now I have downloaded, played with, and unistalled more apps than I can count. I'm talking probably over 100. I have been looking and searching for helpful Apps for Landscape Photography and I have finally found 2 really awesome ones!

2 Essential Apps for Landscape Photography:

1. Photo Pills

This App is awesome! It is everything you need to schedule your landscape photography trips. It will tell you when sunset is, when sunrise is, where the galaxies are in the sky, what the moon is going to do, so on and so forth.

It is a one time payment of $10, but it is totally worth it. This app is what made this image possible:

2. Backcountry Navigator

This app is definitely for navigation and safety. It is always a must to be able to know where you are at any given moment. When you are out in the wilderness you never know what the wild is going to through at you. There is no reception, no internet, no nothing so you need to make sure you have all the right equipment.

Backcountry Navigator is a must! You can download quad maps, topo maps, aerial images, and so much more. This app will show you where you are and help you navigate your way to your destination, or your way to safety. I love this app. It is another app that costs $10 one time, but its necessary.


Leave a comment below and let me know what your essential go to apps are. I am always looking for awesome apps when it comes to photography and adventure.

Wishing you the best,

Bessie

p.s. like this post? Check these out:

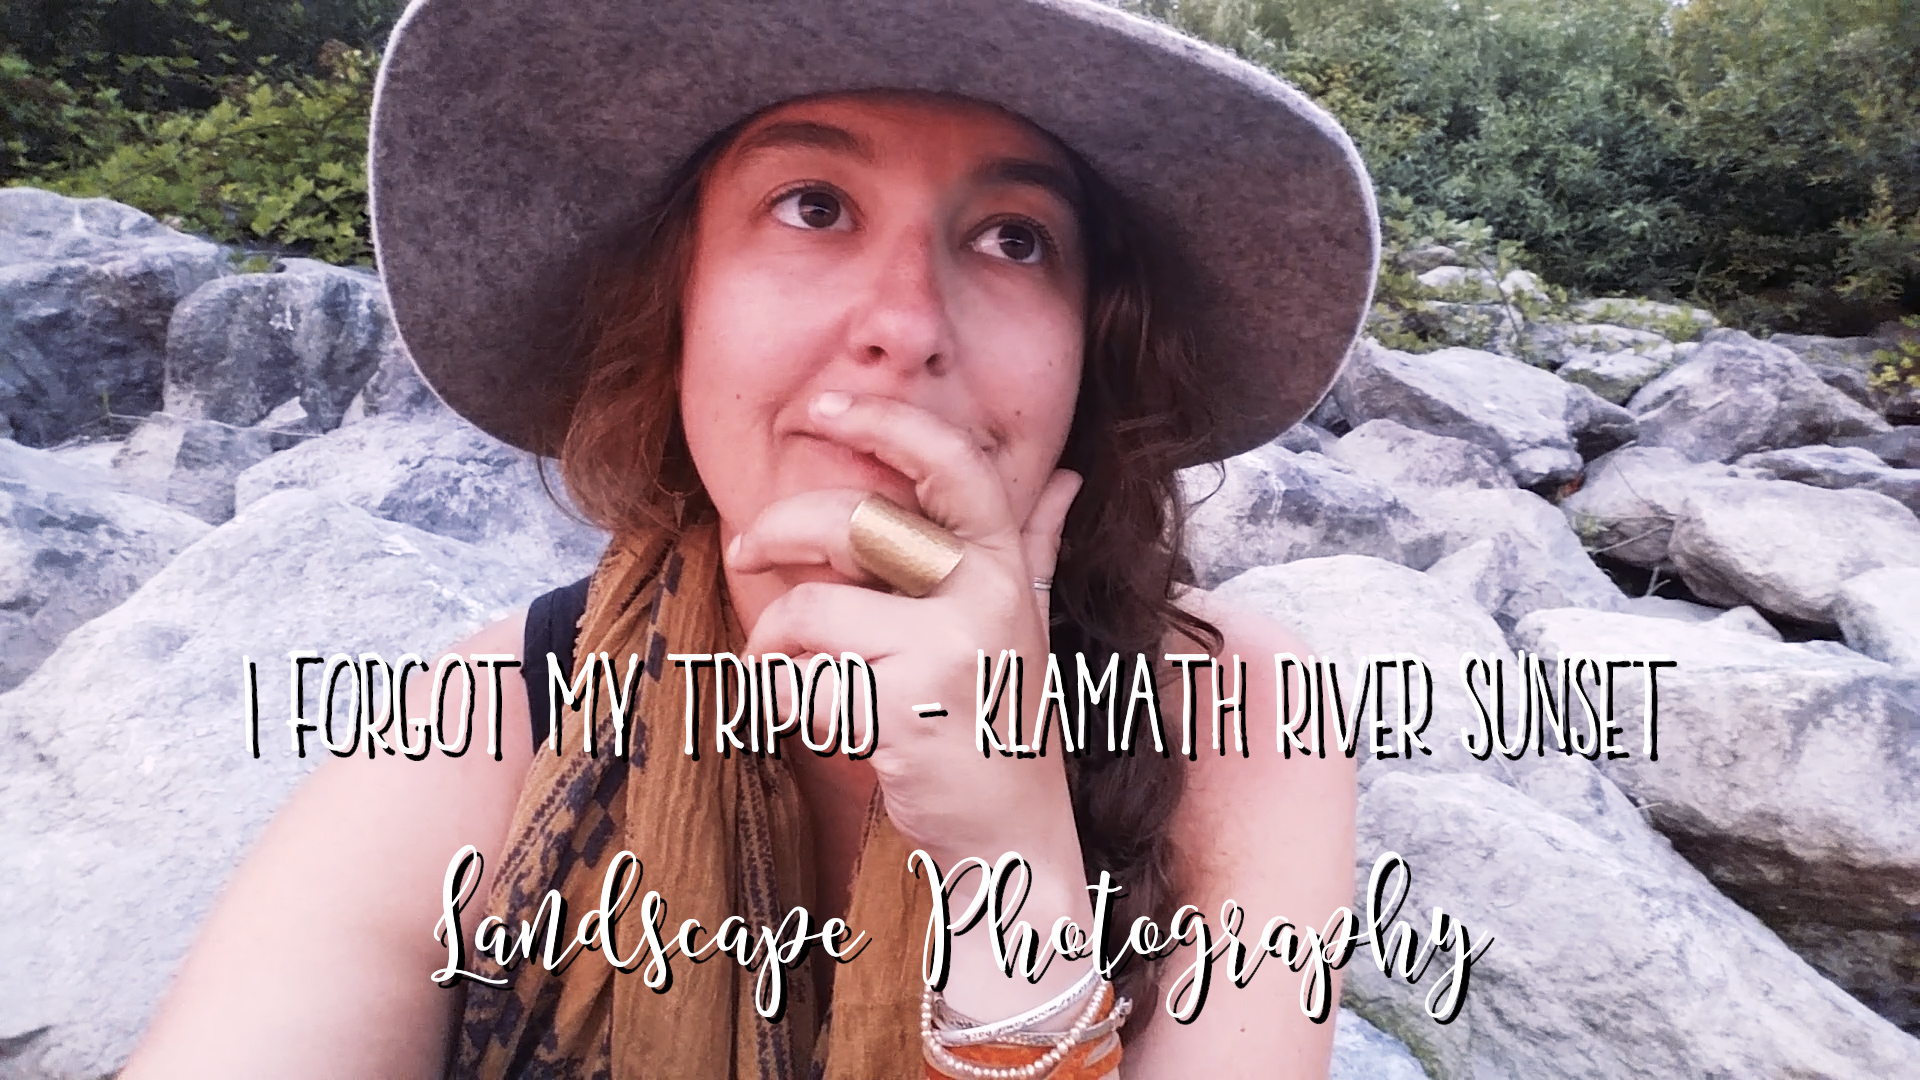
Klamath River Sunset - I Forgot My Tripod - Landscape Photography

Klamath River Sunset 

I Forgot My Tripod

Landscape Photography

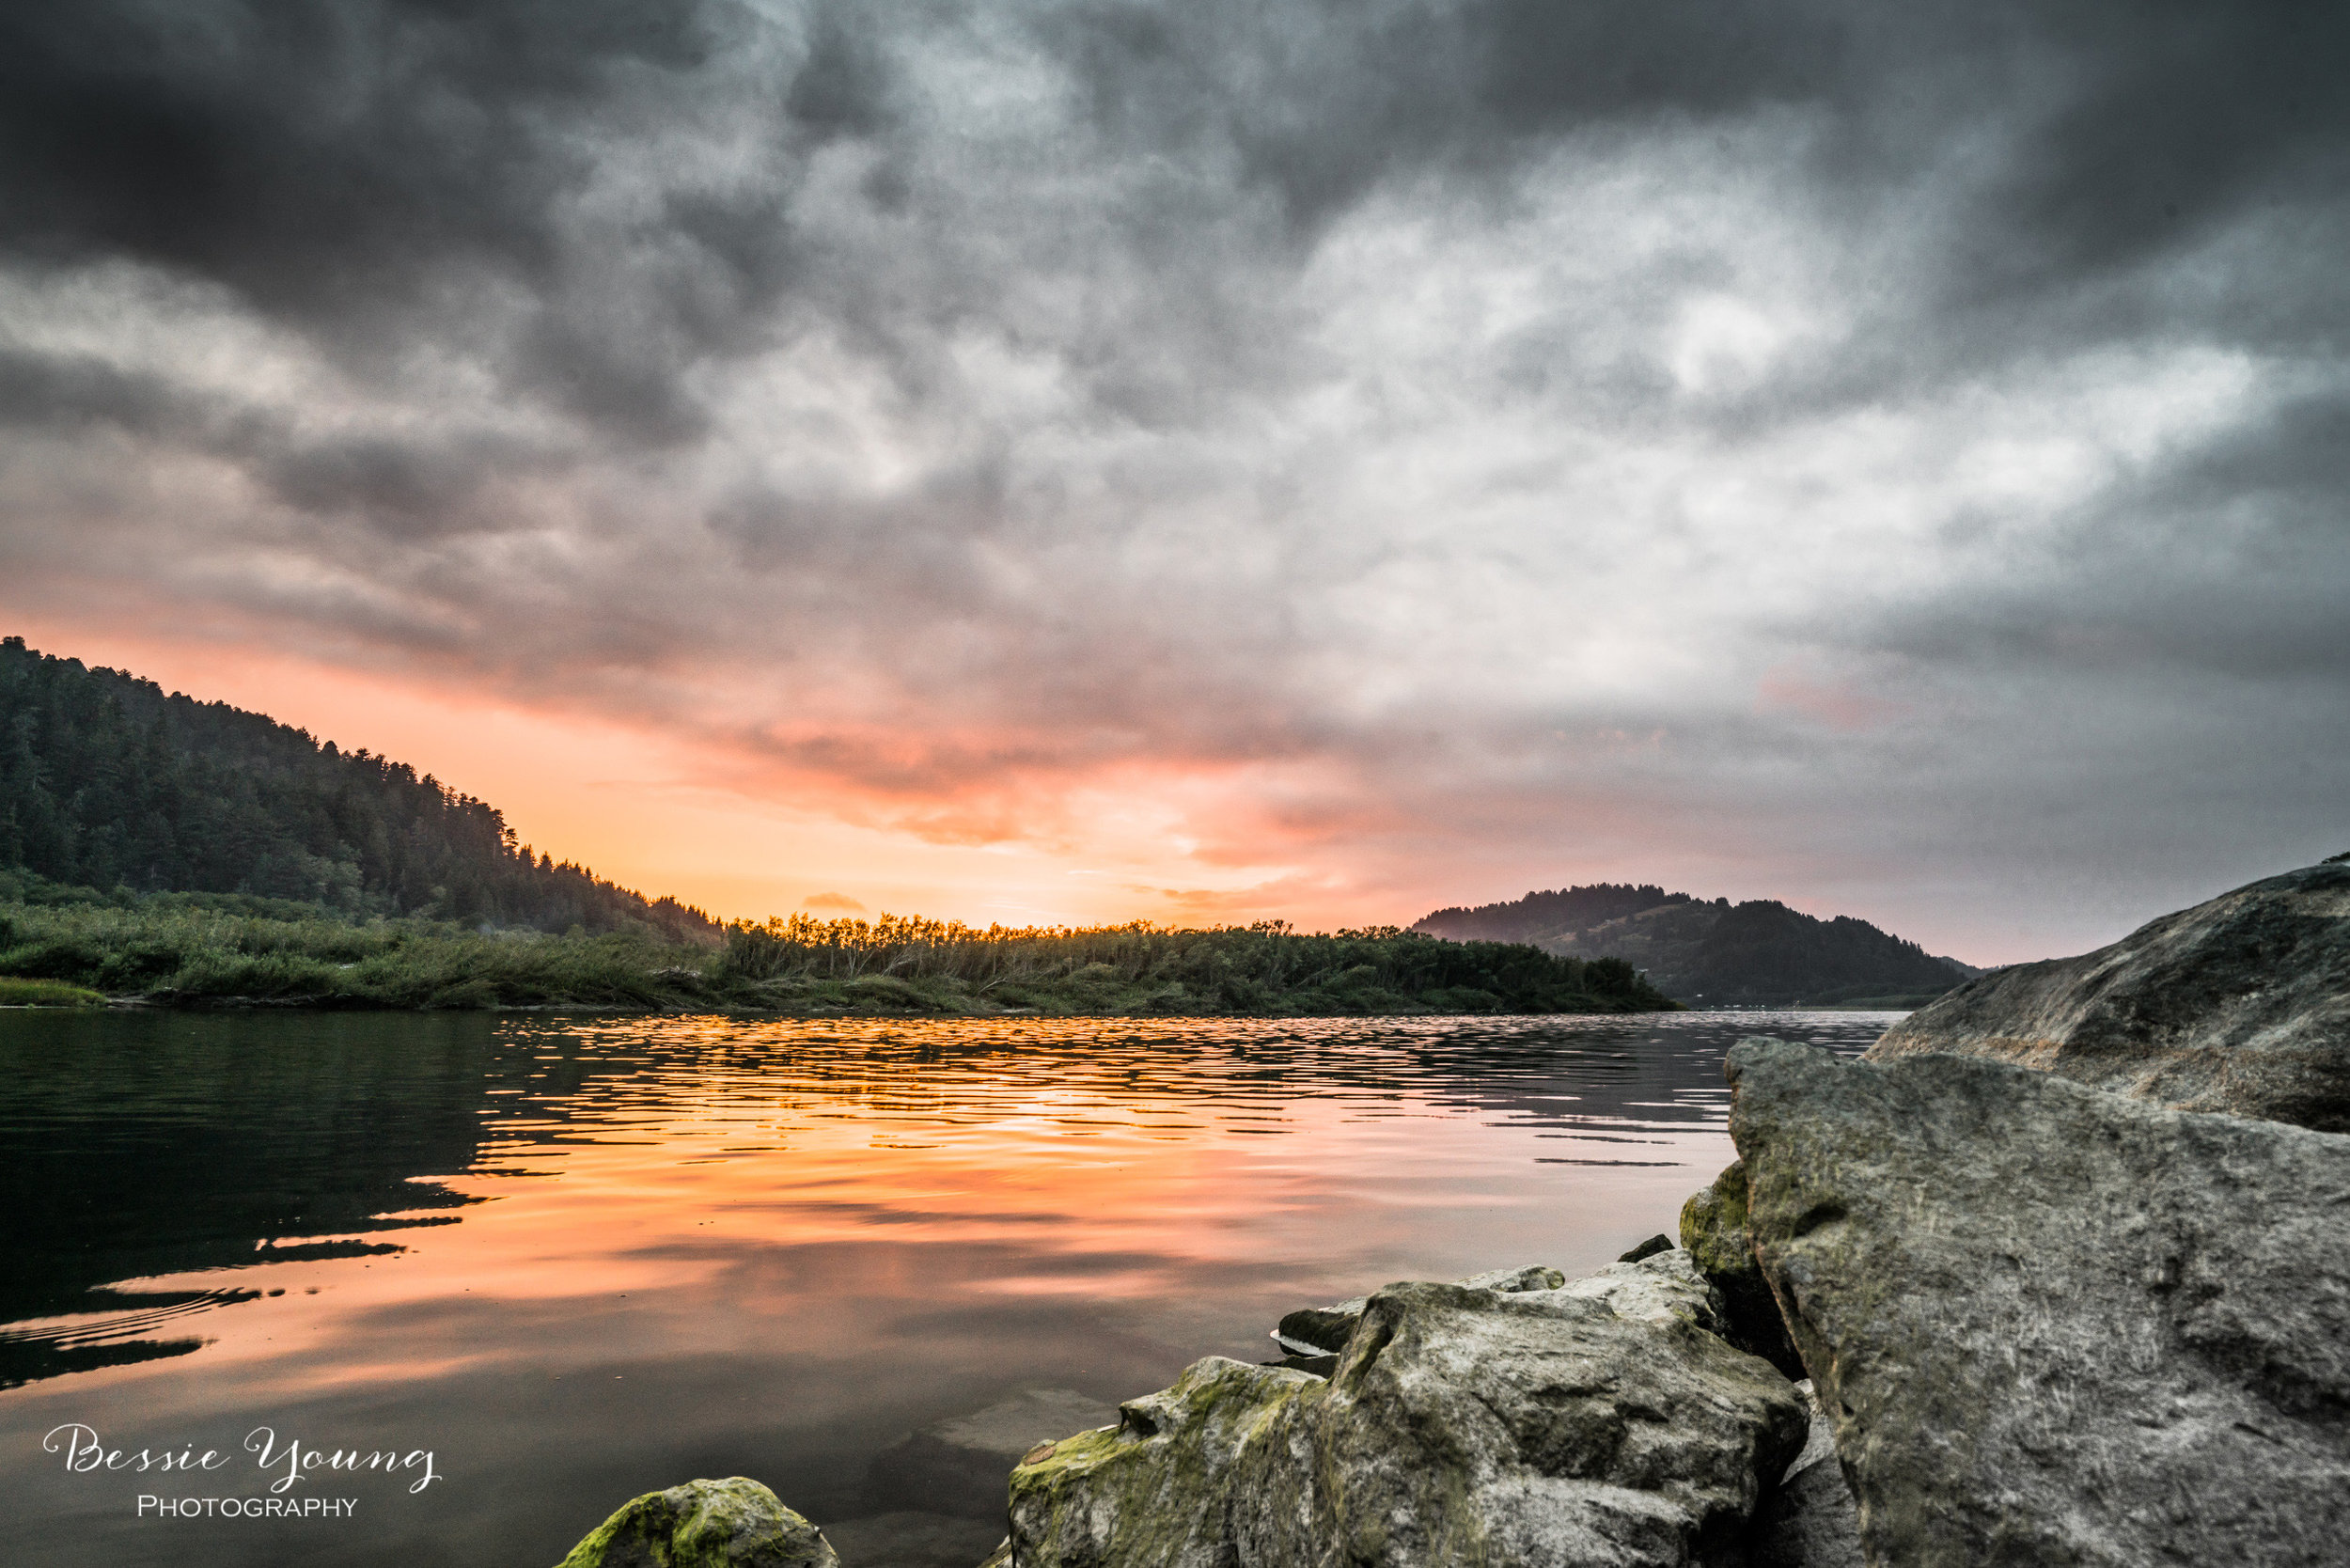
Heading up  to Klamath California is one of my favorite things in the whole year. I get to hang out with my family for a whole week, camp, adventure around the redwoods, and be in one of the most gorgeous places for Landscape photography. Let me tell you its a photographers dream. There are mountains, oceans, and forests filled with giant redwoods! Umm... need I say more?

I Forgot My Tripod Klamath River Sunset Landscape Photography by Bessie Young .jpg

Klamath is about a 9 hour drive from my place, so getting ready for this trip can be interesting. I am always worried that I am going to forget something... and yes, this year I did!

I made the drive, and enjoyed my first night with my family. The next day I wanted to get a pretty sunrise picture and that's when I realized it.... I forgot my tripod! Ugh! Seriously frustrating; however, I did have a small Joby tripod that I brought to use with my Sony A6500. I figured I couldn't make it work with my Sony A7rii, but then again...

So, the entire trip I decided to not use the tripod until one evening when the sunset was going to be amazing. I just knew it was going to be amazing, so out I went with my little Joby tripod, my Sony A7rii, my adventure dog Yota, and determination to get a beautiful Klamath River Sunset image.

It was challenging, it made me think, it made me have to be creative, and it completely worked! I am so excited with the images that came from this adventure.

So moral of the story? You don't need all the fancy gear to get the shot! Furthermore, sometimes it is better to not have all the gear. It challenges you and really makes you stop, think, and be creative!

I hope you all enjoyed this blog. Have you ever forgotten something on a long trip? Leave a comment below. I would love to hear.

Wishing you nothing but fun and beautiful adventures!

Bessie

I Forgot My Tripod Klamath River Sunset Landscape Photography by Bessie Young Klamath California Sunset.jpg

p.s. Did you like this one? Check out similar posts here:

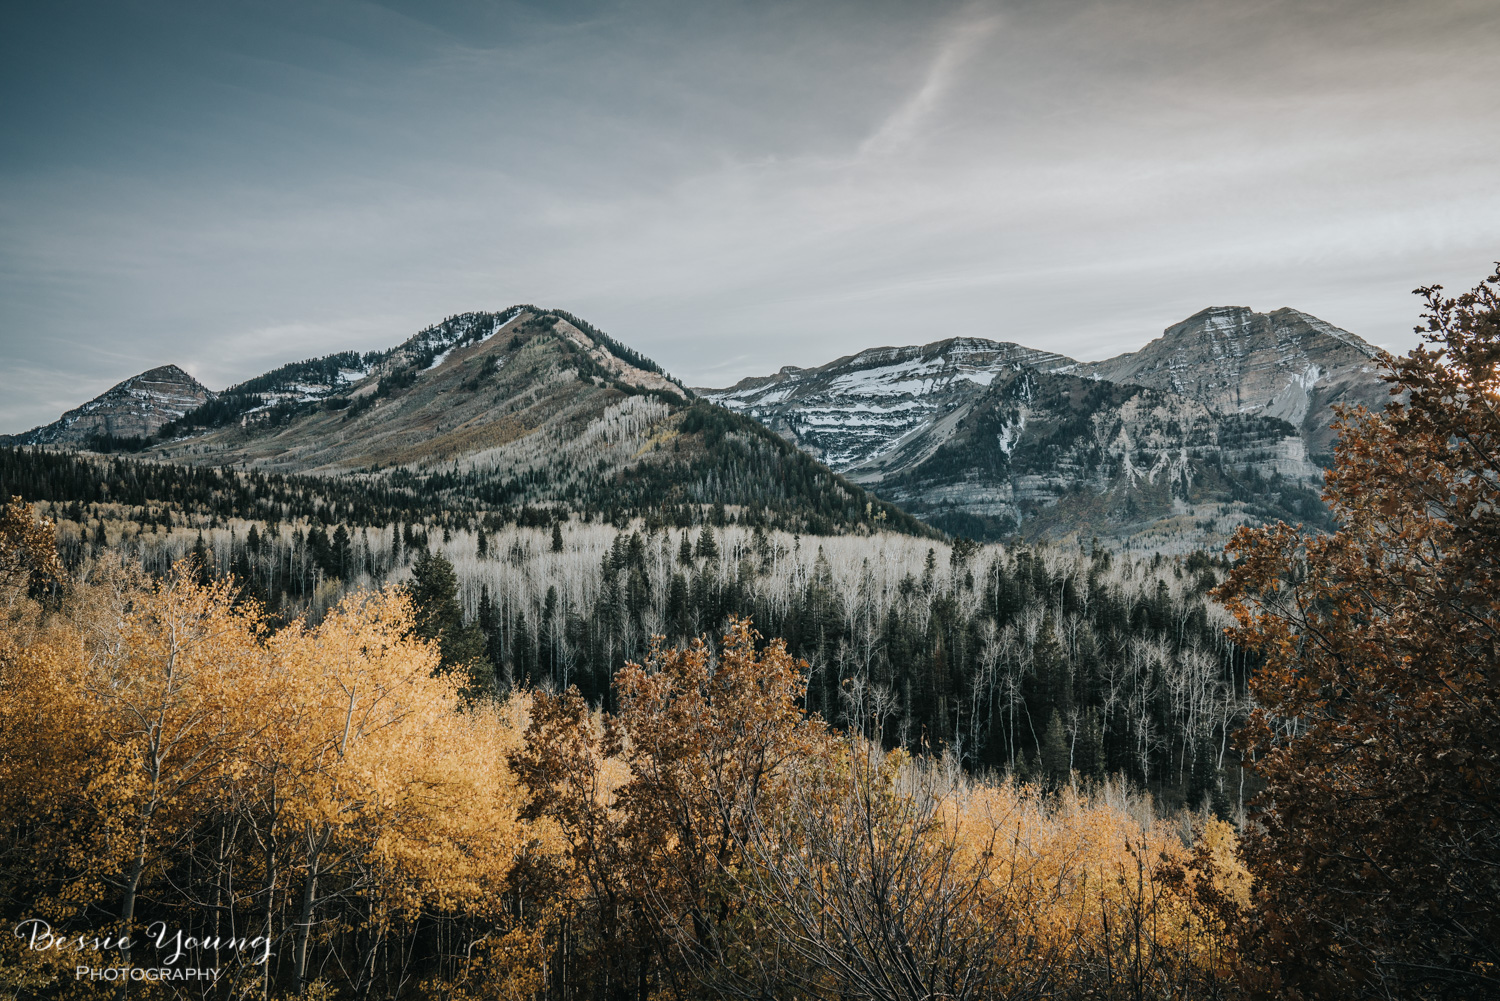
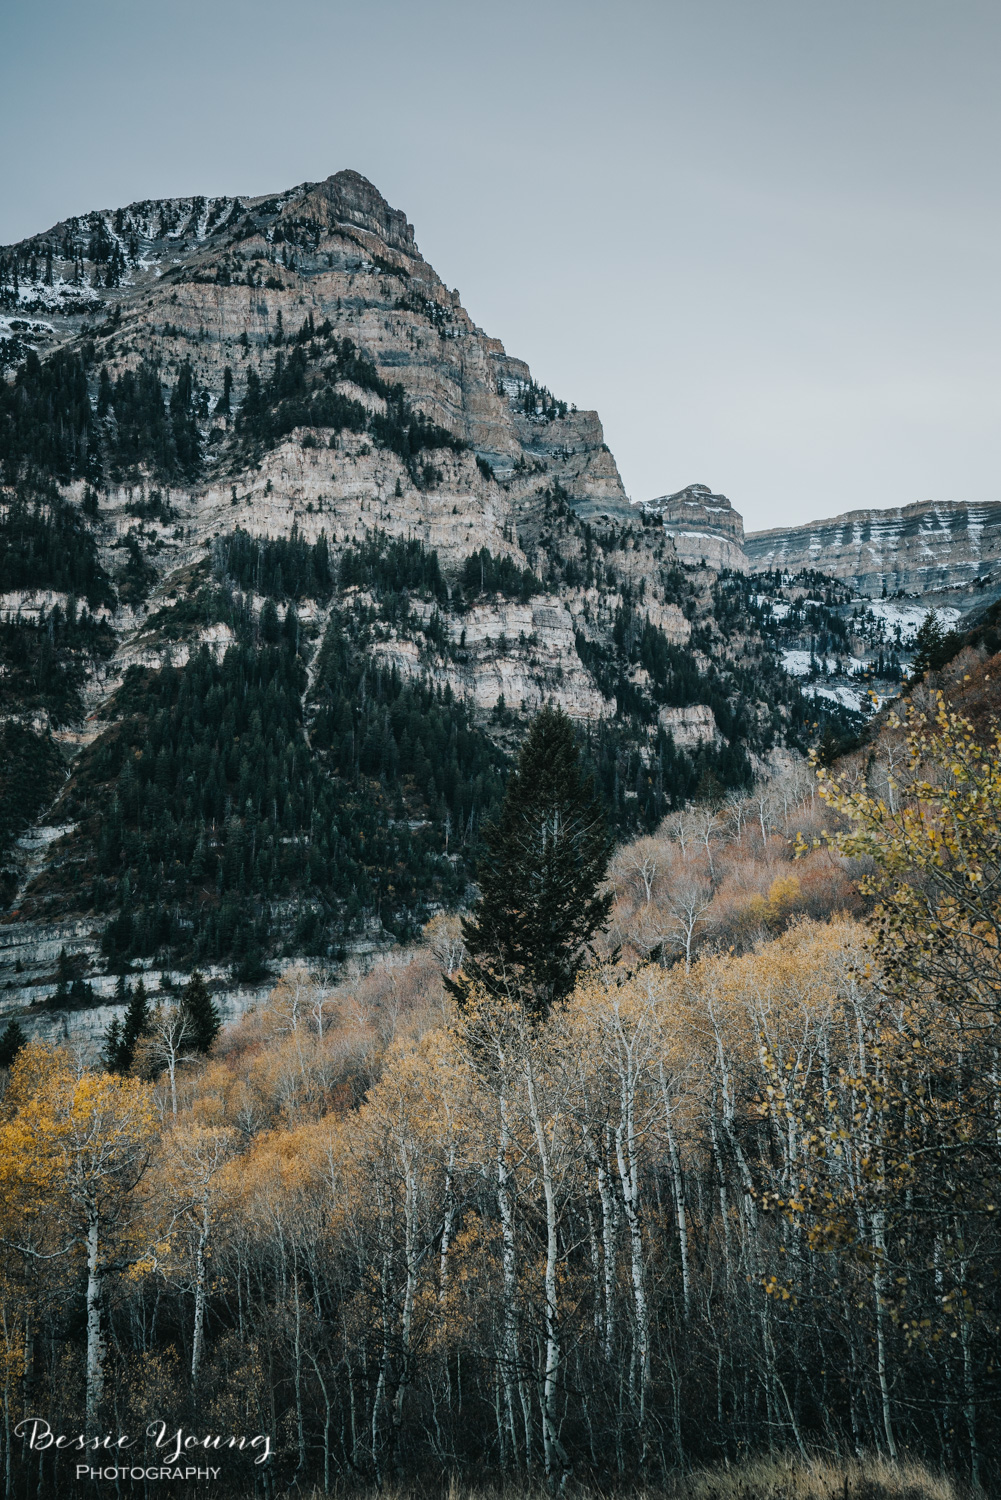
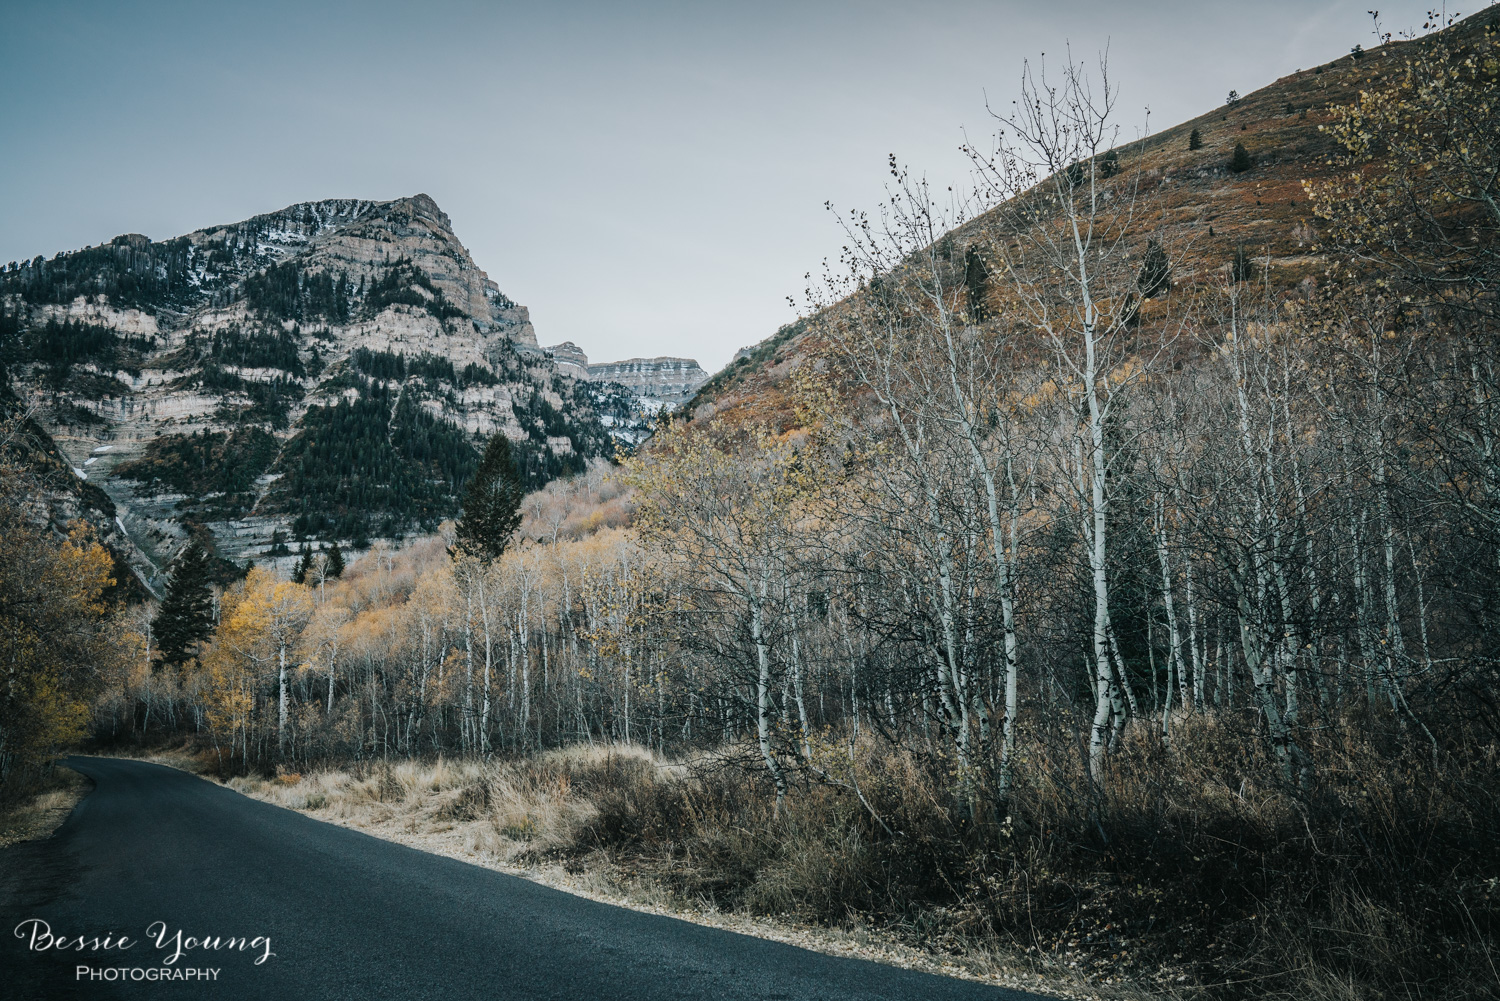
Alpine Loop Utah - Finding Fall

Alpine Loop Utah - Finding Fall

Fall is my absolute favorite time of year! I am obsessed with everything fall. ... the crisp air, the cooler weather, the gorgeous leaves changing colors, the holidays just around the corner, all of it! Plus to make it that much better, it means I get to wear my comfy sweaters, tall boots, and hats!

So naturally, I also love to take pictures of fall. As a landscape photographer, this is the perfect time to take pictures, at least in my opinion, because you get the gorgeous scenery with a bunch of color! How can you not love that?!

This Fall I was on a mission to find the beautiful fall colors. In early September I began researching where the best places were to see fall colors. The Alpine Loop was a place that kept coming up in my searches and to make it even better, it isn't that far from where I live. Well compared to places like Canada, New York, or Vermont, Utah is a hop skip and a jump from California. So I set my sights on Utah and never looked back.

What is the Alpine Loop?

This loop is a scenic drive that follows along Hwy 92 running through the American Fork Canyon. It is approximately 20 miles long. You travel through the Uinta National Forest and end along Hwy 189 in the Provo Canyon. The road is completely paved starting off as a two lane road with a double yellow line; however, it eventually changes into a windy, narrow one lane road.

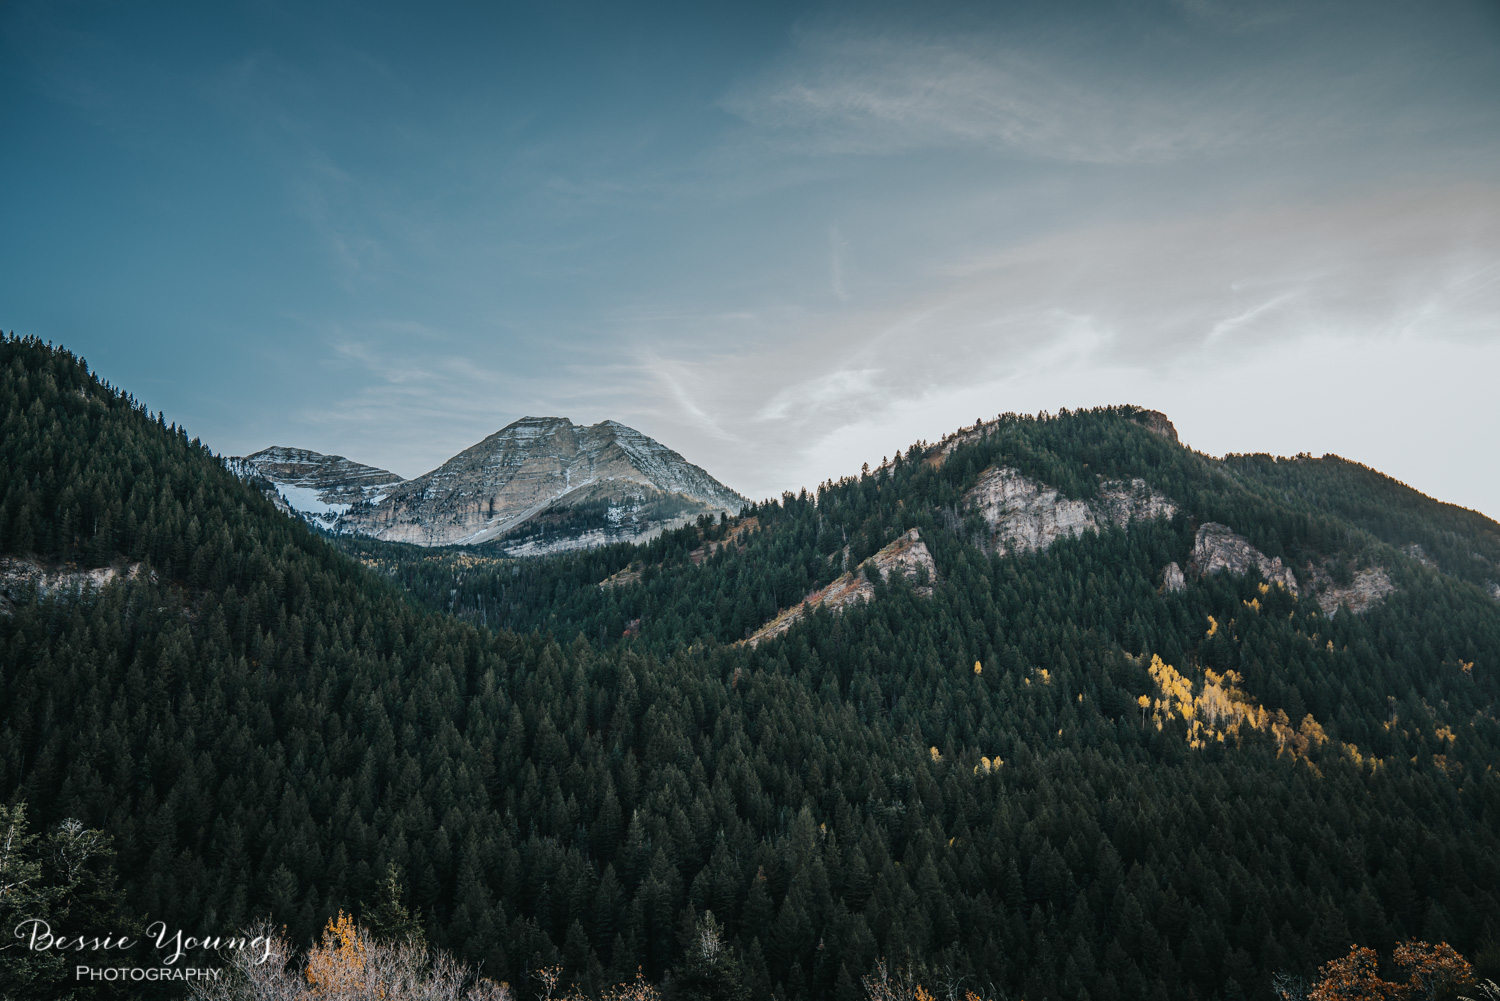
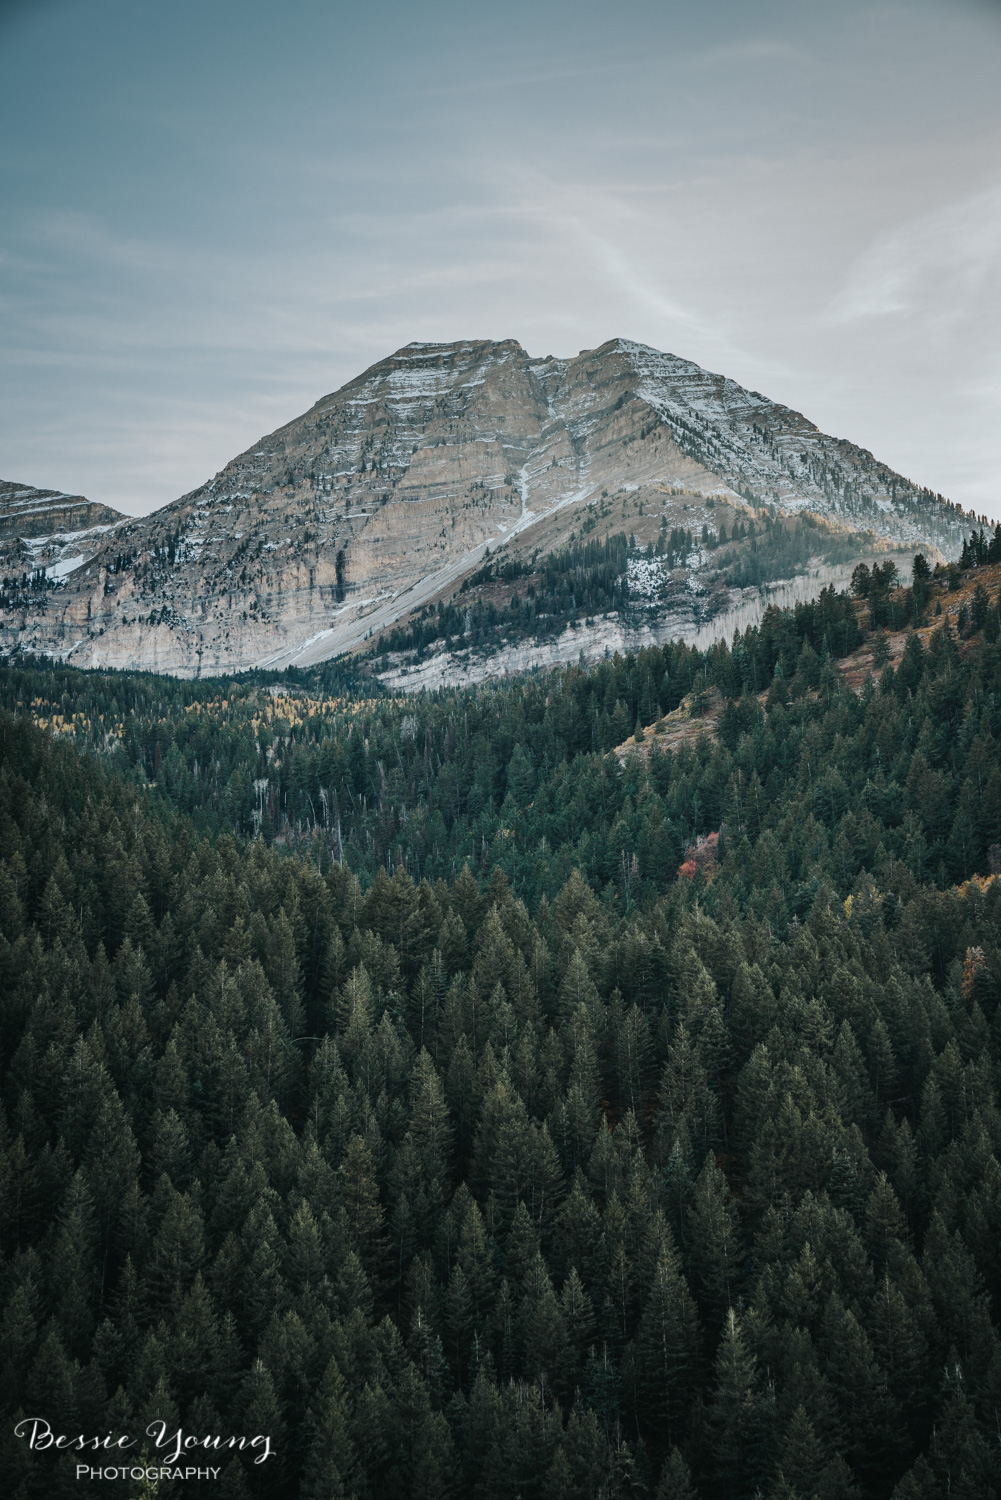
The Alpine Loop scenic drive offers amazing views of a mountain called Mount Timpanogos along with views of various other peaks that were carved by glaciers.

The road is open from May to late October entirely depending on the weather. If you want to spend the day in the area, go on hikes, and so forth, you will need to purchase a $6 pass at the entrance booth; however, if you are just passing through there is no fee.

The Adventure

My trip started on the north end of the Alpine loop along Hwy 92. I traveled into the canyon taking in all the gorgeous views. Let me tell you though, I was not expecting the traffic. There were people everywhere, which made driving a little tense.

The road started off as a two lane road with a double yellow line; however, as you began to climb into the mountain the line went away and the road began to narrow. Eventually, there were sections that were only one car width wide.

This area offers so many gorgeous views and opportunities to take photos; however, pull outs are few and far between, plus with the amount of people on the mountain made it a bit more difficult. It can get a little frustrating when you see the perfect picture; however, you cannot pull over to get the shot. So, if you ever decide to travel along the loop, make sure that you are ready for alot of people, and also make sure that your patients are in check. In hind sight, I would say use ever pull out as an opportunity. Just take the pull out and then decide after you park if it is a good spot or not.

The entire area is gorgeous, the drive is gorgeous, and I loved everything about it.


An Unexpected Surprise

As I ended my journey along the loop and found myself driving down Provo Canyon. The light was fading fast, and I thought my adventure was over. All of the sudden as I looked to my left there was a huge waterfall!

Not knowing the area at all made it difficult to figure out how to get to the falls, but I had to get there! After all I most likely won't be back in the area for quite some time, if ever, so I had to make it happen!

After almost giving up on the idea of catching an image of this gorgeous waterfall, I found a spot to turn around! Finally!!!! Rushing back to the falls, there was just a few more moments of usable light. I set up my camera in a rush, got my settings just right, clicked the shutter button, and then took a big sigh of relief :)

Satisfied, overwhelmed with the gorgeous day, and excitement to edit my photos I headed back to my hotel room to get a bit of sleep and begin my adventure to June Lake, California.

I hope you guys enjoyed this blog and adventure. If you did don't forget to subscribe :)

Wishing you nothing but beautiful adventures,

Bessie


Idaho Falls, Idaho

Idaho Falls, Idaho

Bessie Young

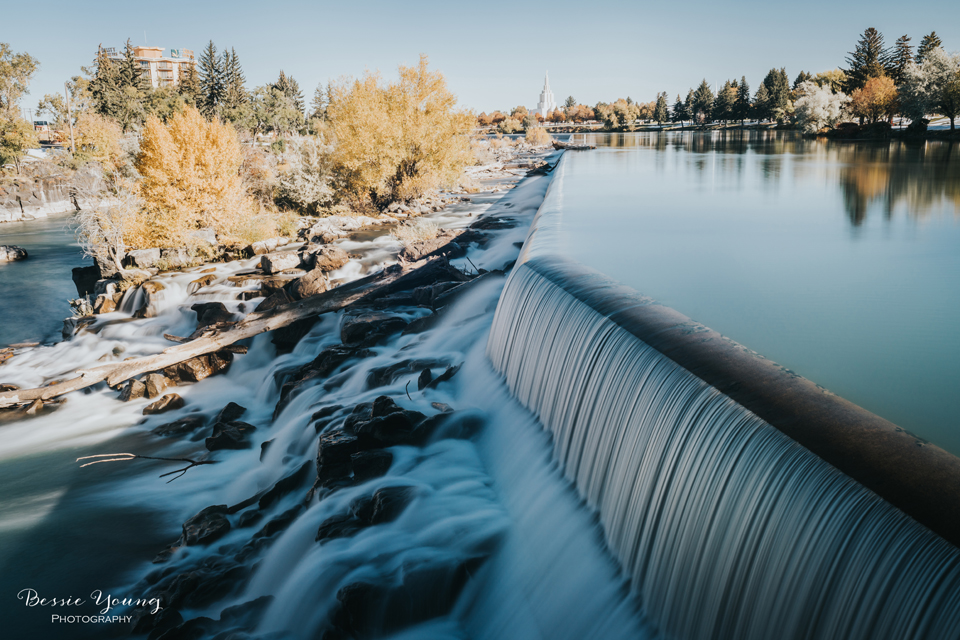
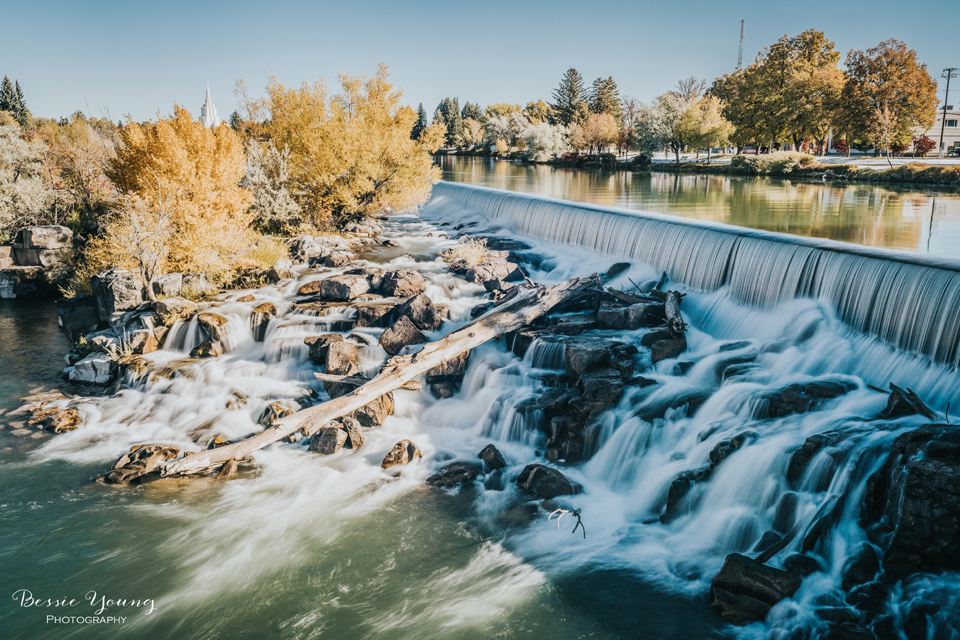
While on an adventure to find fall I found myself staying in Idaho Falls, Idaho. I already knew that Idaho Falls was famous for a waterfall in town; however, I had no idea where it was or how to get to it.

After booking my hotel room, I lay there googling Idaho Falls. Much to my surprise I was staying right next to the falls! Seriously?! How much more convenient could that be?

Ultimately I decided to sleep in, get some breakfast, and then stop by the falls before I continued south to Utah. It was quite cold that morning, the snow had fallen the previous day, and things were a little frozen over; however, that wasn't going to stop me from getting a beautiful picture.

There is a nice trail that follows the falls the entire way. I drove along the road to scope out where exactly I wanted to get my shot, parked, and then walked along the trail. Ultimately, I ended up at the most Northerly side of the falls and the most Southerly side of the falls.

If you want to read a little about walk along the river check it out here.

How I got the shot:

Note: Make sure to watch the video first.

First shot (on the top of this blog):

  1. Use a Wide Angle Lens. I used my Sony 16-35 mm f4
  2. It was quite bright that morning, almost 9am, so I had to use a 10 stop ND Filter in order to get the smooth water.
  3. Tripod - This is to allow for a long exposure
  4. Adjust settings as needed. My settings were based around my shutter speed as I wanted smooth water. My settings were: ISO 80 | Shutter speed 2.5 seconds | Aperture F 6.3

Second Shot (right below):

  1. Same technique as above
  2. Settings were: ISO 64 | Shutter speed 8 seconds | Aperture F 11


I would love to hear from you! Leave a comment below and don't forget to share with your friends!

Wishing you nothing but fun adventures and beautiful photos.

Bessie

My Gear

P.S. wanna know what gear I used? Check it out my Gear list or check it out here:

Kit Used:
Camera: Sony A7Rii: http://amzn.to/1taGpAu
Favorite Lens: Sony FE 24-70 F2.8 G Master: http://amzn.to/2n747NJ
Wide Angle: Sony 16-35mm lens: http://amzn.to/1UBjBDW
Vanguard Tripod: http://amzn.to/2aoI5ku

Filming:
Samsung Note 4 smart phone

Editing & Processing:
Bulk editing: Adobe Lightroom: http://amzn.to/1WB7Jnc
Fine tuning: Adobe Photoshop : http://amzn.to/1WB7YPh
Viva Video Pro for combining videos


Ansel Adams Wilderness Day 4 Backpacking

Ansel Adams Wilderness Day 4 Backpacking

by Bessie Young

The Start of Day 4

Well the last day of the trip consisted of waking up fairly early to get a beautiful smooth Rosalie Lake picture, eating my breakfast, drinking my coffee, and then packing up for the hike out. It is a bitter sweet moment when you are packing up your things for the last time and going on the journey out, back to reality. As you walk down the trail you think about all the fun experiences you had, all the beautiful moments, and of course the gorgeous scenery.

Ansel Adams Wilderness Backpacking photographed by Bessie Young. There is seriously nothing better than waking up to a big ole cup of coffee when you are out backpacking. Check out the adventure.

The Hike Out

My photography goal for the hike out was really just to capture the beautiful scenery along the way. I didn’t have a set point to be or a picture that I just had to take. I just wanted to be able to take pictures. The gorgeous wildflowers were out which made me oh so happy and made the trail so beautiful.

The end destination was Agnew Meadows trail head to get picked up by the shuttle which would take me into Reds Meadow for a delicious lunch. After stuffing my face with a big ole juicy burger, I hopped on the shuttle which took me into Mammoth Lakes.

The hike out can be a bit emotional for me. It is a happy moment and a sad moment. Excited to get back to the world yet sad to get back to the world at the same time; however, every time I hike out I always say, man I should have scheduled one more day. Leaving the wilderness always leaves me wanting more.
 

Day 4

Trail Details:

Rosalie Lake to Agnew Meadows Trail Head

  • Distance: 7.43 miles
  • Elevation gain / loss: 1,876', -2,896'
  • Max Slope: 50.2%
  • Agnew Meadows Trail Head Elevation: 8319'
  • Rosalie Lake Elevation: 9,363'
  • Max Elevation: 9,473'
Elevation Profile Rosalie Lake To Agnew Meadows Trail Head by Bessie Young.jpg

The Day isn't Over

My plans for the evening was to get some dinner and a nice ice cold beer. I was unaware that dinner would consist of a huge BBQ festival in the middle of Mammoth. There were so many people it was quite strange, as I had just been in the wilderness alone for basically 4 days. Coming back to a crowd was a bit of a shock, but it was a super fun evening as I got to try out a few different BBQ items and then headed over to the Mammoth brewery for the beer that I had been craving for the last day or so.

On the way back to my hotel room, the BBQ festival was still going and the music was getting loud. As I got closer I realized it was one of the bestest songs, Free Bird by Lynard Skynard. Thinking that it was a cover band, I stood over with the crowd to enjoy the song. Much to my surprise, it was actually LYNDARD SKYNARD! No Joke! The actual band was there. Talk about the perfect way to end the perfect trip J

I hope you all enjoyed following along with me on this journey. If you are just popping in make sure to check out days 1, 2, and 3.

Wishing you all gorgeous pictures and fun adventures!

Bessie

p.s. if you haven't seen days 1 - 3 check them out here

Day 1 , Day 2 , Day 3

My Gear

P.S. wanna know what gear I used? Check it out here:
Kit Used:
Camera: Sony A7Rii: http://amzn.to/1taGpAu
Favorite Lens: Sony FE 24-70 F2.8 G Master: http://amzn.to/2n747NJ
Wide Angle: Sony 16-35mm lens: http://amzn.to/1UBjBDW
Vanguard Tripod: http://amzn.to/2aoI5ku

Filming:
Samsung Note 4 smart phone

Editing & Processing:
Bulk editing: Adobe Lightroom: http://amzn.to/1WB7Jnc
Fine tuning: Adobe Photoshop : http://amzn.to/1WB7YPh
Viva Video Pro for combining videos


How To Take A Panoramic Picture | Minaret Summit | Landscape Photography

How To Take A Panoramic Picture

on location at the Minaret Summit

Mammoth Lakes, California


After my adventure to find fall throughout Montana, Utah, and California, I ended up in Mammoth Lakes. While searching around Mammoth for fall colors I stumbled upon this beautiful lookout, the Minaret Summit. When I saw the amazing views this lookout had to offer, the first thing that came to my mind was I need to get a Panorama! I mean, what better spot to take a panoramic picture than when your staring at one of the most iconic ranges in the Sierra?!

I decided that this was also the perfect spot to talk a bit about how I take panoramic pictures :) So....

How to take the perfect panoramic picture:

Step 1:

  1. Set up your tripod.
  2. Level your tripod.
    • This is key! Make sure that the bubbles on your tripod are spot on.
  3. Point your camera to the left side of your scene. This will be your first image.
    • Make sure to add a little extra space to each side of your panorama as you will loose a little bit in post processing.
  4. Lock your tripods adjustments in place.
  5. Double check your camera settings and fine tune the focus.
  6. Put your camera on at least a 2 second timer for an ultra clear shot.
  7. Take the picture.

Step 2:

  1. Unlock your pan on your tripod.
  2. Pan to the right about a third of the way from your previous frame.
    • This means you want to have approximately two thirds of your previous image in your second image.
    • Why? This way your images have enough data for stitching them together in post processing and will guarantee a clear image with no seams.
  3. Lock your tripods adjustments in place.
  4. Take the picture.

Step 3:

  1. Repeat step 2 until you pan across your entire scene. I have found that I typically take 4-5 frames.

Hopefully this helps you to capture those beautiful panoramic pictures that you have always dreamed of!

Wishing you nothing but the best!

Bessie

P.S. Wondering what gear I used? Check out my gear list here.


Ansel Adams Wilderness Day 3 Backpacking

Ansel Adams Wilderness Day 3 Backpacking

by Bessie Young


Day 3

The sun kissed my face and the cold air surrounded me. Day 3 has officially started. I stretched out, opened my eyes, and couldn't stop thinking about the image I got last night at 2 in the morning! The Milky Way over Mount Ritter. Wow!

Once again, I didn't get up early, but I felt like I had a pretty good excuse since I got up at 2 in the morning for night photos. As I lay in bed my tummy started growling and all I could think of was coffee, food, and water.... in that order.

Time Flies

I crawled out of bed and was quite shocked with realizing that it is already day 3! Wow, where does the time go.

Garnett lake was a beautiful view to start off my morning. I sat on a ledge and gazed over the lake, drank my coffee, and ate my oats. As always the morning flew by and it was time to pack up and start my day 3 adventure.

A Challenge

The hike to Rosalie was nothing but beautiful. I traveled down the JMT from Garnett Lake and made it to the T. This would take me back to the Trail head or to Rosalie. I turned right crossing the river and heading to Rosalie for the night.

I wasn't prepared for what was ahead of me. You see, at the map didn't have any information on the distance from Shadow to Rosalie. I could make my guesses, but I wasn't sure. As I walked past shadow lake, the trail began to switch back. I knew that I would be climbing a hill, but..... 22 switch backs later I made it to the top, red faced and sweaty. My mind mentally wasn't ready for this kind of mountain. Talk about a challenge.

But hey, I made it and it was more than worth it.

Trail Details:

From Garnett Lake to Rosalie Lake - Ansel Adams Wilderness

  • Distance: 6.75 miles
  • Elevation gain / loss: 2727', -3111'
  • Max Slope: 56.8%
  • Garnett Lake Elevation: 9,747'
  • Rosalie Lake Elevation: 9,363'
  • Max Elevation: 10,126'
Garnett Lake to Rosalie Lake Ansel Adams Wilderness by Bessie Young.jpg
Elevation Profile Garnett Lake to Rosalie Lake Ansel Adams Wilderness by Bessie Young.jpg


A Relaxing Evening

I was so excited that I could have a fire at Rosalie lake. There is nothing better than having a camp fire out in the wilderness when it is a bit chilly.

The night consisted of taking photographs of the lake at sunset, enjoying a beautiful campfire, trying to eat all my food so I wouldn't have to pack it out, and then getting some night shots.

After the starts came out and I got some satisfying shots of my tent, the camp fire, and the stars, I scurried off to bed to get some shut eye before my adventure out.

Wishing you nothing but amazing adventures! Stay tuned for day 4!

Bessie
p.s. if you haven't seen day 1 check it out here. You can find day 2 here.

My Gear

P.S. wanna know what gear I used? Check it out here:
Kit Used:
Camera: Sony A7Rii: http://amzn.to/1taGpAu
Favorite Lens: Sony FE 24-70 F2.8 G Master: http://amzn.to/2n747NJ
Wide Angle: Sony 16-35mm lens: http://amzn.to/1UBjBDW
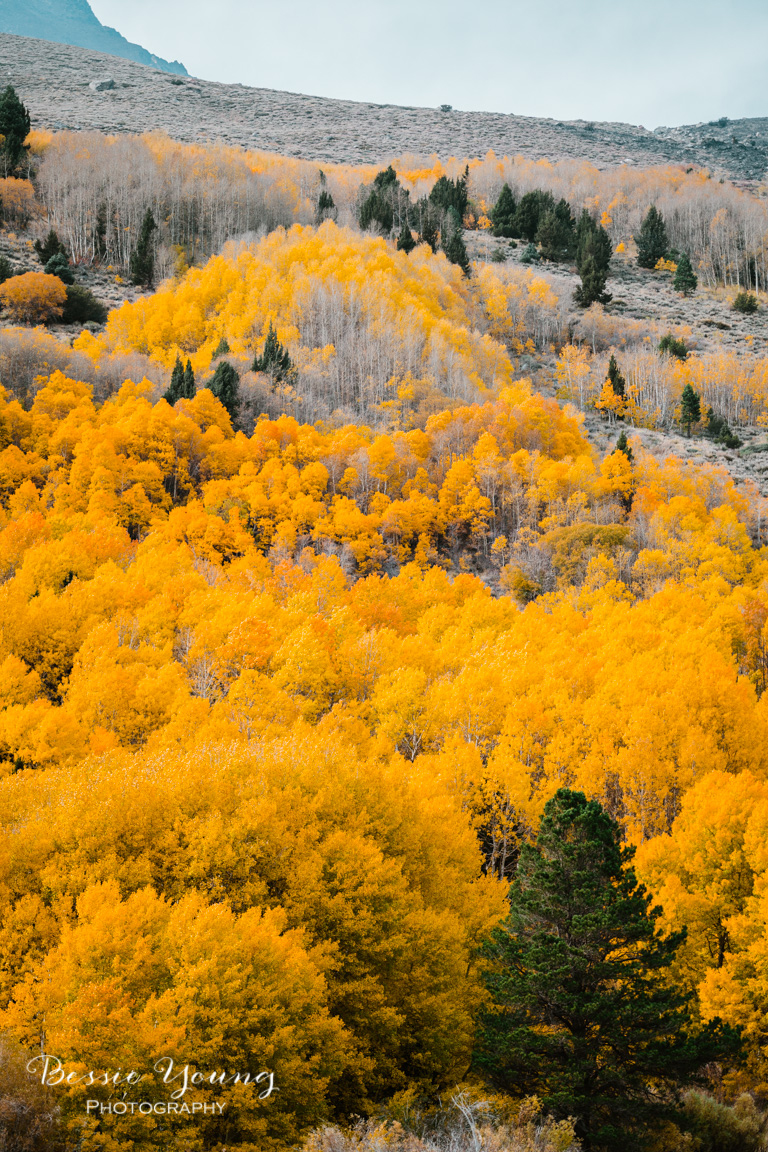
Vanguard Tripod: http://amzn.to/2aoI5ku

Filming:
Samsung Note 4 smart phone

Editing & Processing:
Bulk editing: Adobe Lightroom: http://amzn.to/1WB7Jnc
Fine tuning: Adobe Photoshop : http://amzn.to/1WB7YPh
Viva Video Pro for combining videos